As a lifelong lover of cooking, I have always been passionate about food and food culture. I realize now how lucky I was growing up to have had information about healthy eating practices, access to fresh farm produce and an environment where food actually tasted like something that was plucked from the ground. My desire to cook and make flavor come alive was born from being around food that actually tasted like food and from being embedded in a community culture where food and its origins mattered.
America has always been known as a land of abundance. Unfortunately, where there is great abundance can come great ignorance. We do not have to deeply think about food because its abundance is embedded in the American consumer culture. We shop at supermarkets full of individually wrapped products, pumped full of preservatives to maintain longer shelf life. We see uniform produce, shipped during any season from around the world, stunted of true flavor and lacking nutrients. Ready-to-eat meals are pre-prepared to satiate our assertion of independence from the kitchen. Hefty cuts of meat are laid out in packages designed to make us forget that it was once part of an animal, while undesirable cuts are disposed of. What would it look like if our culture were designed to have us question our food and even beyond that and be genuinely curious about where it comes from and how it might help or harm our health?

Michael Pollan, author of The Food Movement, Rising says, “The food movement gathers around “the recognition that today’s food and farming economy is unsustainable.” Vast expanses of fields containing a single high yield crop saps valuable nutrients from the soil. Our inability to stop the momentum of the system of supply and demand has left our once vibrant and nutrient rich land an assembly line of fast food catering to the needs of the masses. Our bodies have responded to our high sugar, high salt, and bland diets with chronic disease, obesity, diabetes and weak flavor palettes. As a chef in training, I cannot abide.

Pollan aptly defines the food movement by stating that it reflects our “attempt to redefine, or escape, the role of consumer.” This can be seen in the small farms, businesses and markets popping up around the country. Farm-to-table dining was started with the realization that the best ingredients can be found close to home. Chefs are working with local farms and only seasonal produce to achieve the freshest meals possible. Huge growth in Do-It-Yourself (DIY) community has developed as well. People are actively learning how to make food products on their own in small batches with simple techniques. There is a strong urge to take part in the process of making food rather than just purchasing and heating it. The food movement is like beautification for our taste buds and our communities.
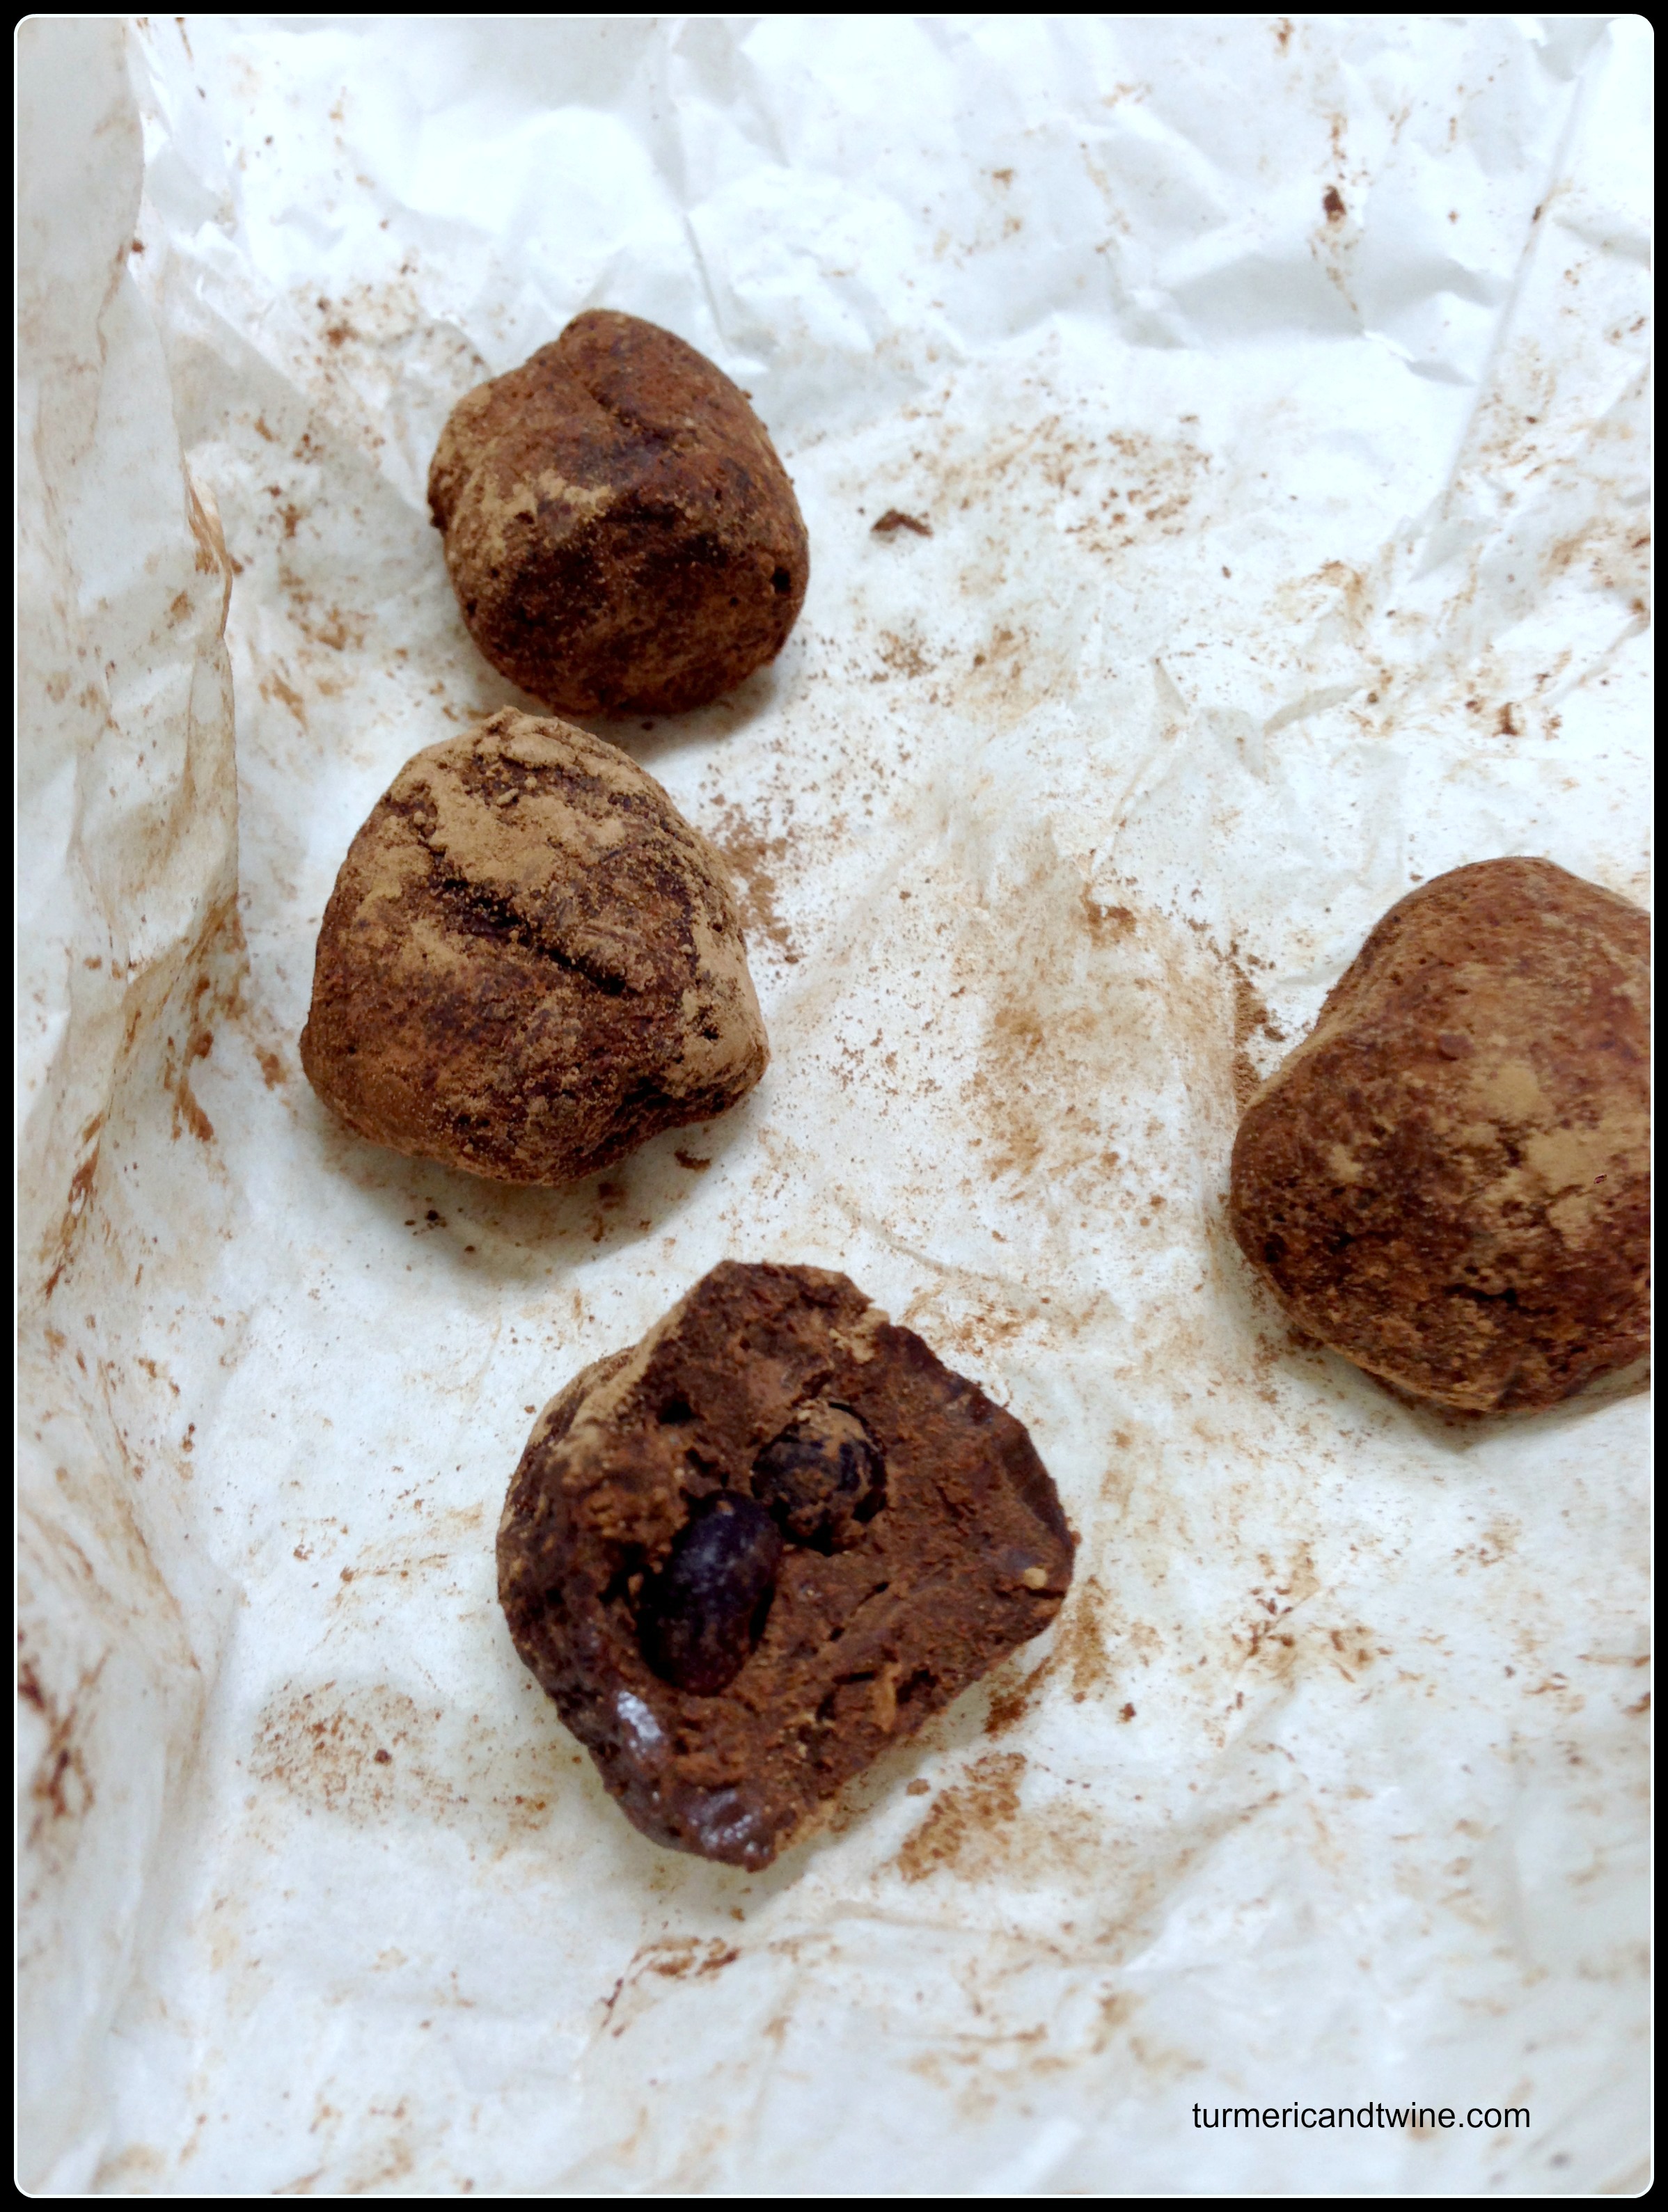
To celebrate: truffles!
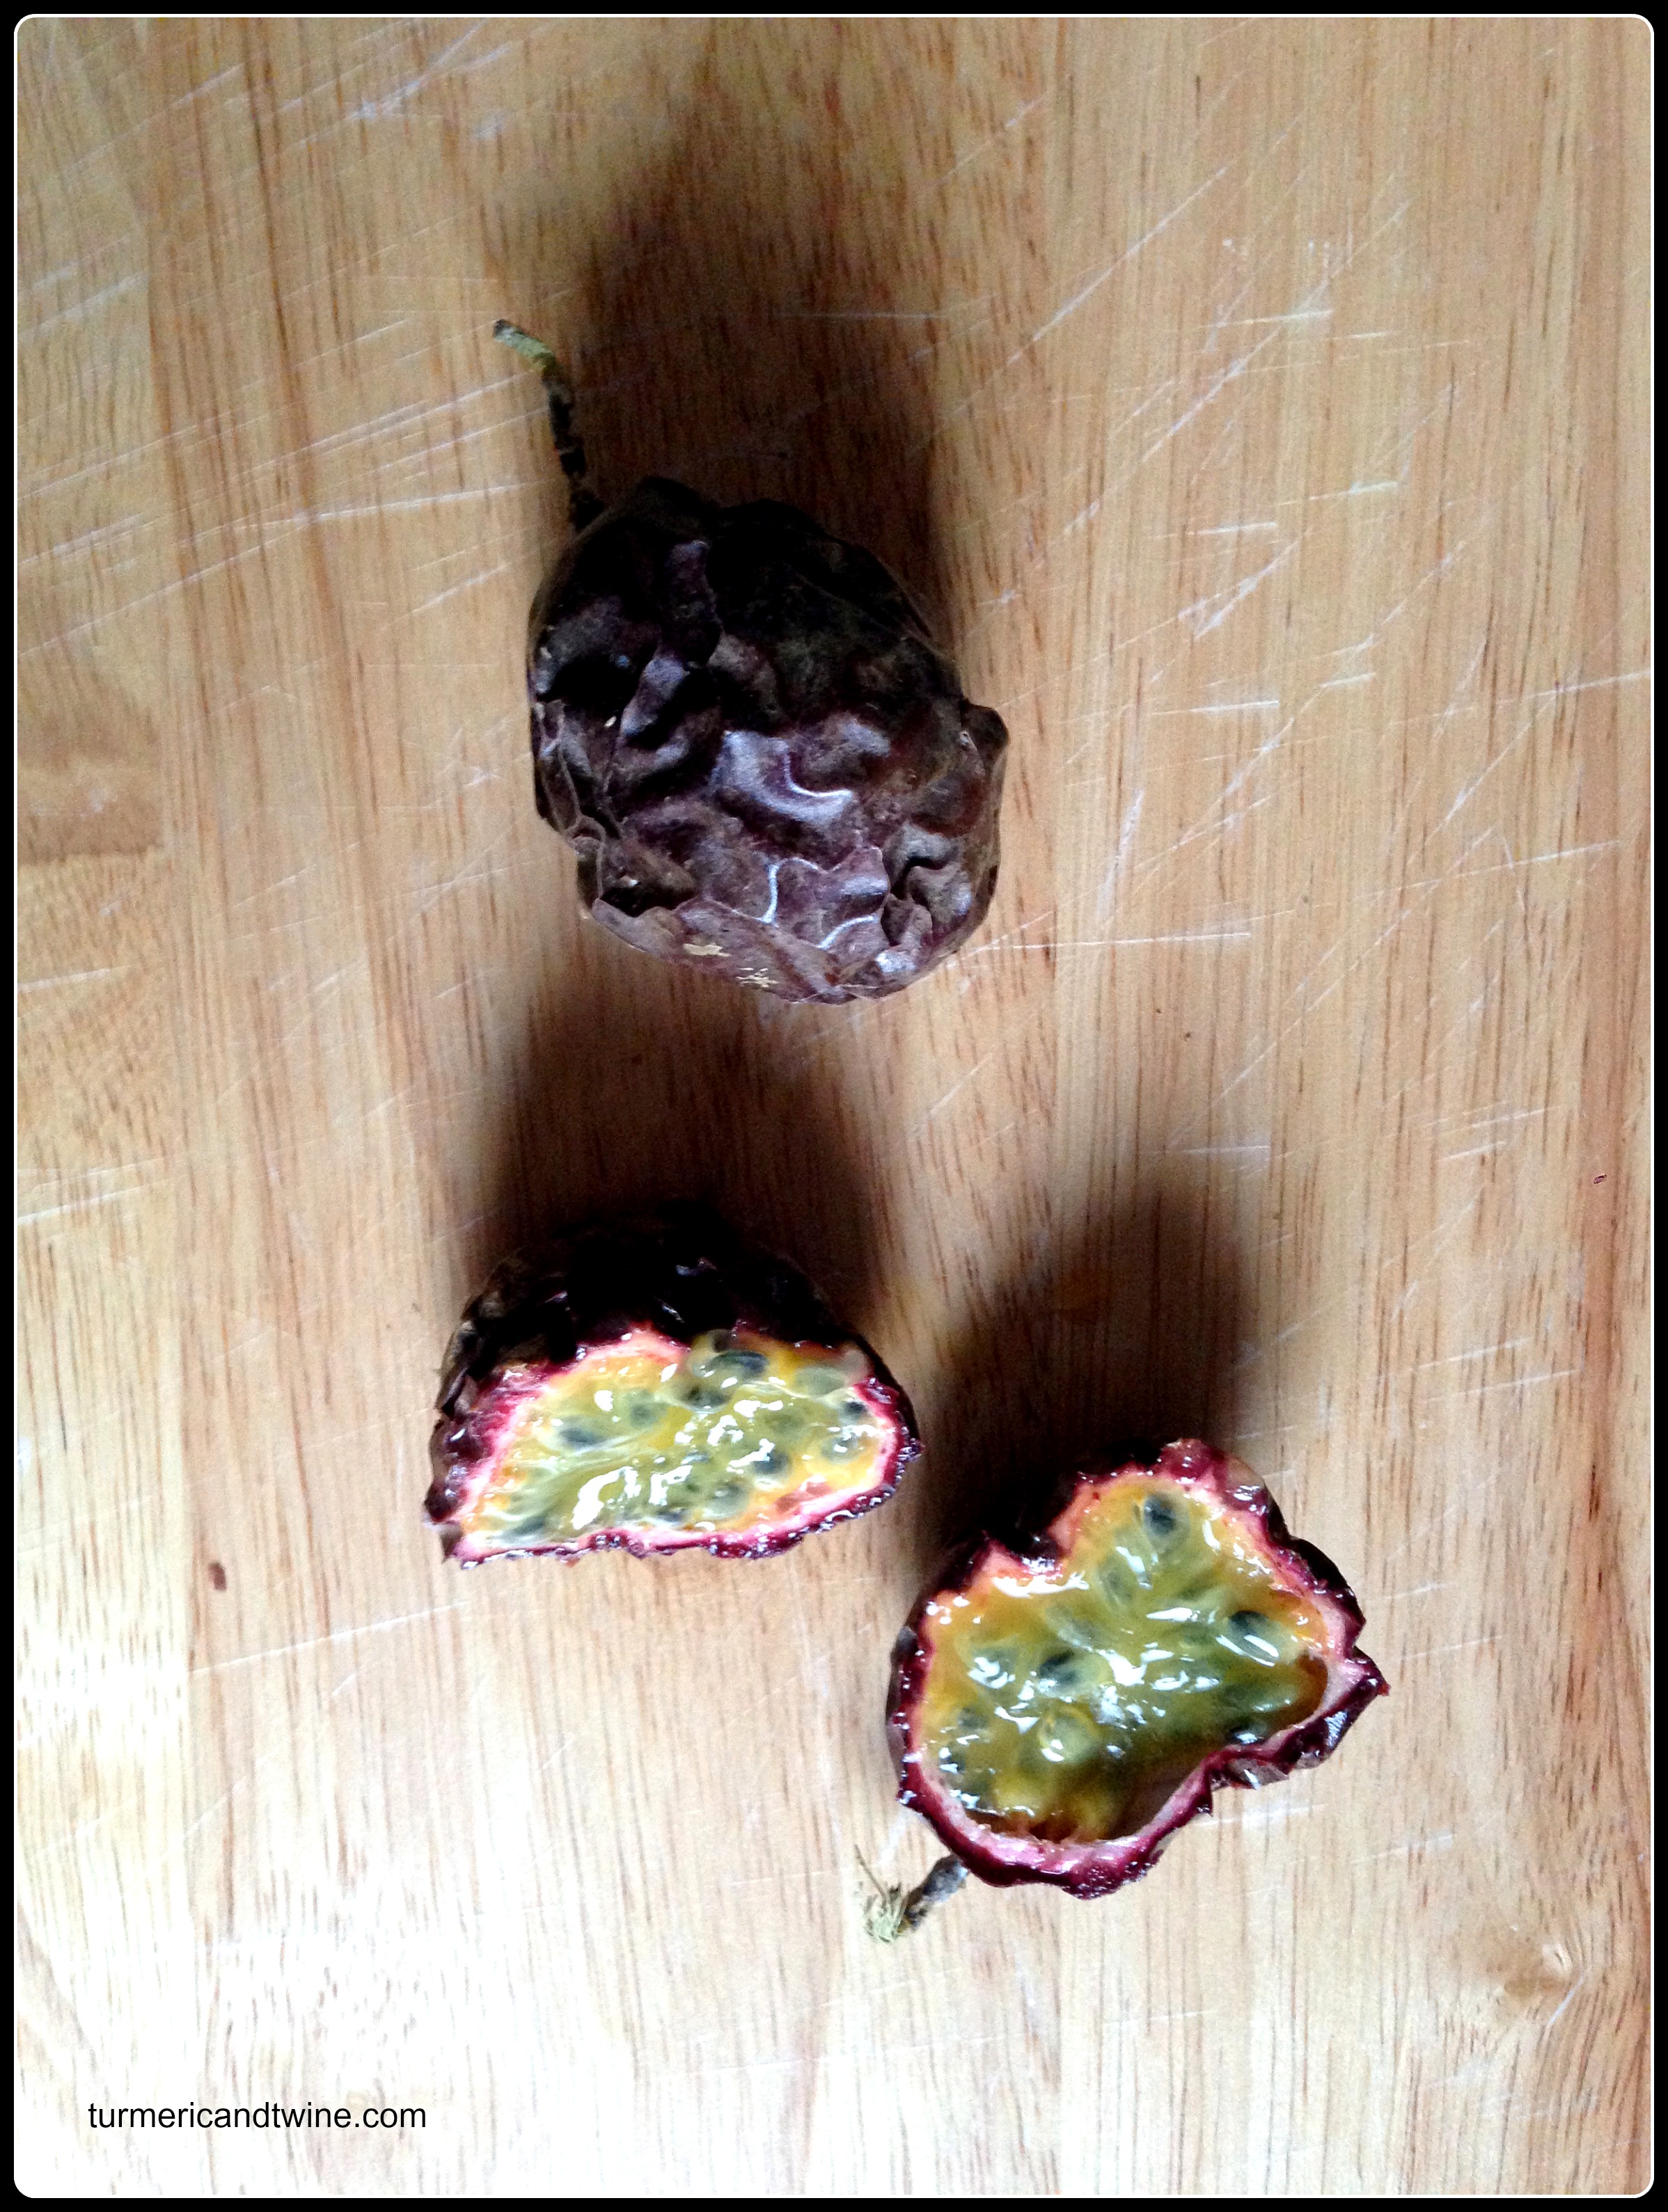
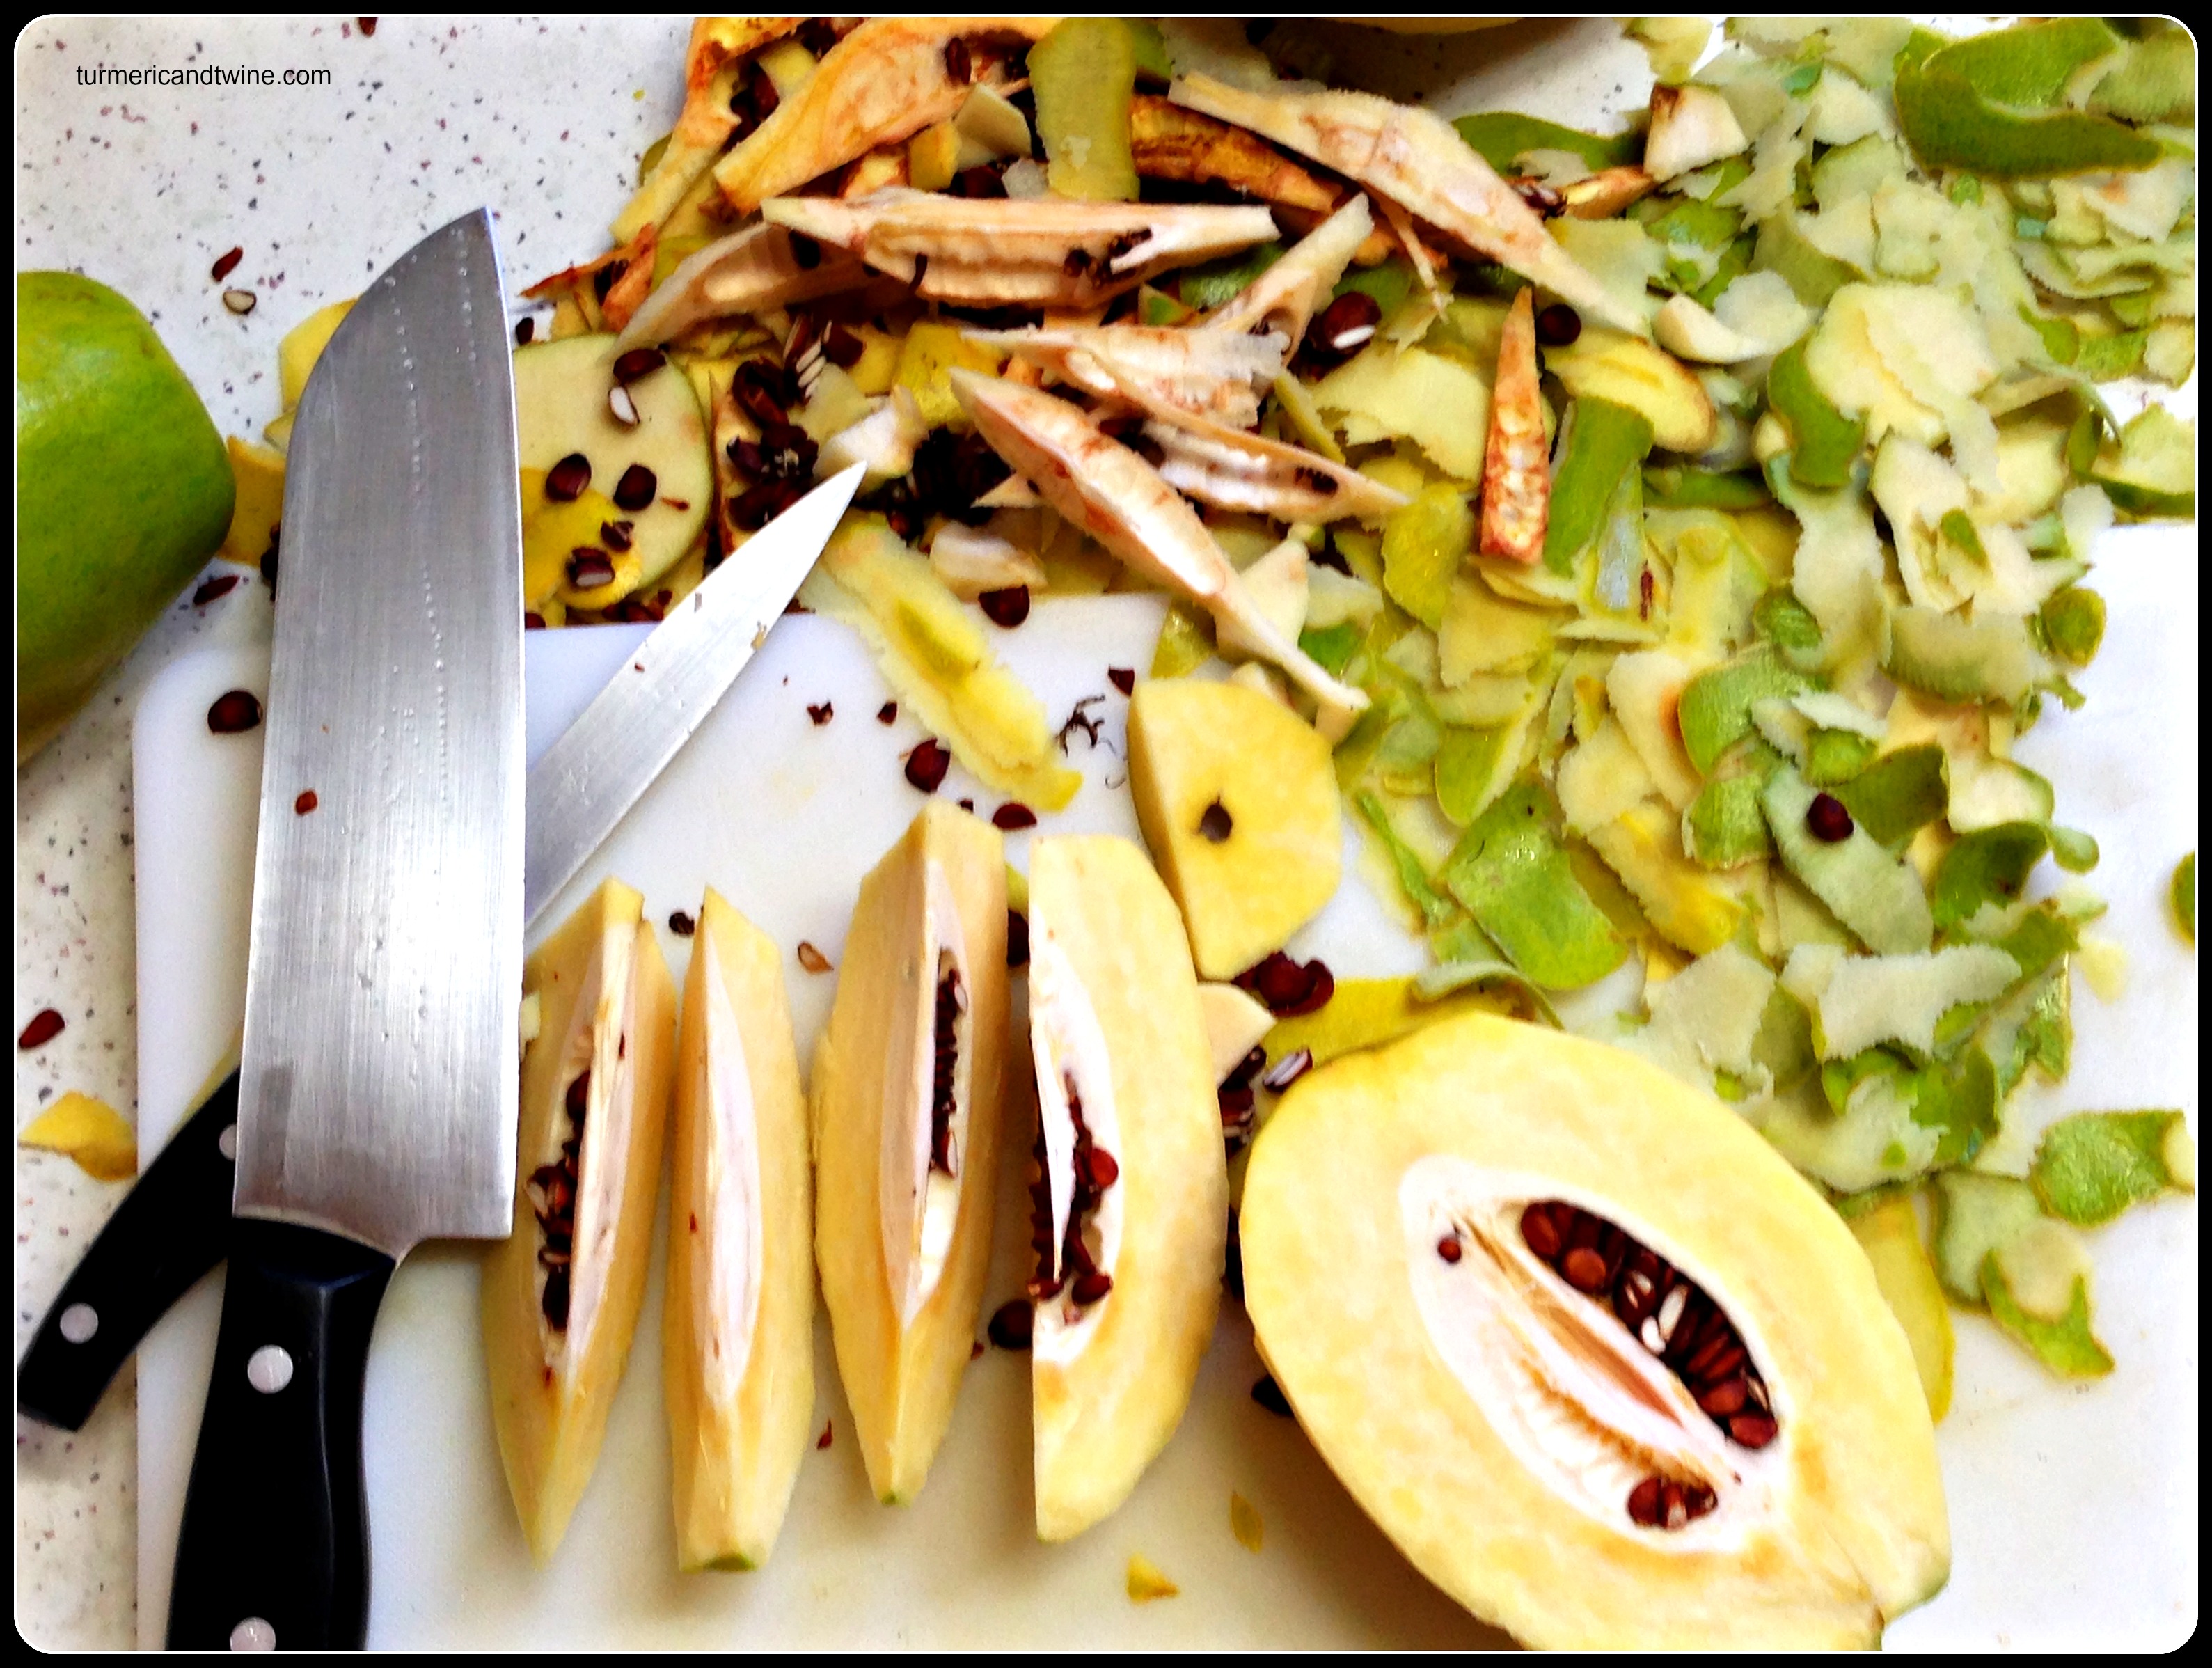
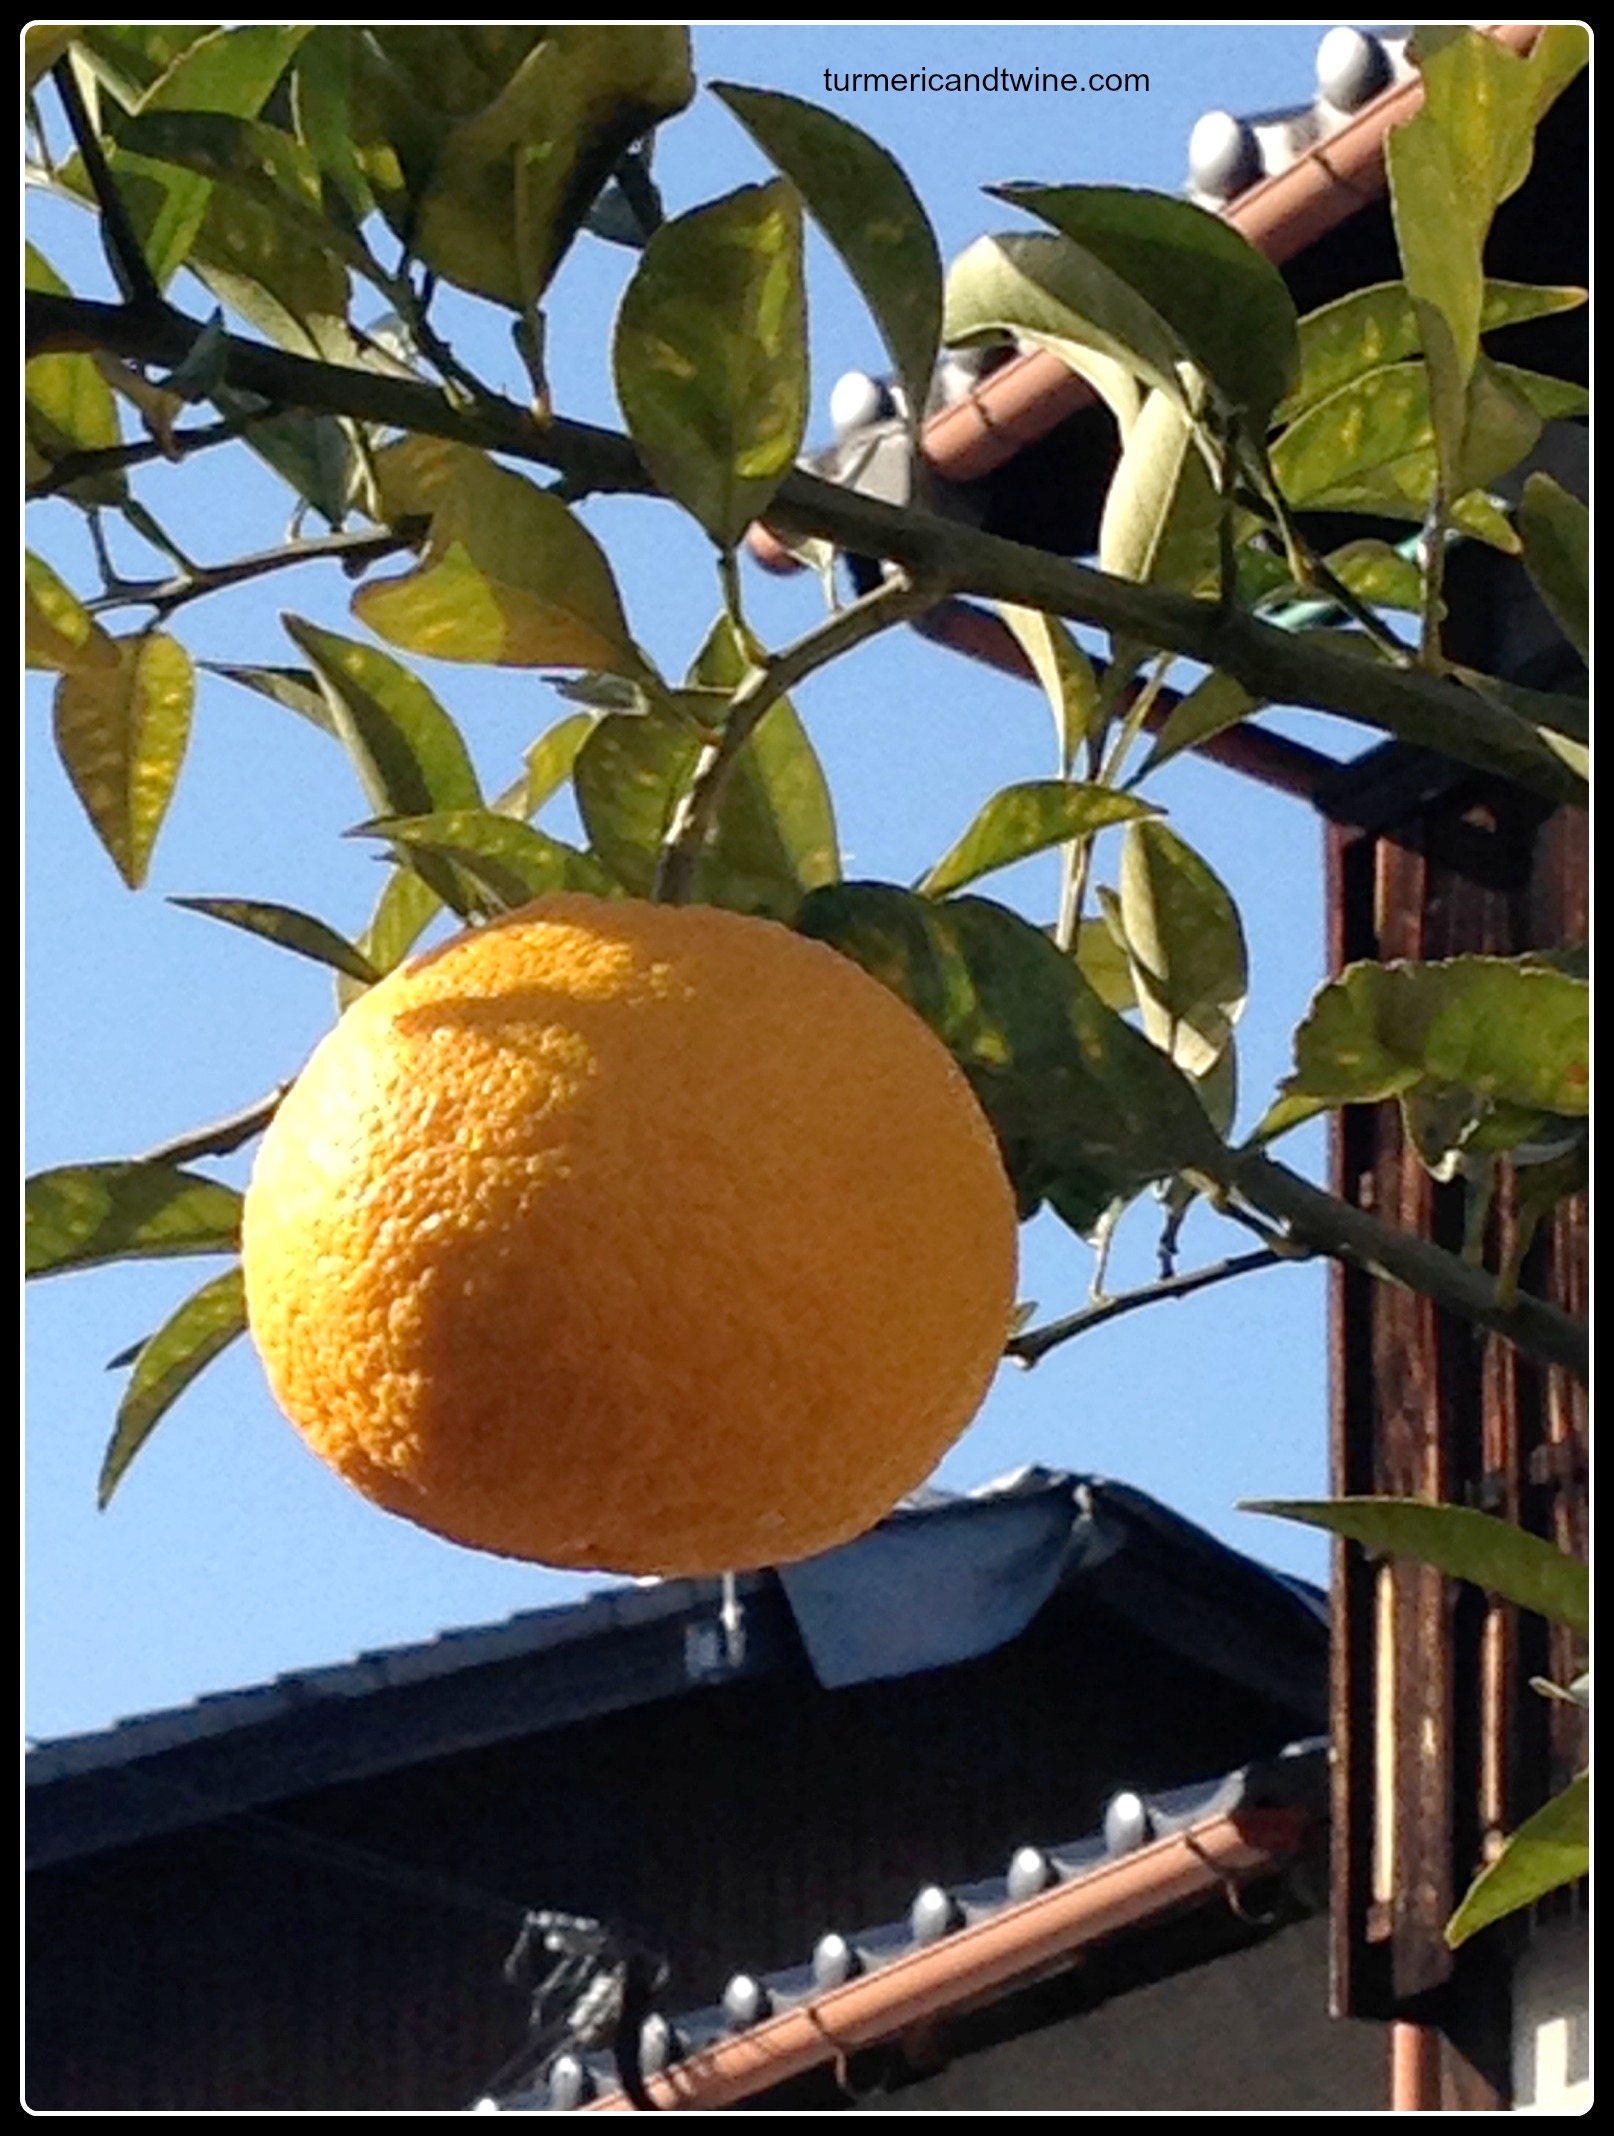
Korean Yuja (or Yuzu in Japanese) can be called citron in English as it doesn’t have a direct translation.. It is often used in honey teas, desserts and liquor infusions in both countries. The flesh of this citrus is quite tart and an excellent flavour booster for just about anything. I was clever enough to bring a small jar of yuja honey tea back to the States with me. Like all citrus, it compliments the bitterness of chocolate perfectly. And when the whole pomegranate kernels burst in your mouth, you know you can die happy.
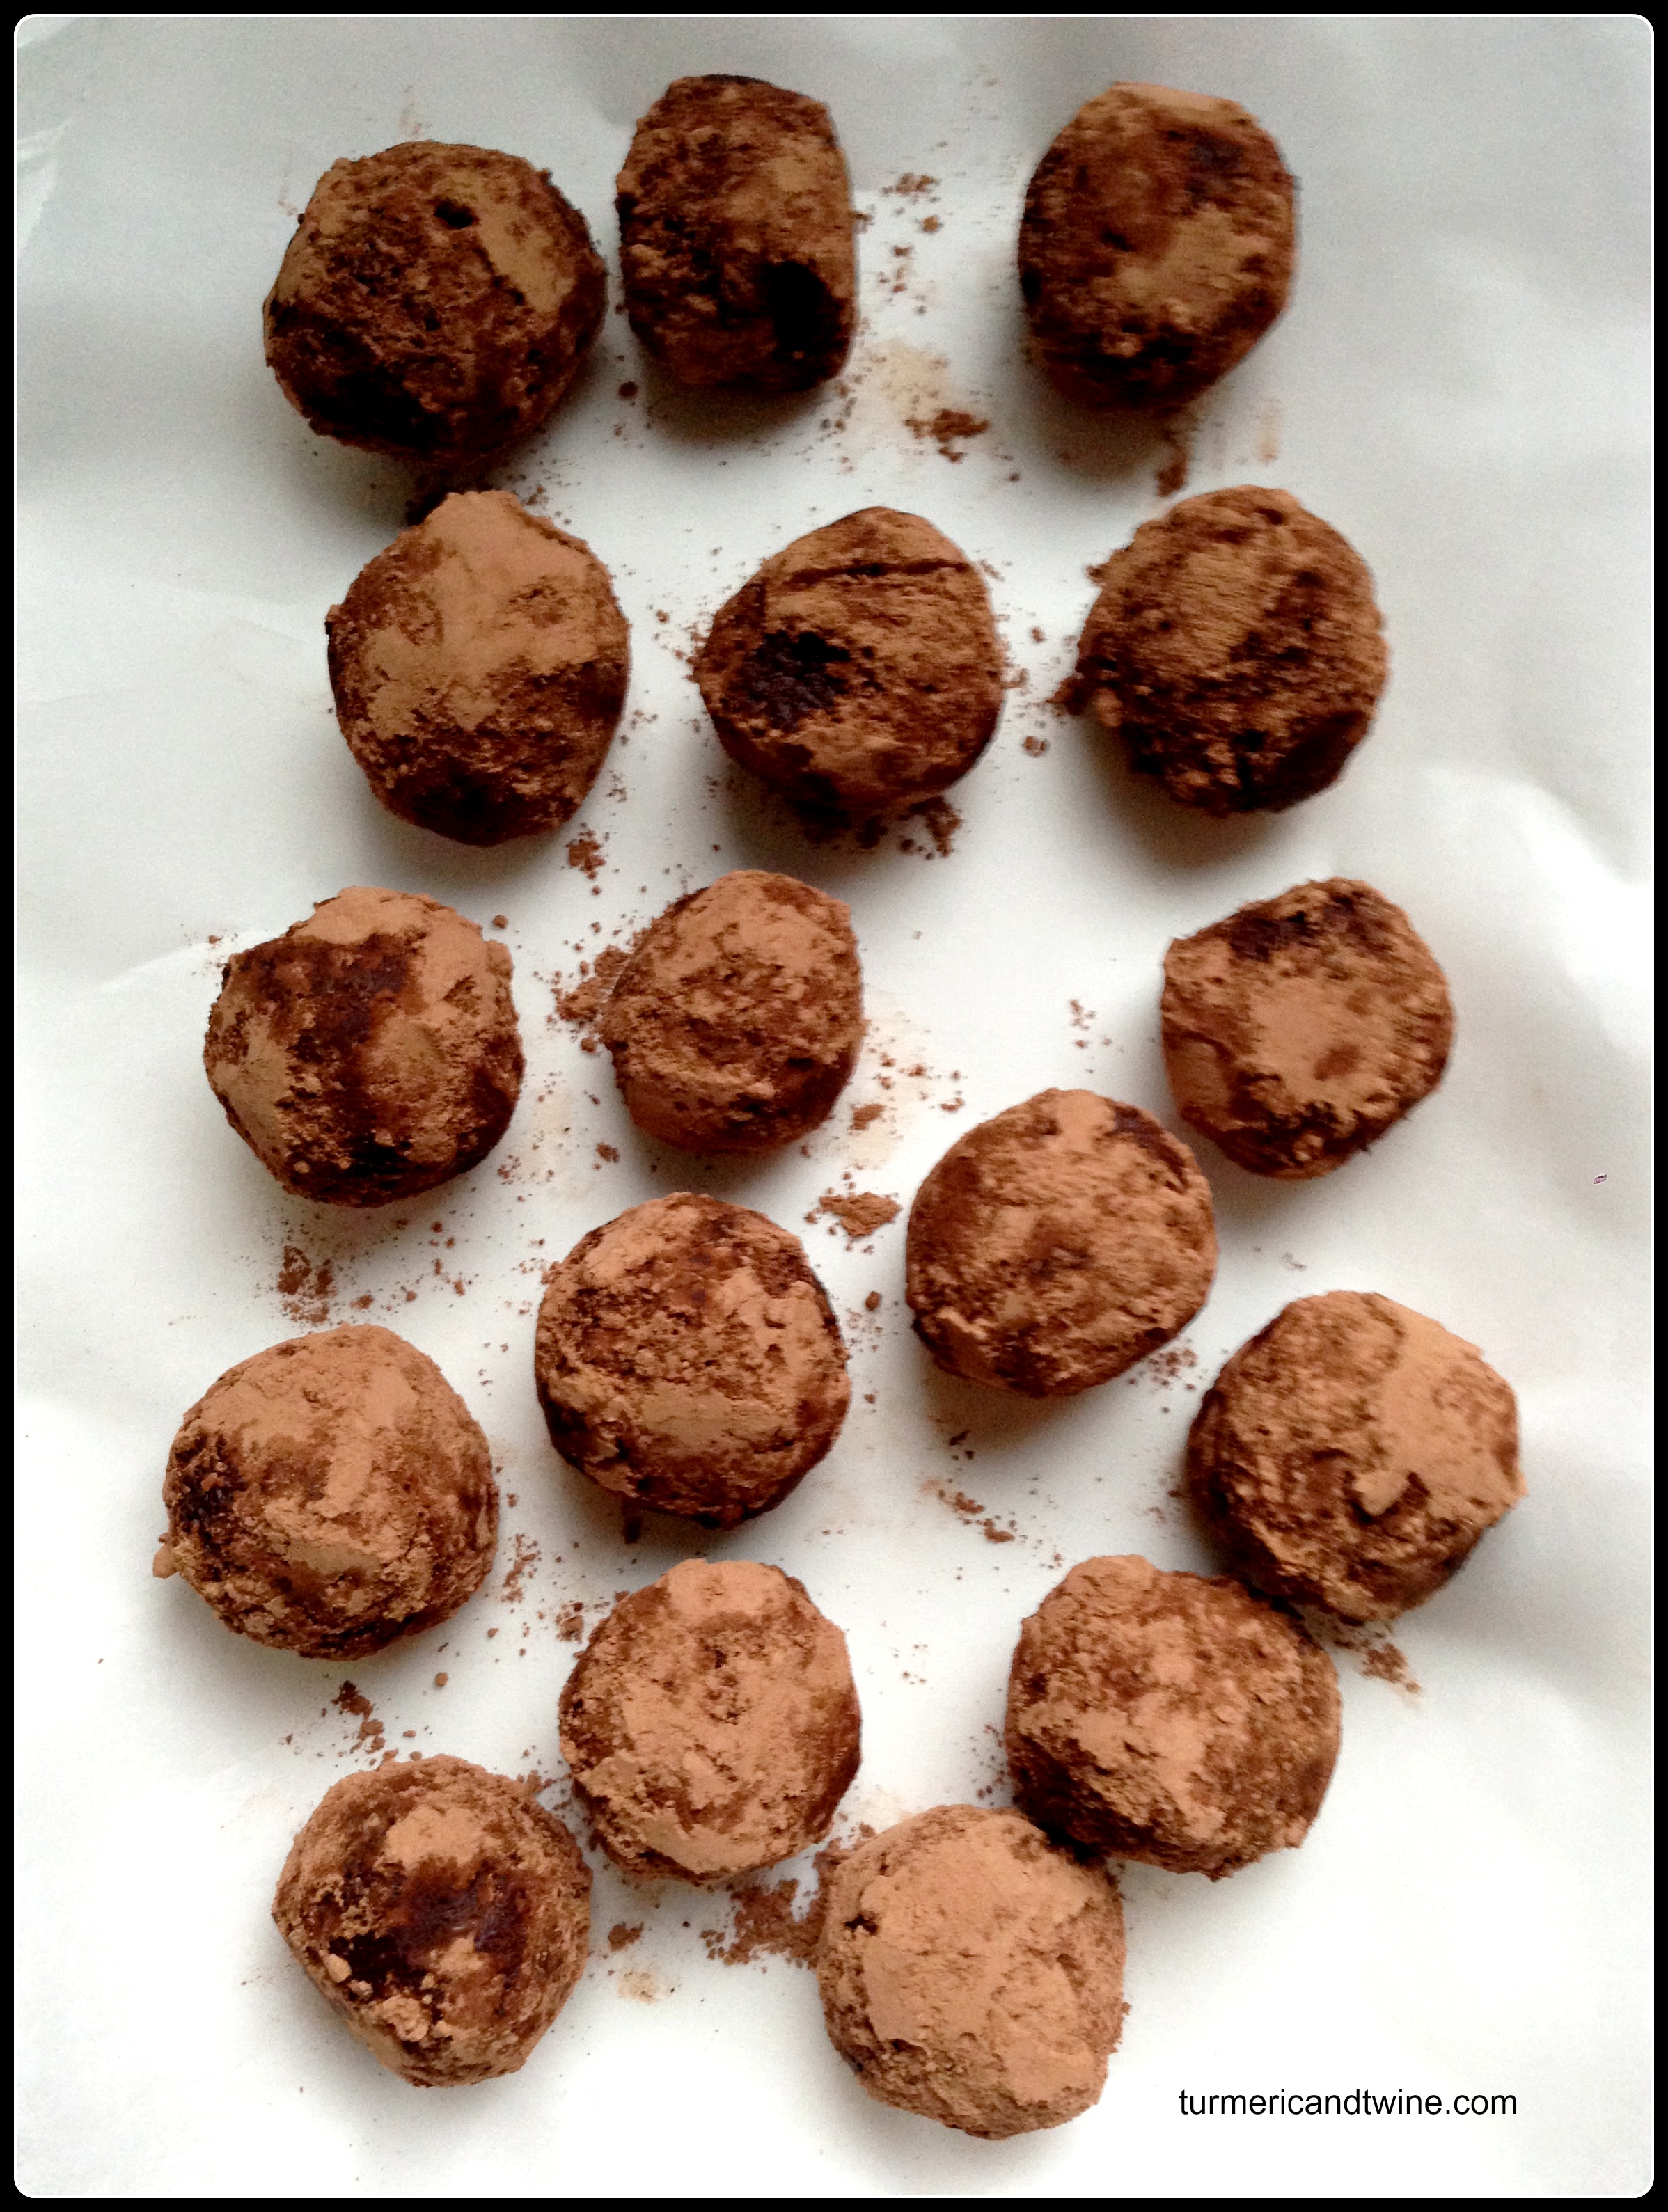
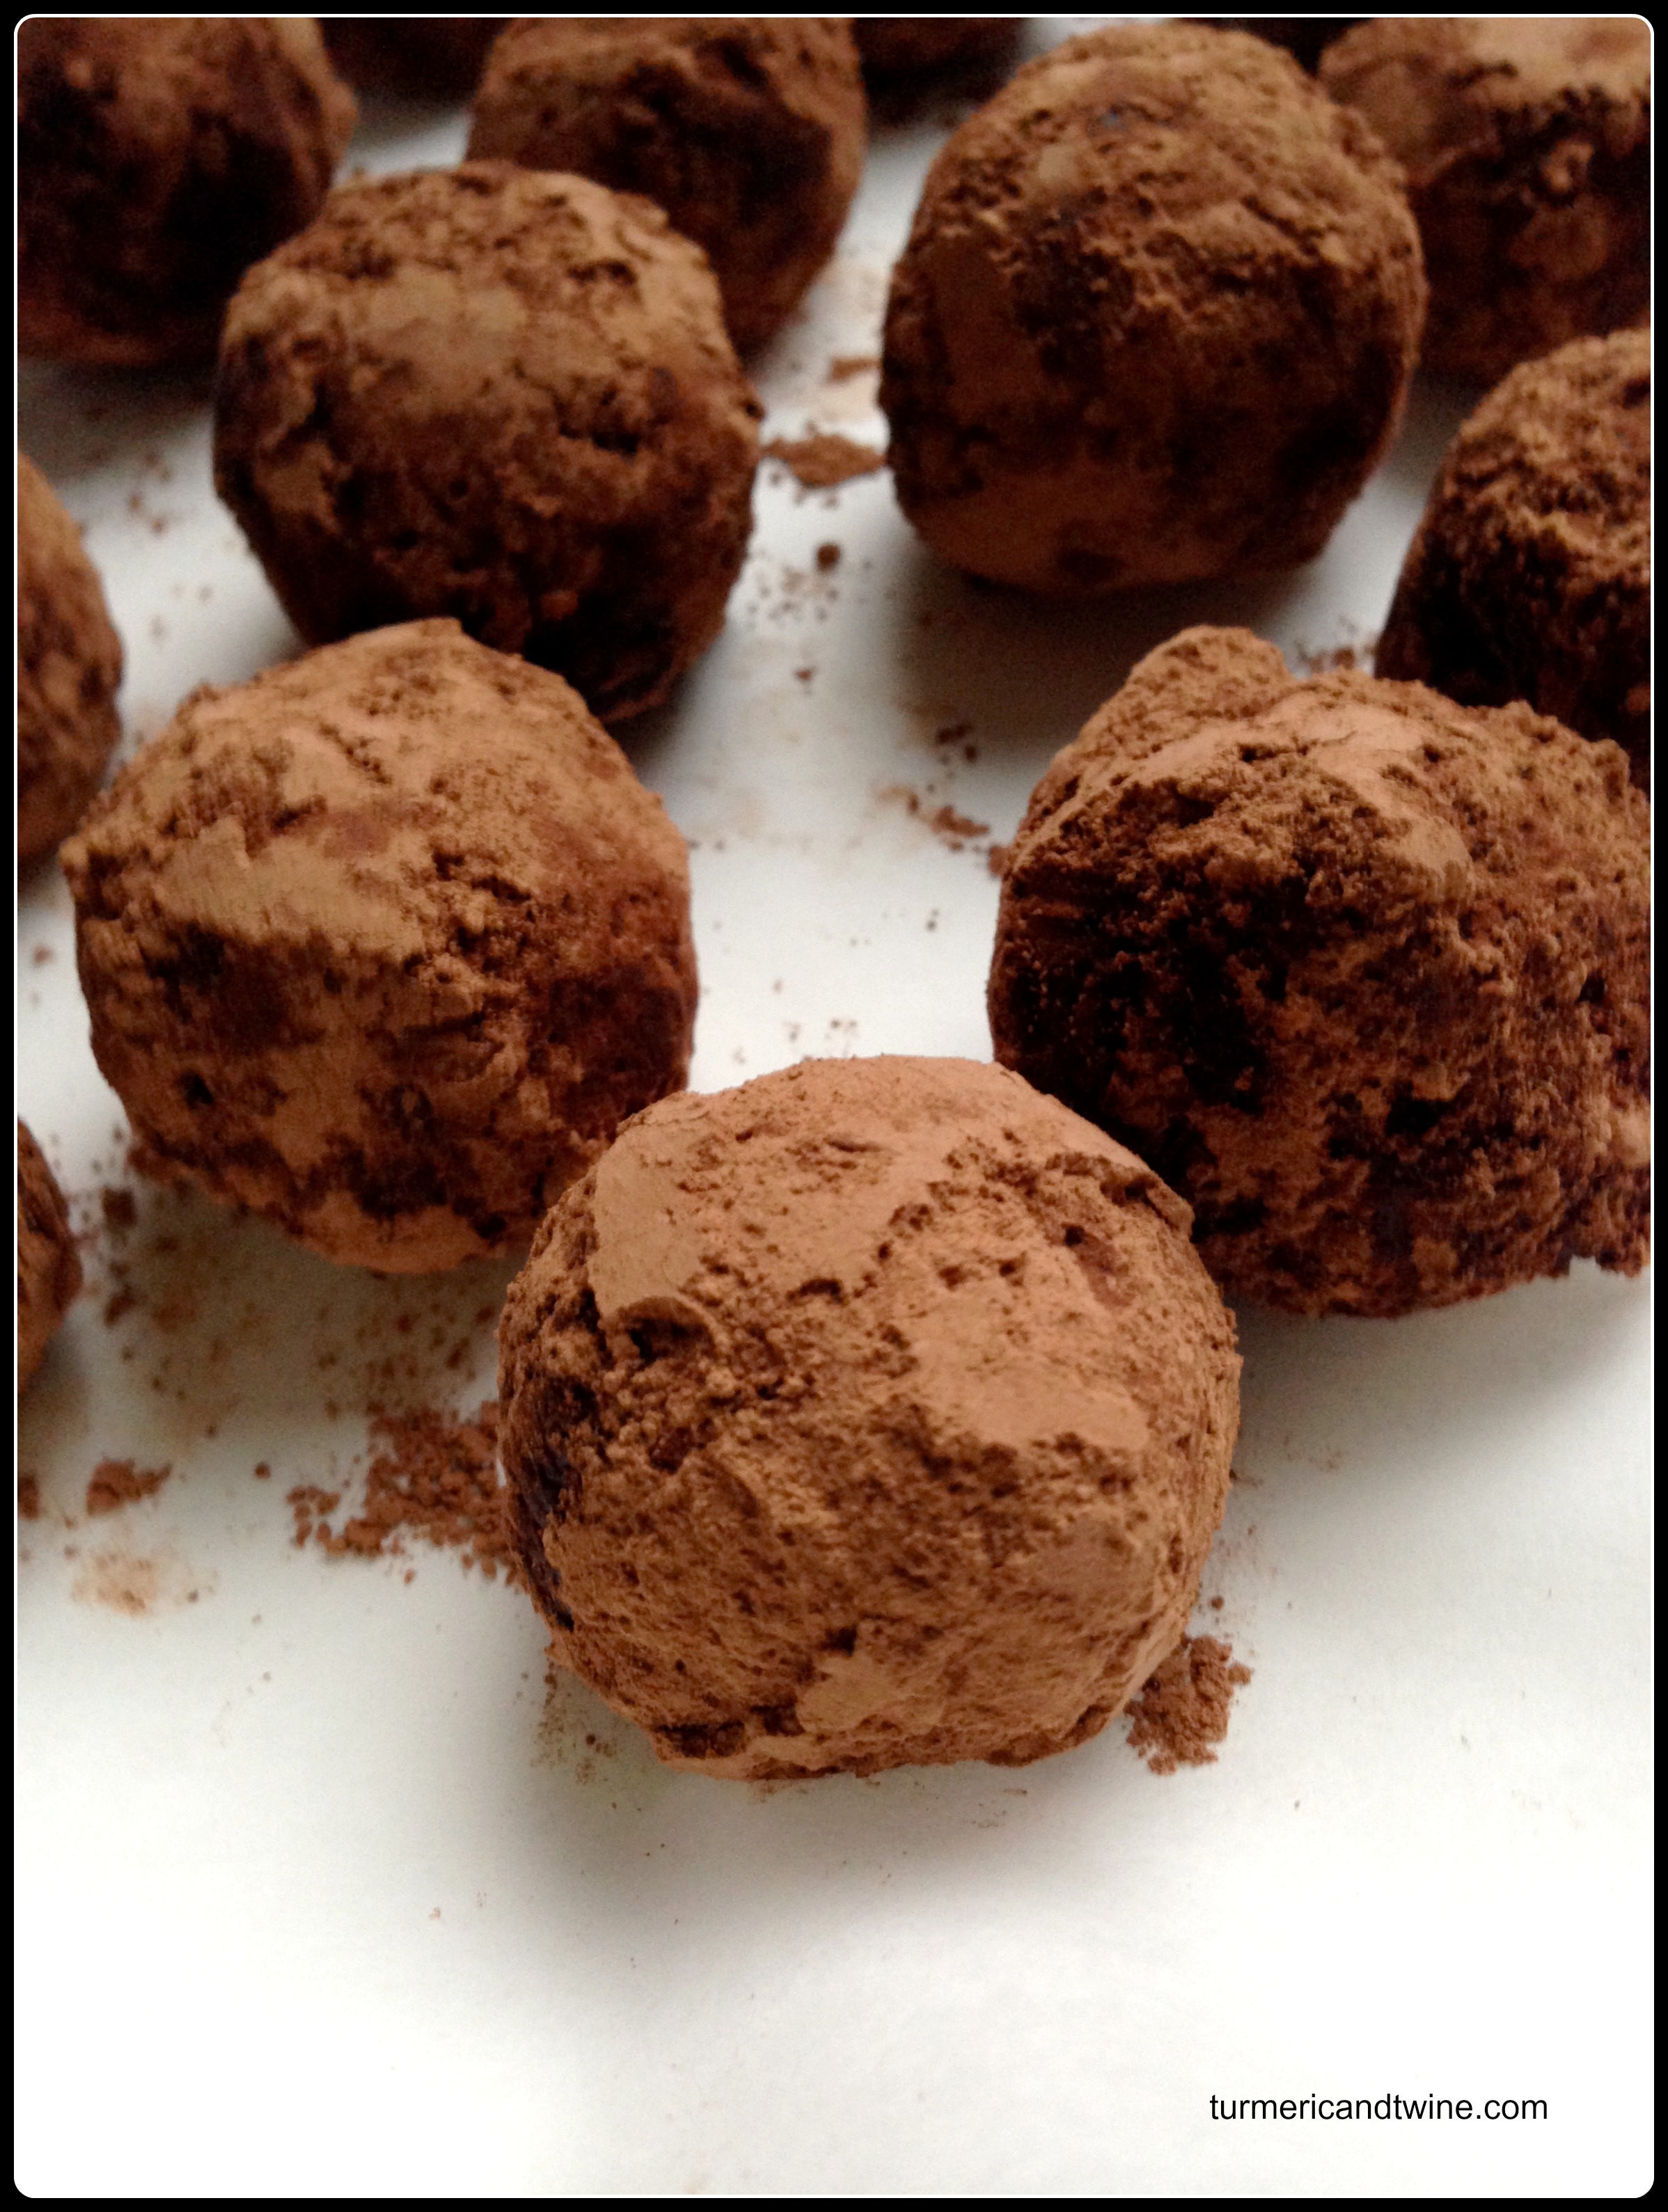
Yuja Pomegranate Truffles
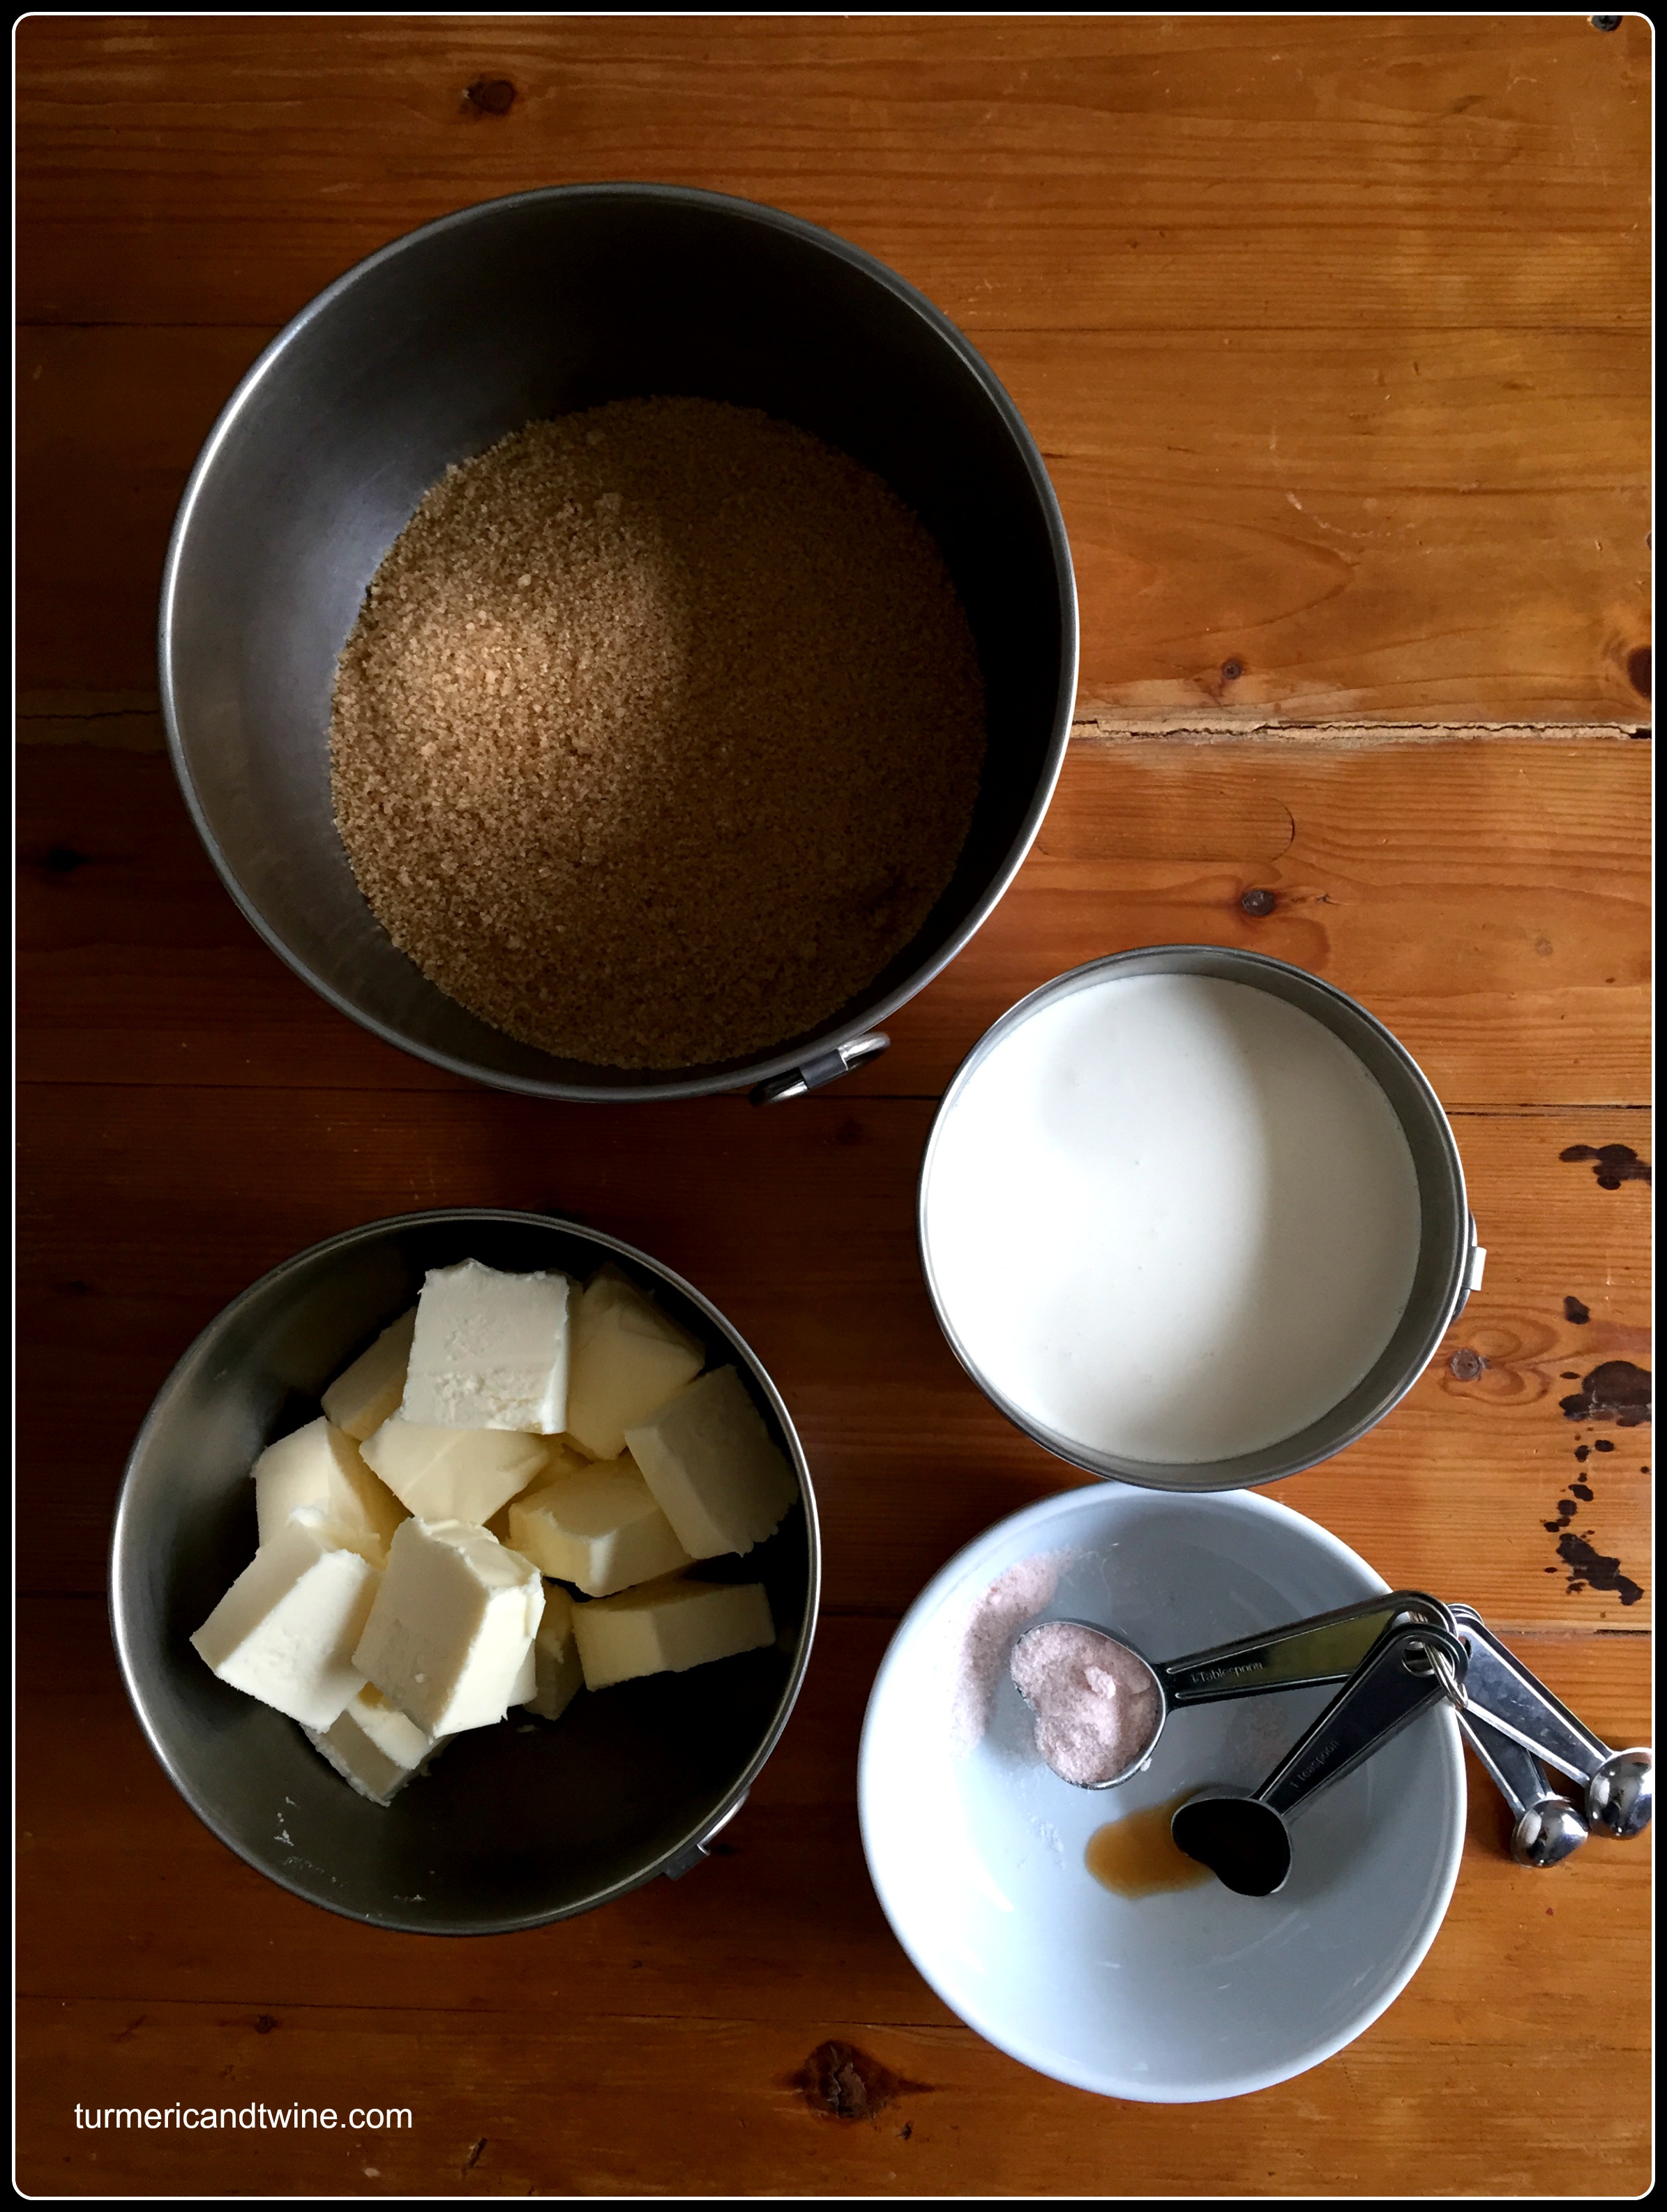
Ingredients
- 1 cup cocoa powder
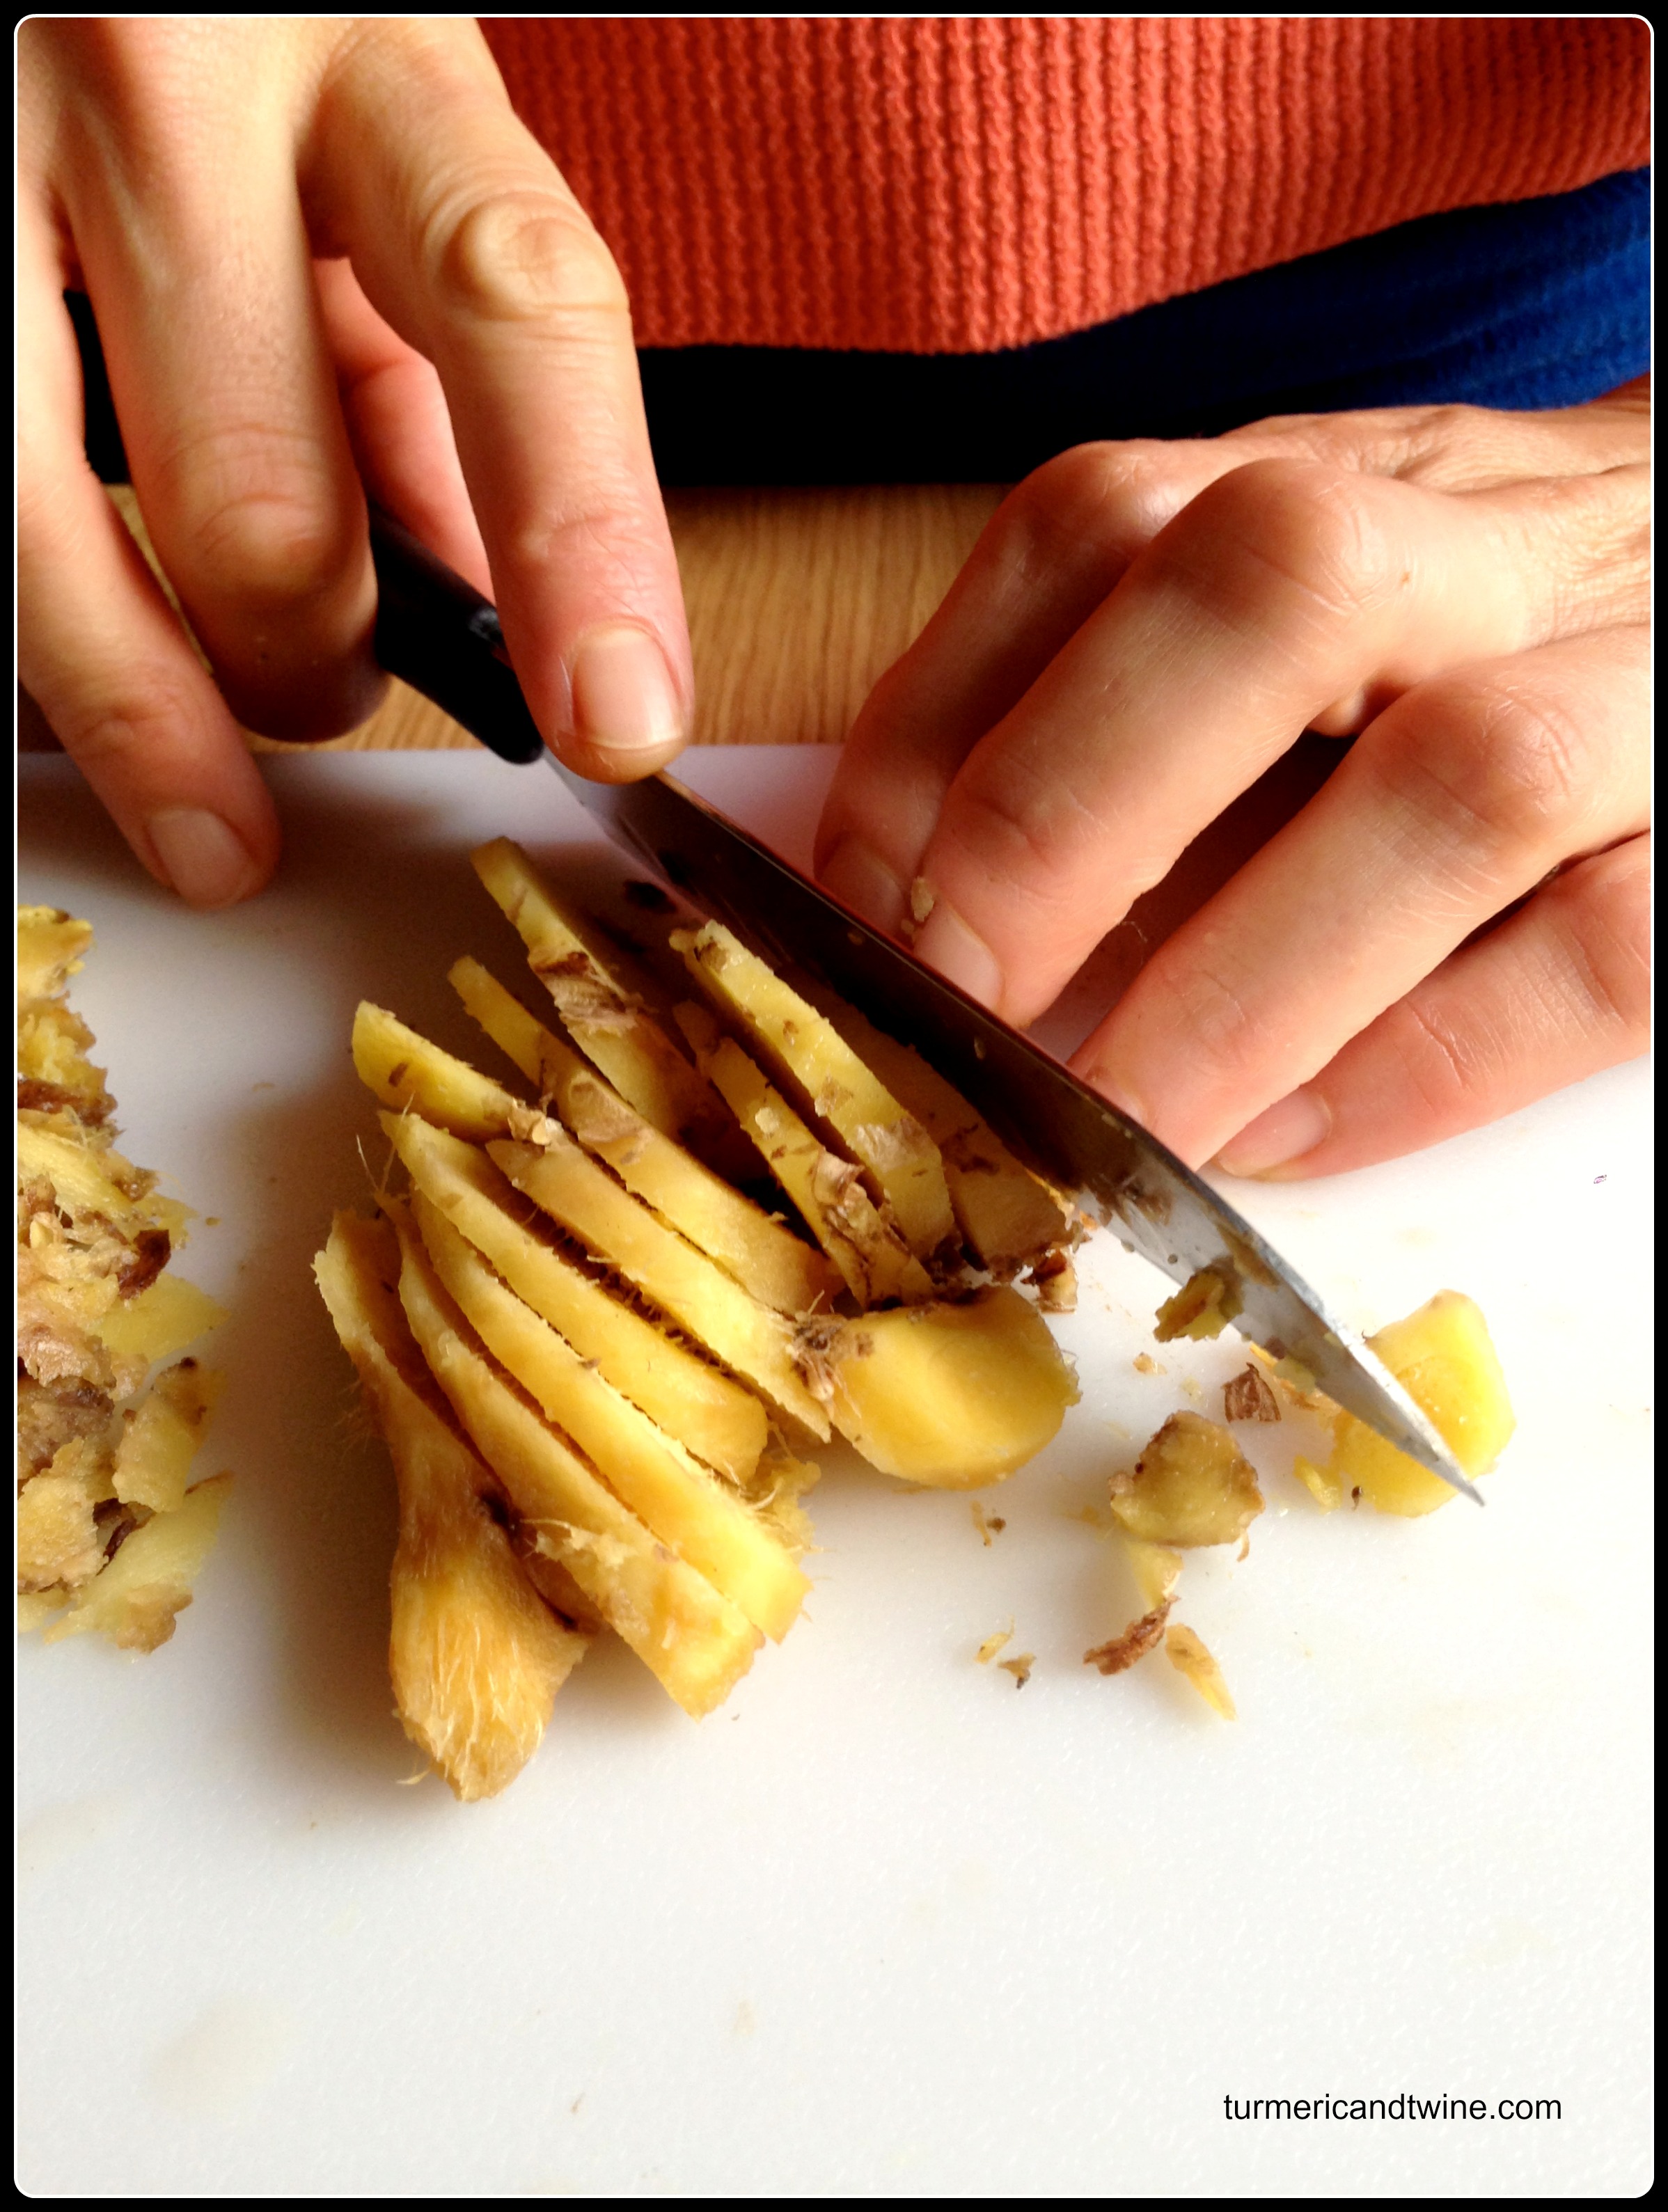
- 3-4 tablespoons yuja honey tea (order here)
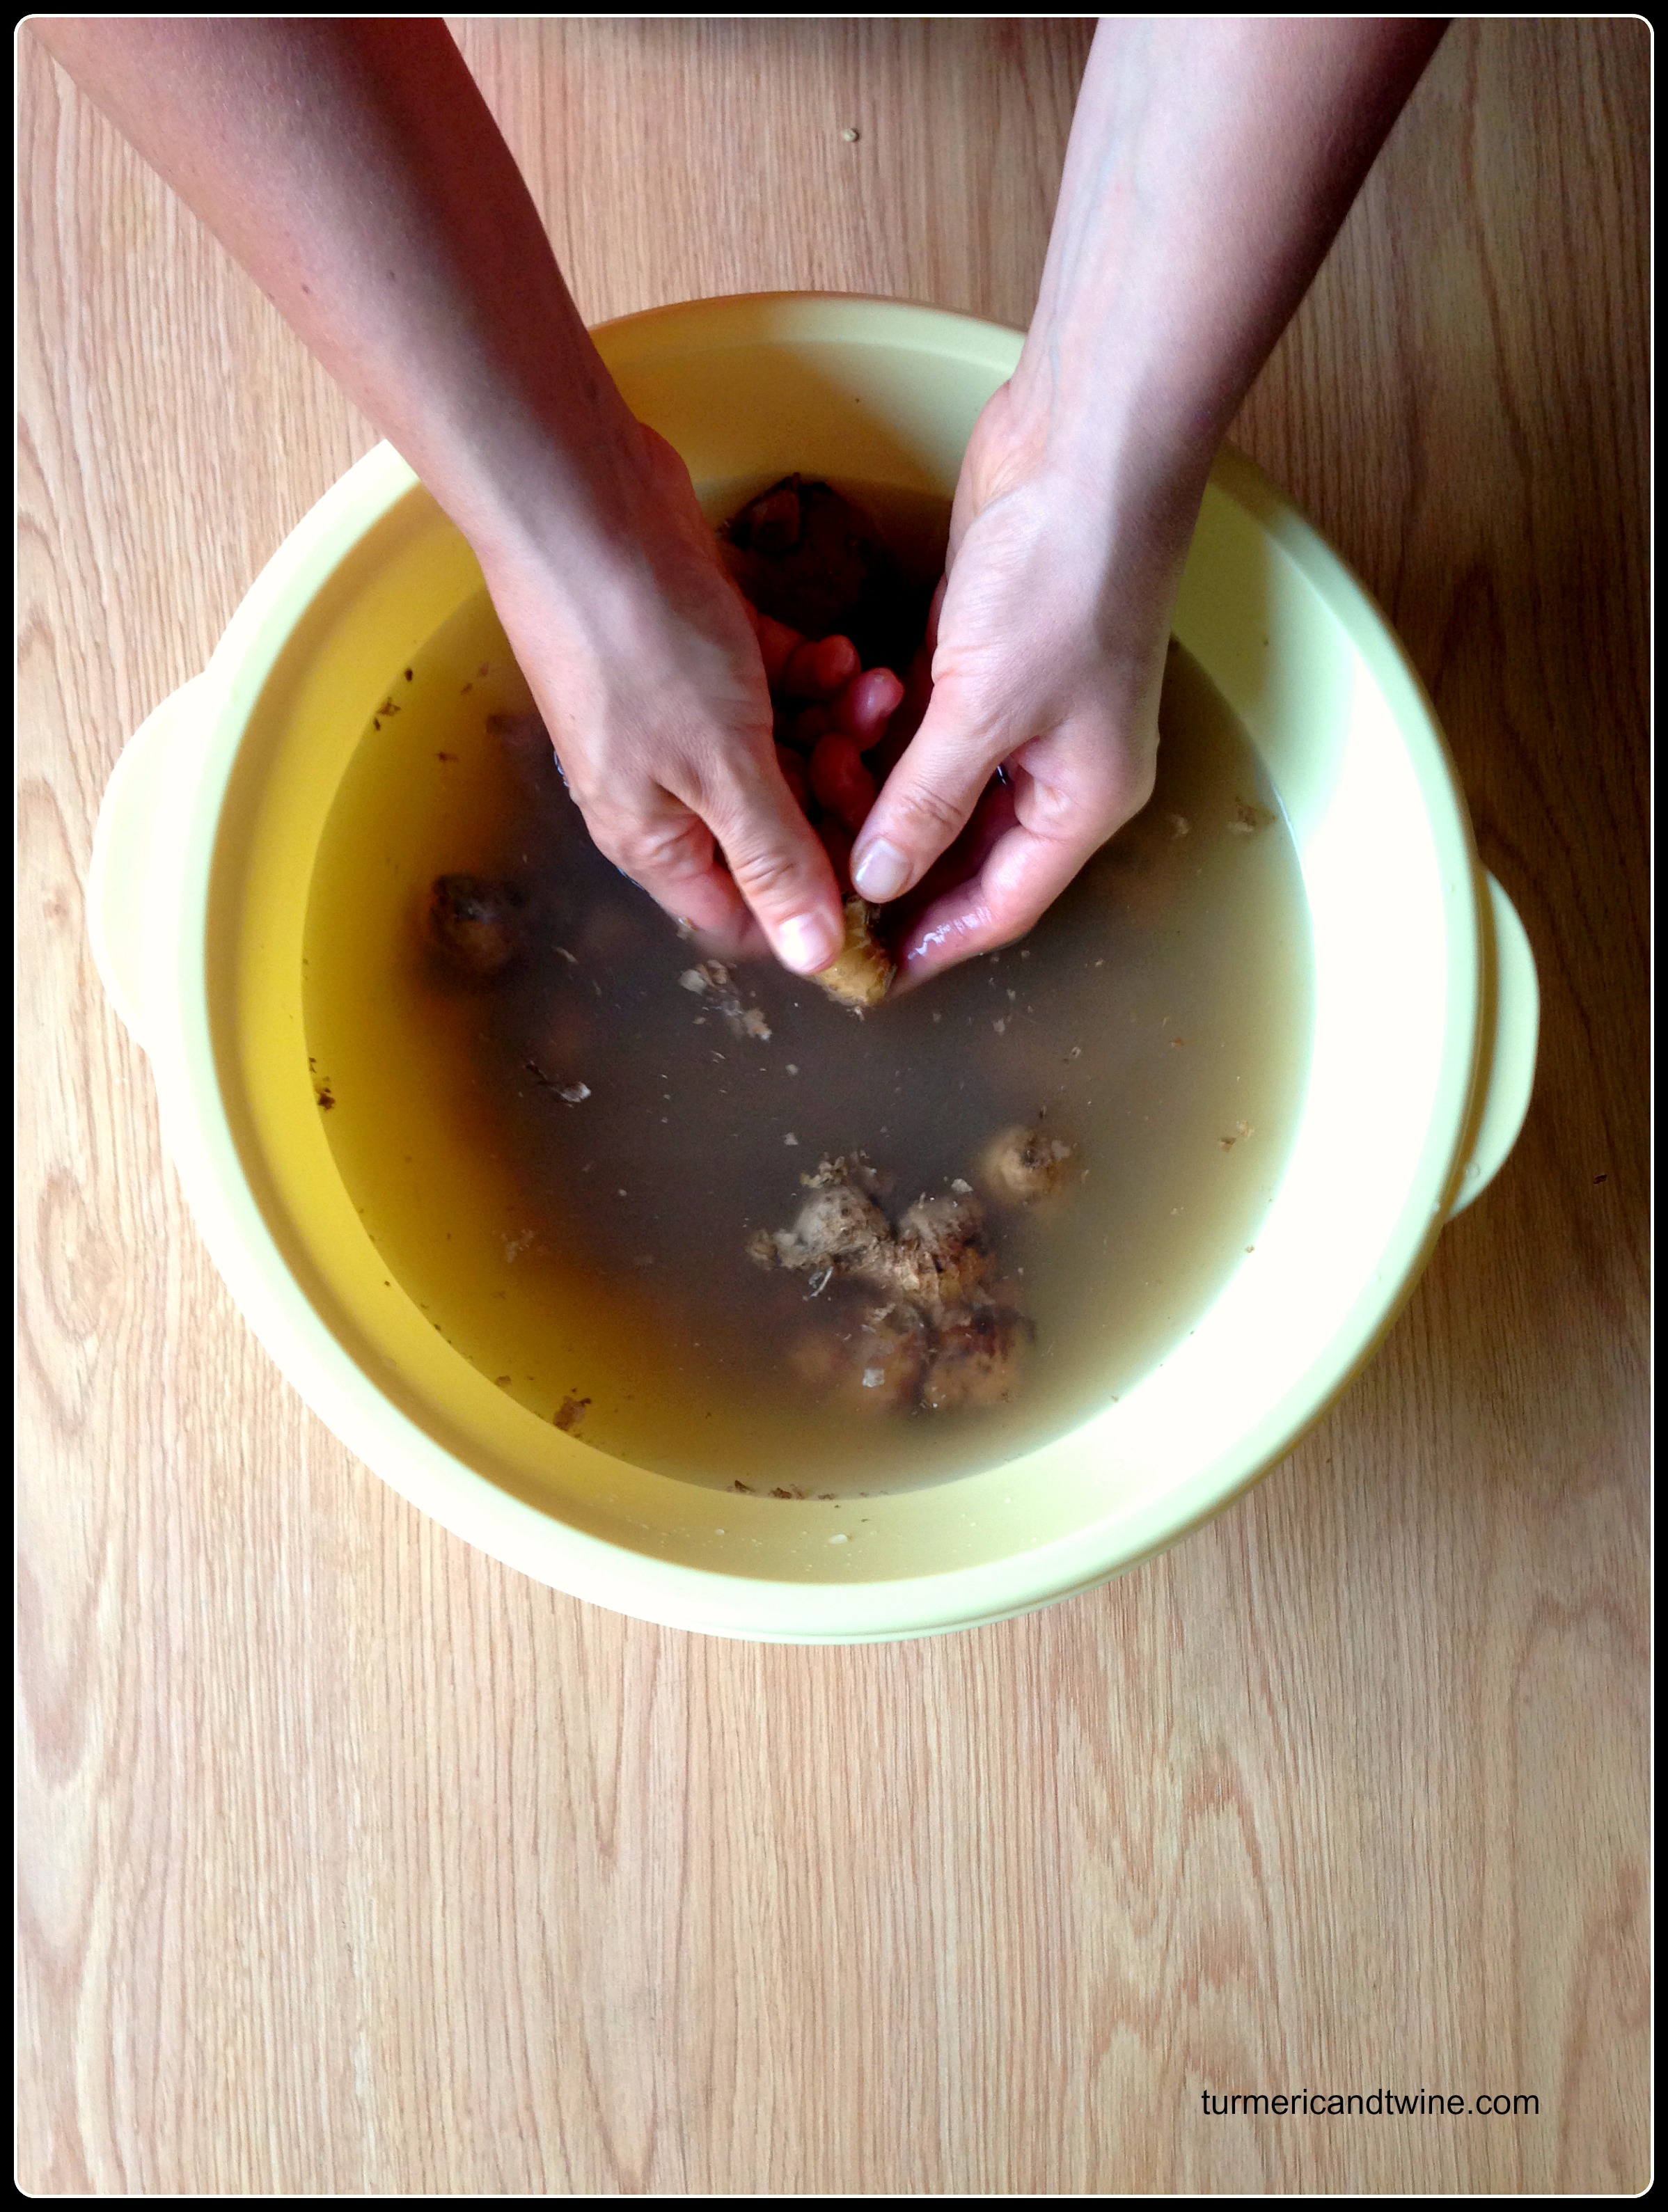
- 1 pomegranate
- ½ cup of heavy cream
- 4 tablespoons coconut oil
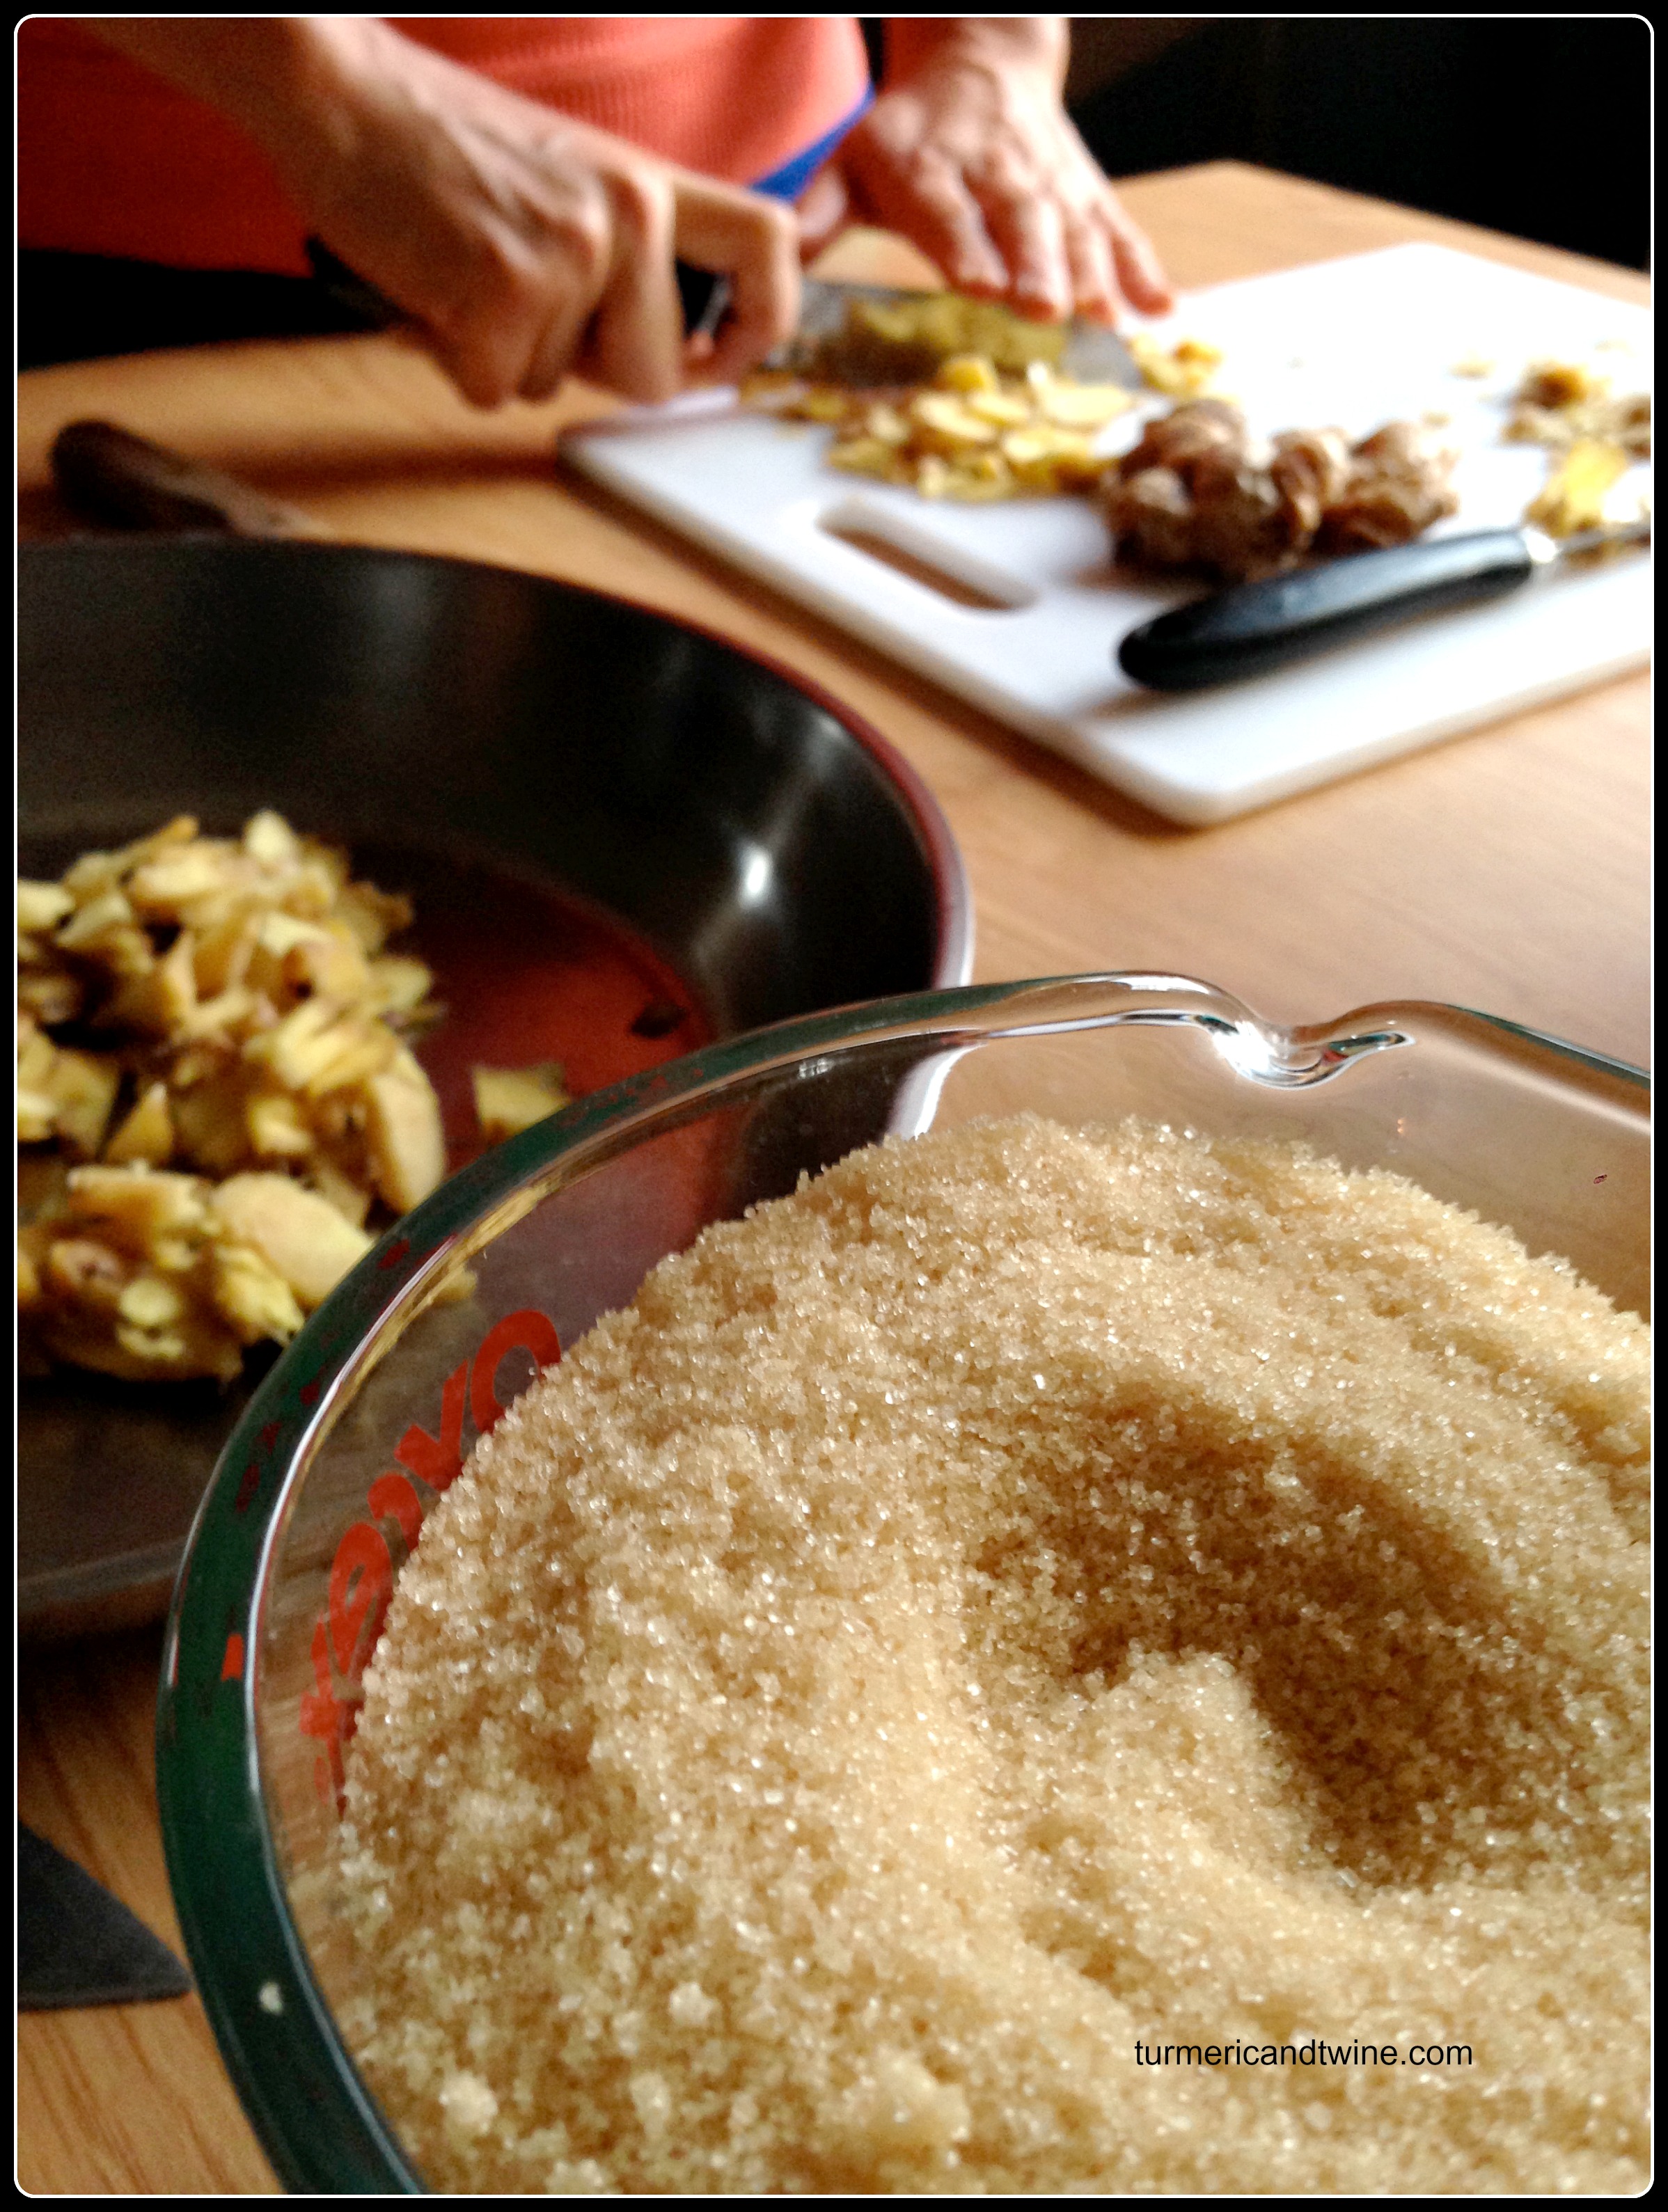
- 1 tablespoon sugar
- pinch of salt
Directions
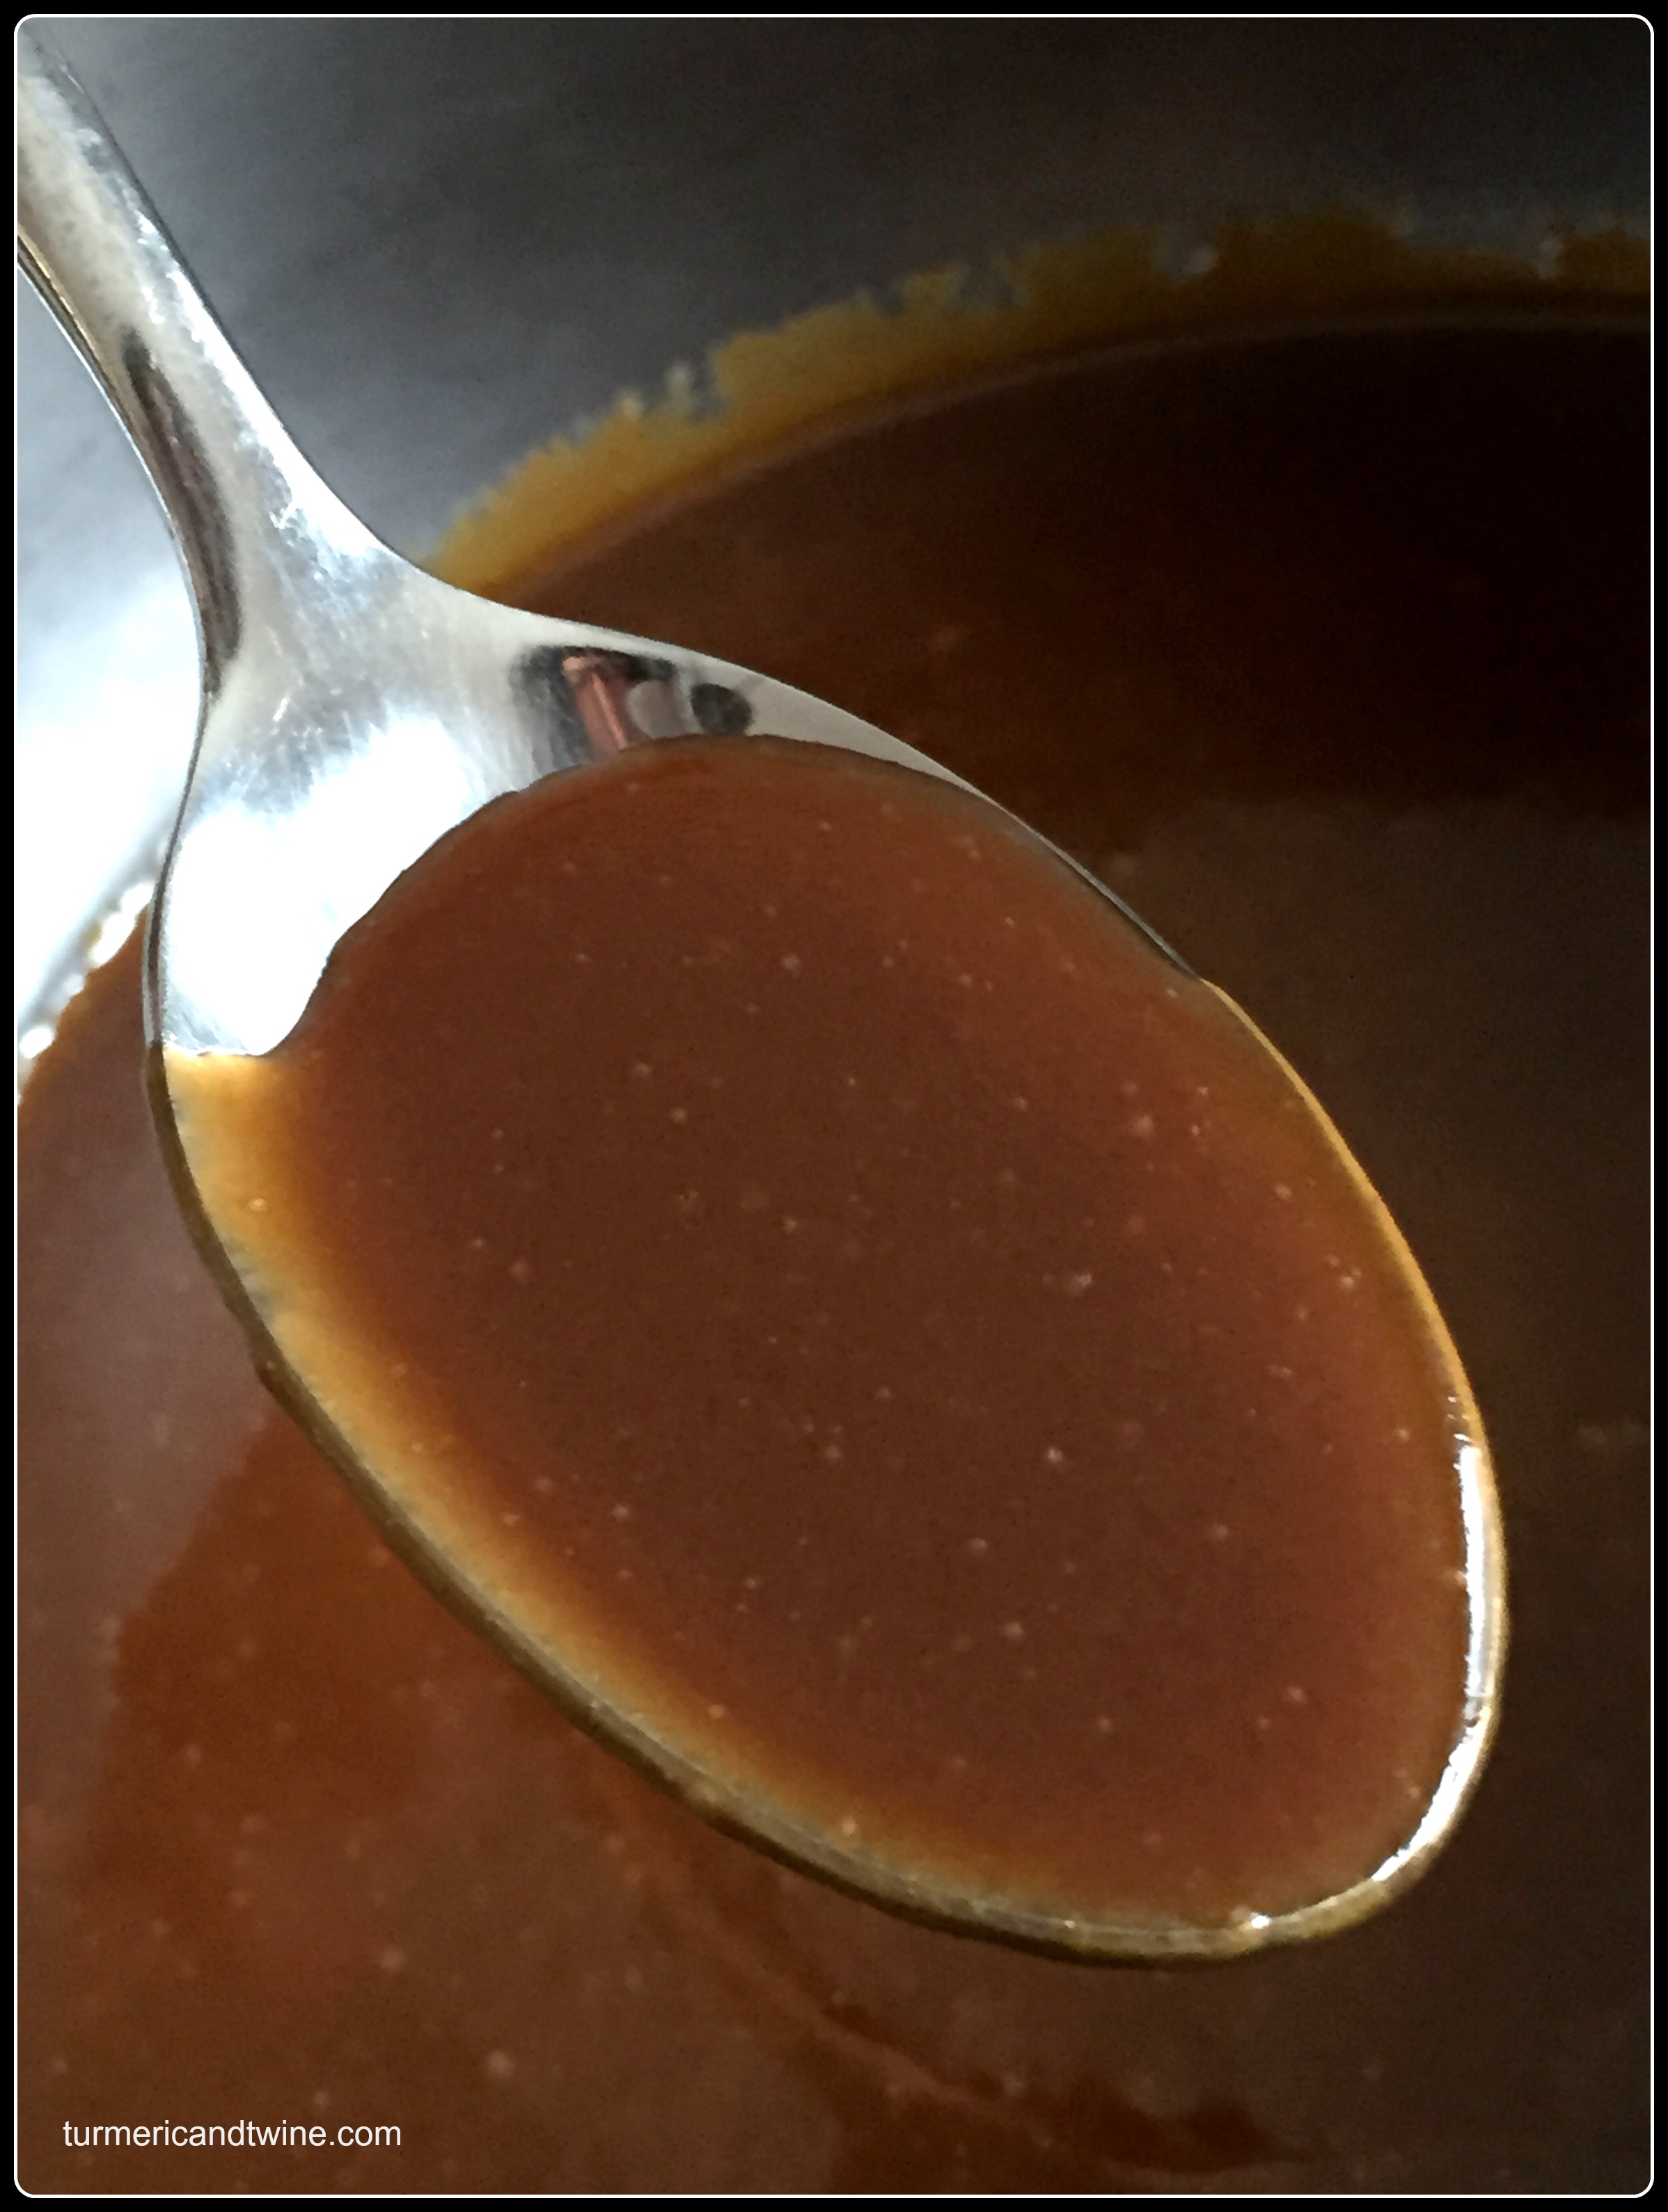
Heat the cream, yuja honey tea, sugar and salt in a saucepan and bring to a soft boil. Stir continuously.
Turn heat off and add coconut oil. Stir until fully incorporated.
Add cocoa powder in small batches and mix until thick and smooth.
Let cool to room temperature.
Form teaspoon sized balls by hand. Poke a small hole in the center and put in two whole pomegranate kernels. Envelope kernels and re-form the truffle into a ball. Dust with more cocoa powder. Repeat.
Store in the refrigerator. They should keep well in the refrigerator for 2-3 weeks. If removed, they will only last a day.
Makes 20-24 truffles.