In my former life (or so it seems) several years ago in Montreal, I made painstaking efforts to eat and buy local, organic and agriculturally responsible foods. Farmer’s markets abound with local produce and locally produced products made it a lot easier, cheaper and fresher than buying from supermarkets. I was thrilled to get the local goodies from local people who were knowledgeable about where the food came from. And thrilled to directly support their efforts.
Since moving to Korea, I would like to claim an equal amount of effort put into buying responsibly but a language barrier and the giant E-mart (three floors of mega-market) down the street have made my standards absurdly lax. Though seasonal produce can be easy to find, the demand for organic produce is fairly low, making it difficult to find.

Fear not, friends. In late January, WWOOF Korea will be launching the first Community Supported Agriculture (CSA) of its kind in the country. CSA’s are shares offered by a (group of) farmer(s) and generally consist of a box of vegetables and other farm products. Those interested in purchasing a share can buy a membership for a season and receive the produce from a pick up point or have it shipped to their home. The advantages and rewards for both parties are great.
Advantages for farmers:
· Get to spend time marketing the food early in the year, before their 16 hour days in the field begin
· Receive payment early in the season, which helps with the farm’s cash flow
· Have an opportunity to get to know the people who eat the food they grow
Advantages for consumers:
· Eat ultra-fresh food, with all the flavor and vitamin benefits
· Get exposed to new vegetables and new ways of cooking
· Usually get to visit the farm at least once a season, if desired
· Find that less adventurous eaters typically favor food from “their” farm – even veggies they’ve never been known to eat
· Develop a relationship with the farmer who grows their food and learn more about how food is grown

My friend Jacqui and I were privileged to have been asked to cook a dish using produce from the very first CSA packages sent out. It was a food filled day full of fun (say THAT ten times fast). She and I have a particularly good cooking/idea/friendship dynamic. Though we’d worked on projects together before, this was our first time cooking together. What. Fun.

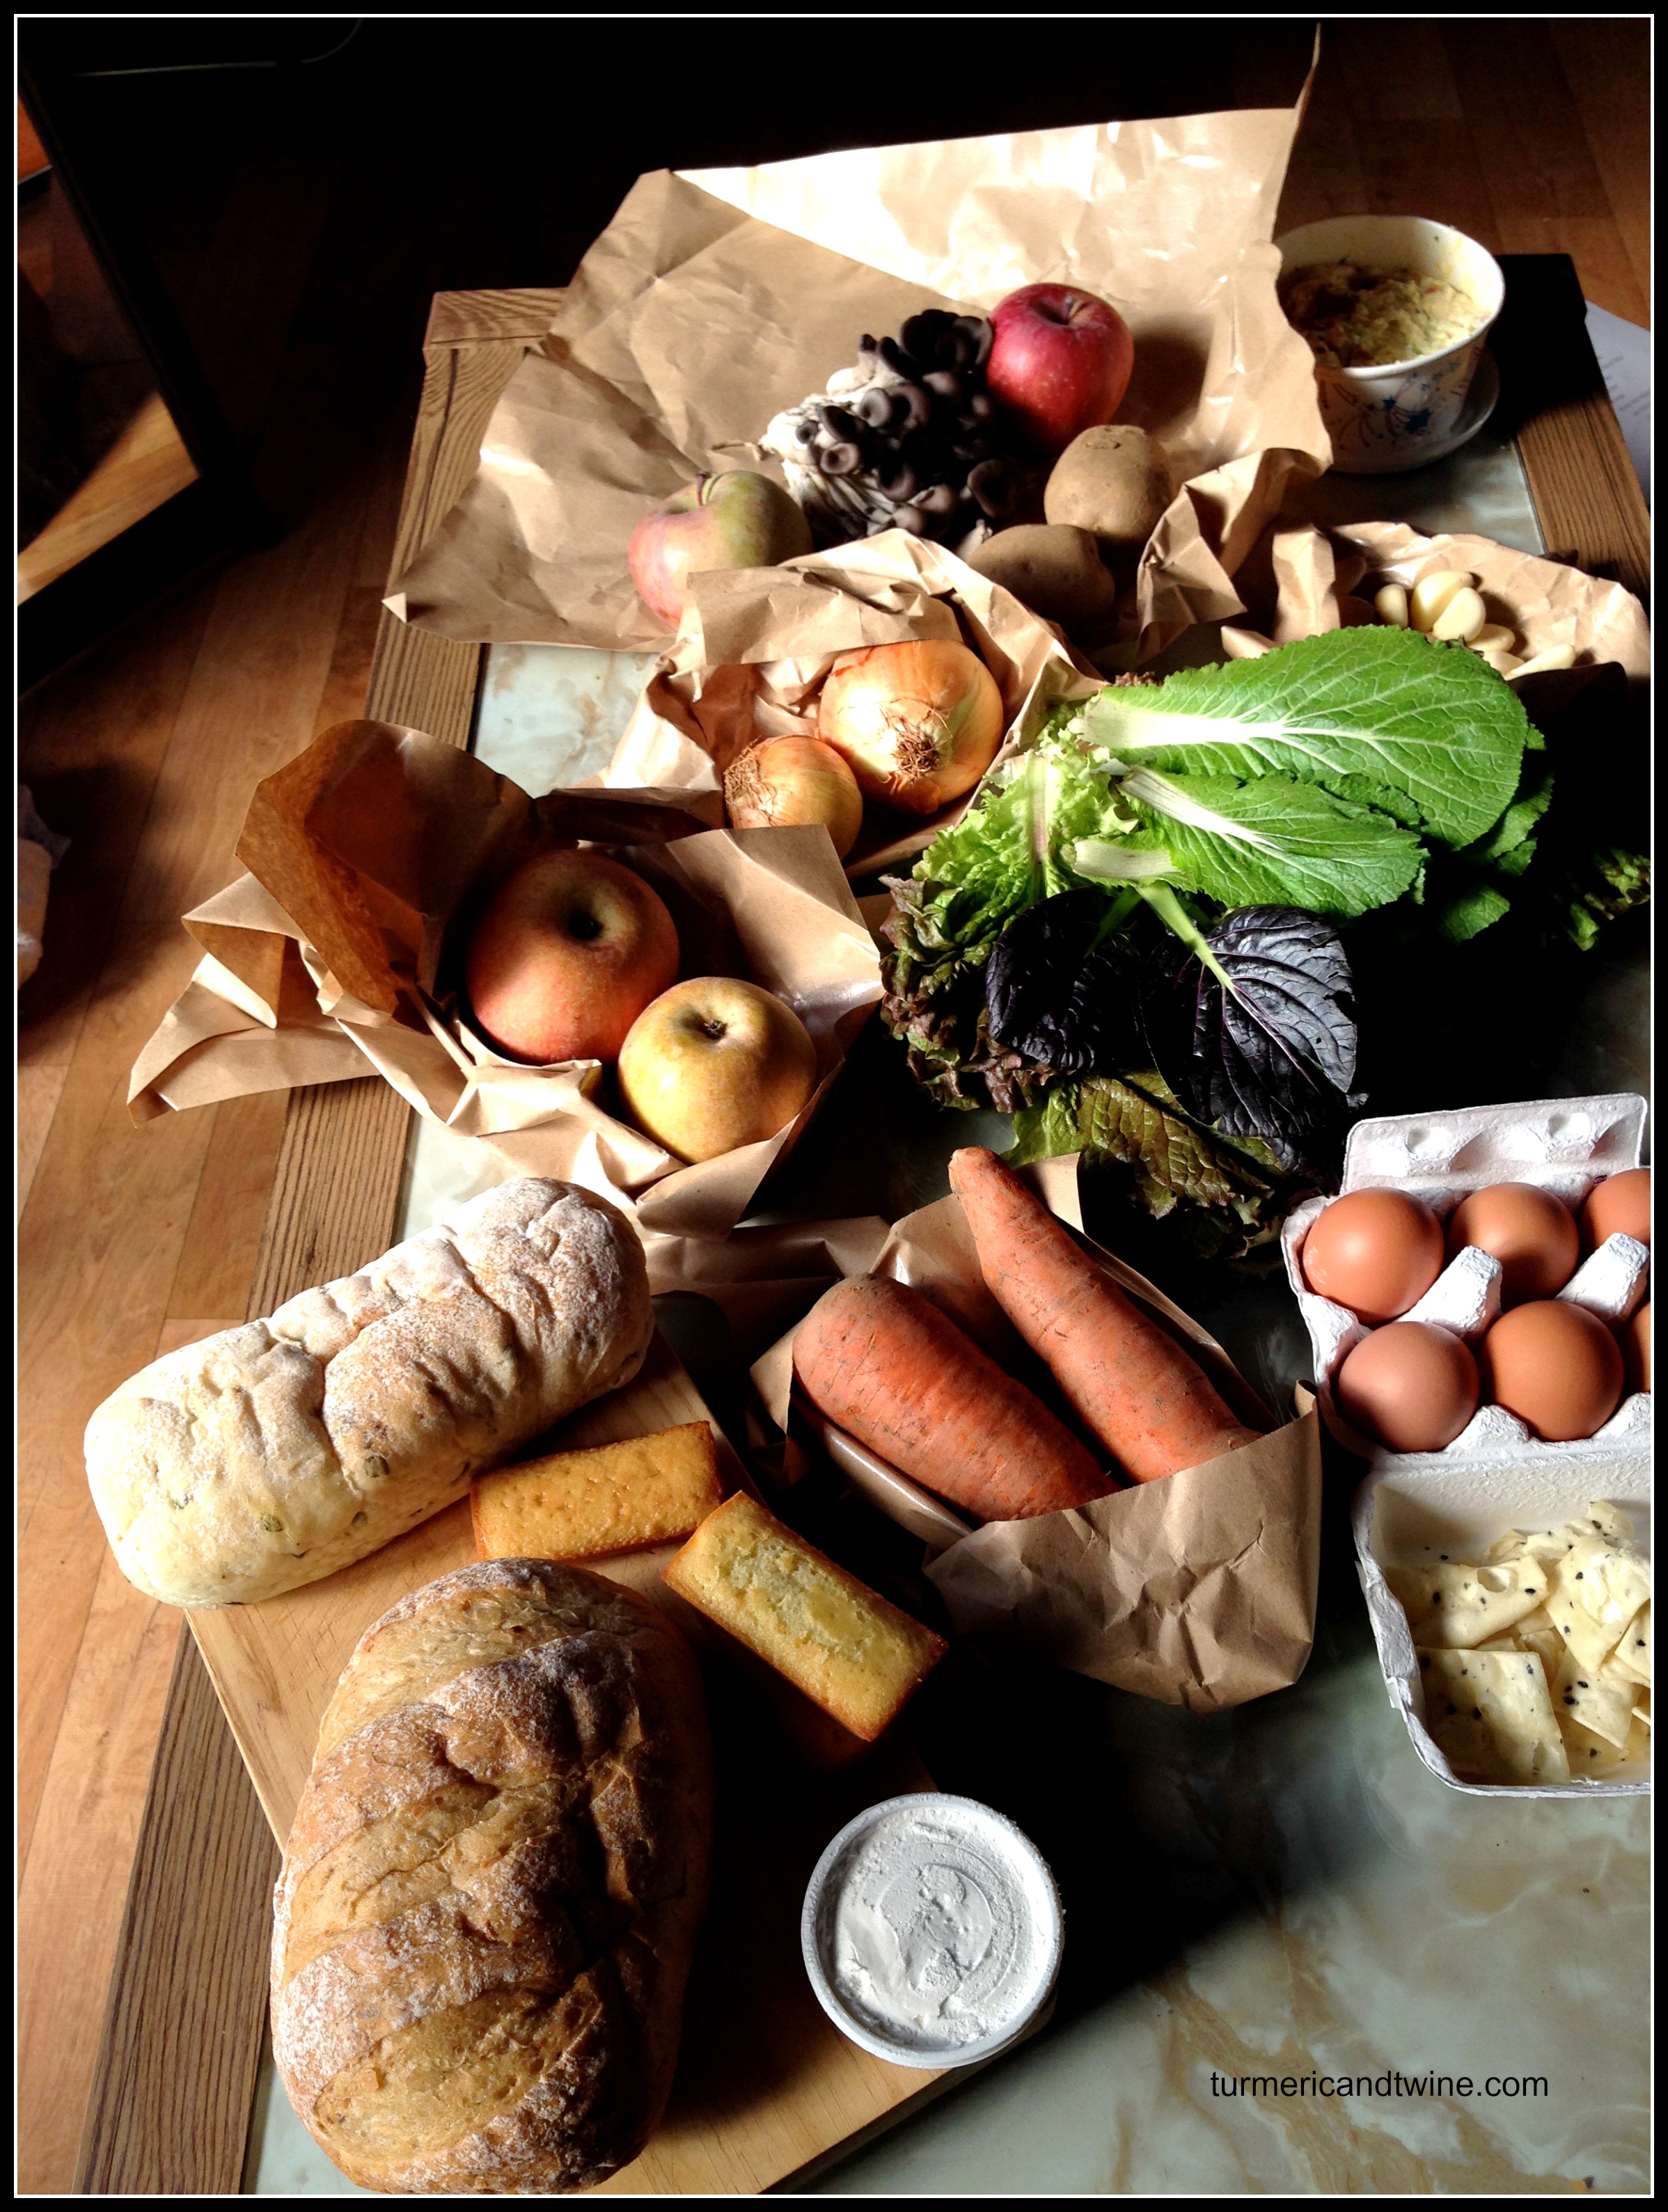
We gathered around the box like we were preparing for a ceremony of some sort. Excitedly, we tore it opened and evaluated its contents: apples, onions, carrots, garlic, and potatoes all individually wrapped in brown paper to keep their freshness. Salad greens, eggs and mushrooms were all awaiting our skilled hands and loving enthusiasm. The box also contained several prepared items. There were little yuja snack cakes, two loaves of bread, potato salad, tofu chips and a silky butter cream cheese. I’d never really seen a CSA with so many prepared items. In fact, it would be nice to have had more seasonal items that Korea so proudly specializes in, such as persimmon, chestnuts, mountain greens and various citrus fruits. I was grateful for them none-the-less. Starving, we brainstormed while dipping chunks of bread and tofu chips in the rapidly disappearing potato salad.

We ate. We thought. We snacked. We chatted. Finally, we cooked. And ate some more.

We ended up with two dishes, both contributing our own flair to bring to the greater good of the recipe and used a large majority of the ingredients. We wanted to make use of the gorgeous ciabatta, so we decided on an open face sandwich on toast, topped with mushroom pâté, lemon dressed wilted lettuce and a poached egg. Delightfully simple. Deliriously delicious.
Jacqui’s instructions for the toast can be found here. Directions and ingredients for the mushroom pâté are below.

Mushroom Pâté for Toast
Ingredients
- About 300g of mushrooms, preferably oyster (but any will do)
- 1 teaspoon sea salt
- ½ teaspoon black pepper
- cooking oil
- ½ teaspoon deongjeong (a soybean paste, similar to miso)
- 1 tablespoon water
Directions
Preheat oven to 300ºF/150ºC/gas mark 2.
Briefly rinse the mushrooms in cold water. Slice any larger pieces to roughly equal sizes so they cook evenly.
Place on a baking sheet and drizzle cooking oil and salt on top. Roast in oven for 25-30 minutes rotating the pan halfway through so the mushrooms don’t dry out. Remove from heat when golden around the edges and soft.
Let them cool for 5 minutes until they aren’t too hot to touch then drop the mushrooms into a blender and blitz until it becomes a perfectly smooth paste. Add a little water, if necessary.
Scoop your paste into a bowl and add salt, pepper and your soybean paste. Using a spatula, continue to mix until fully incorporated.
Spread on toast and enjoy.

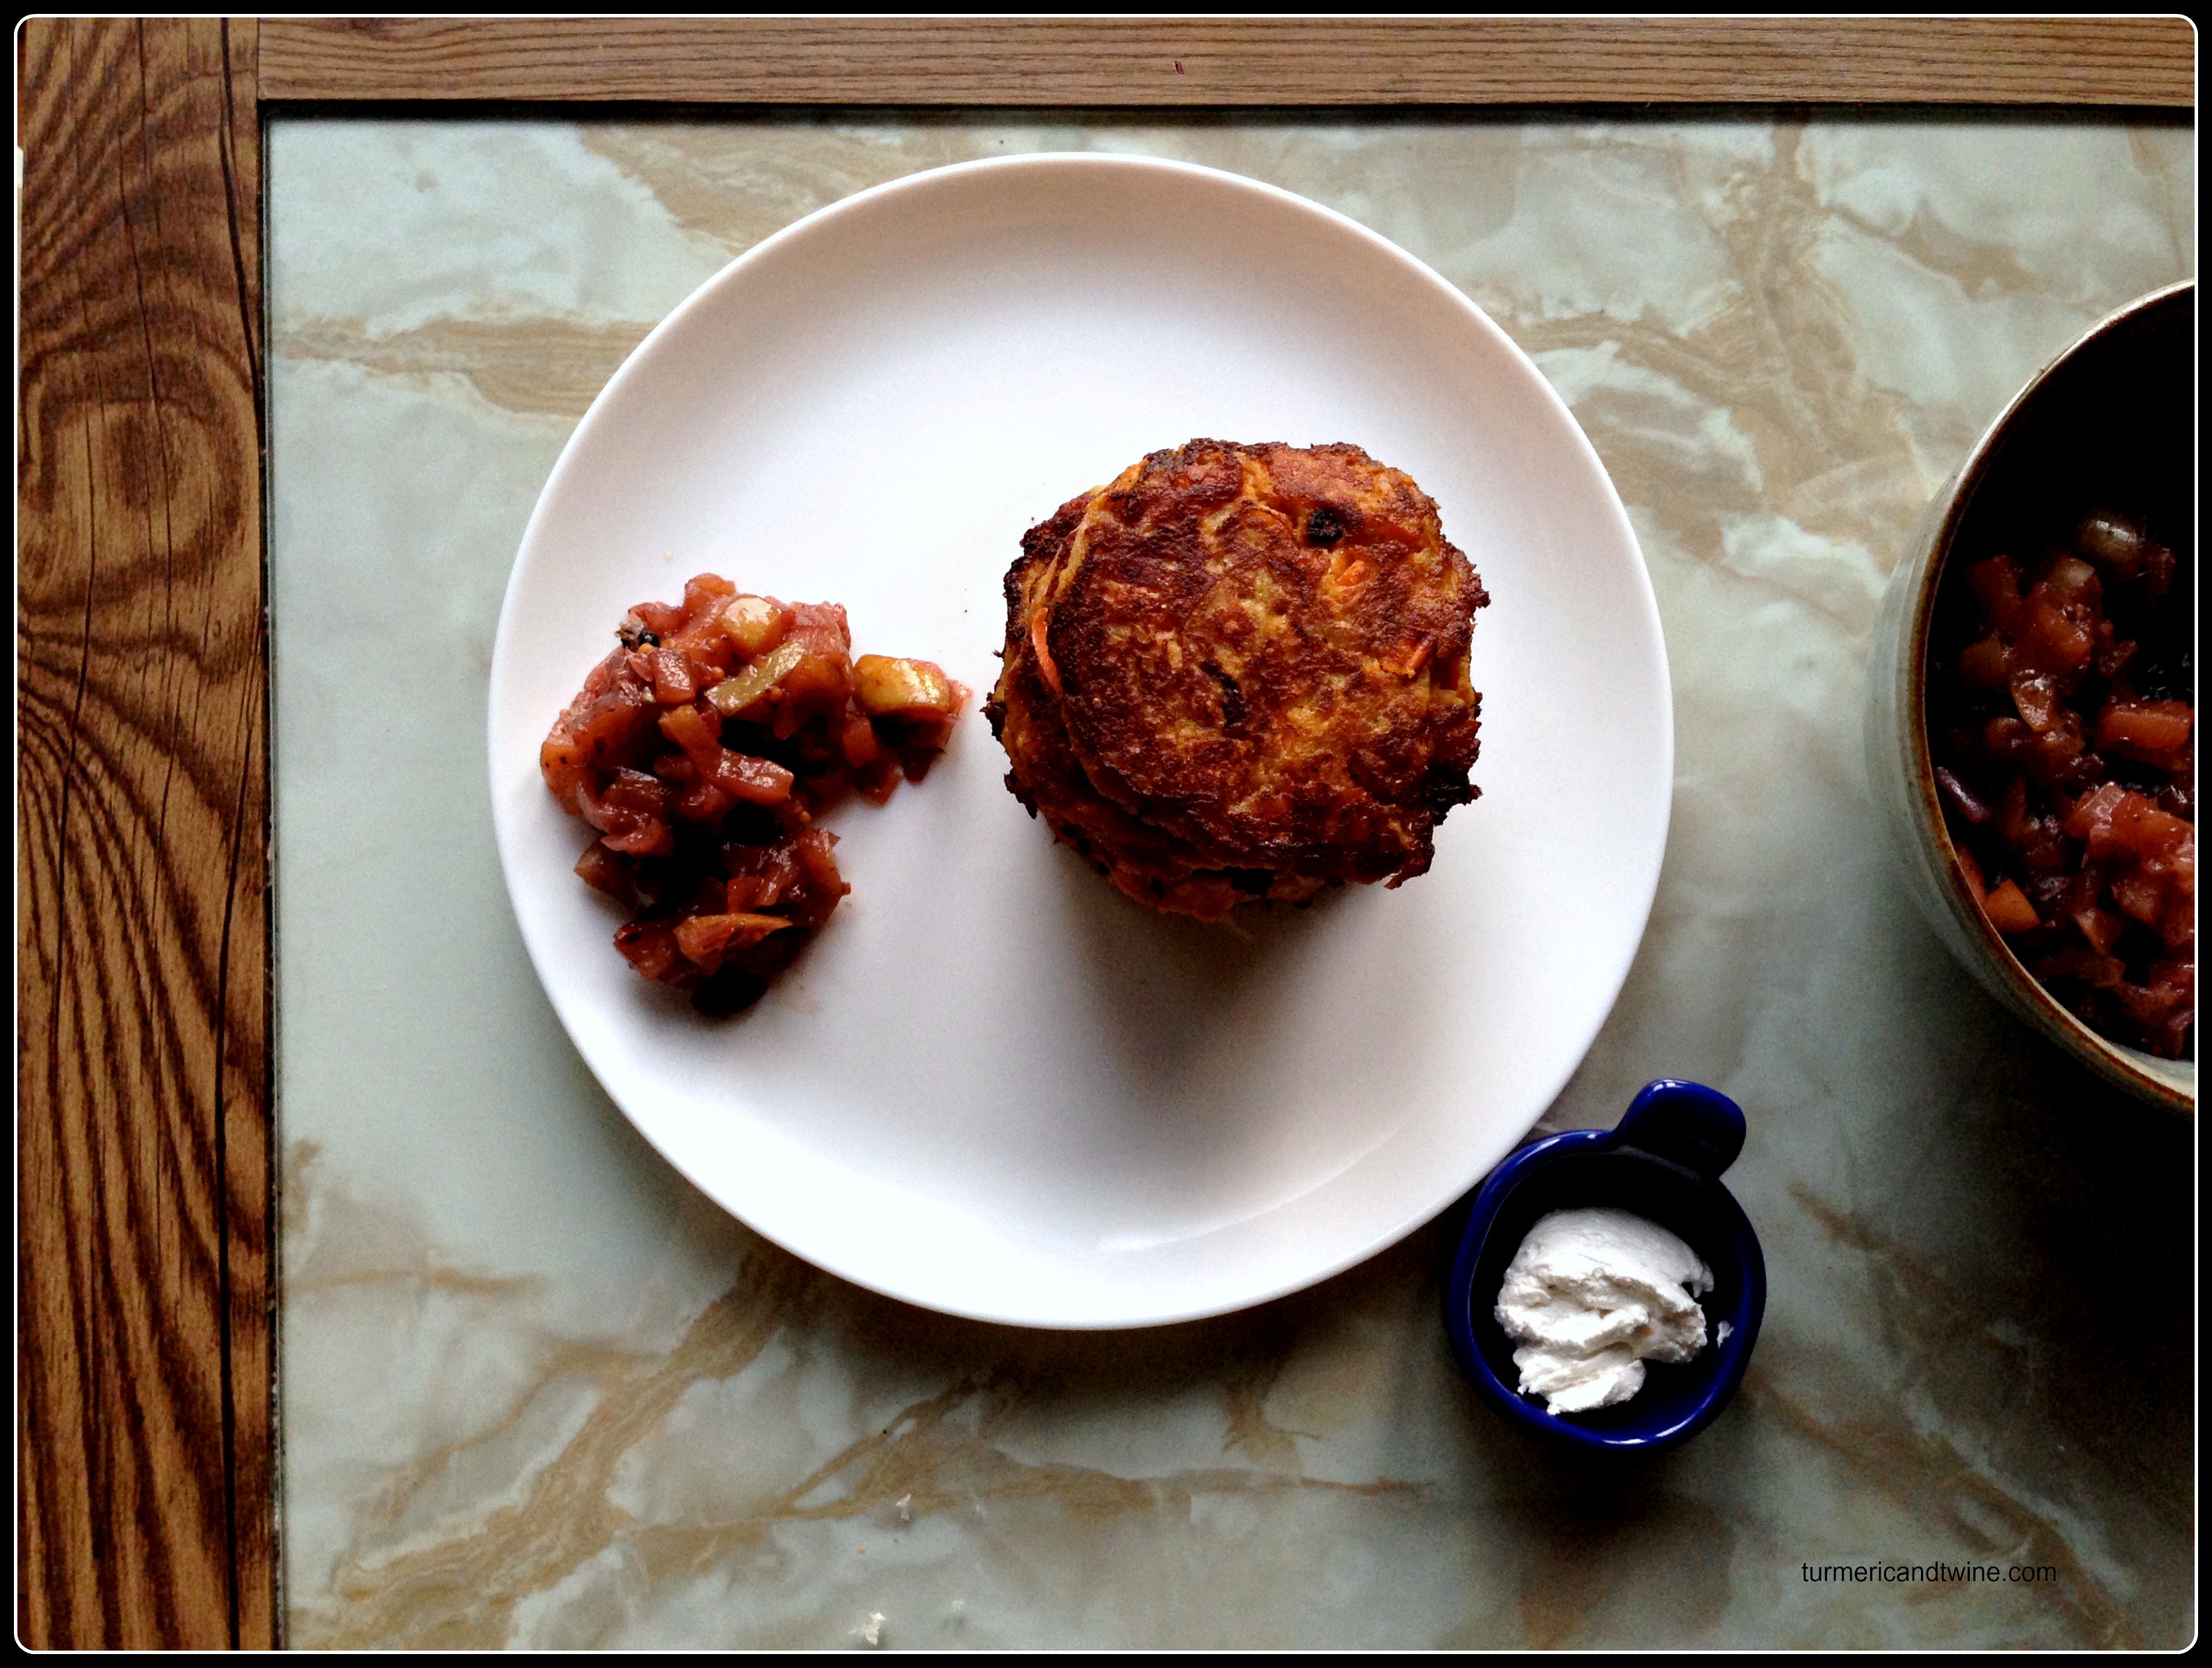
Latkes are essentially Jewish potato pancakes. Greasy, filling and yummy they are traditionally fried and topped with applesauce and sour cream. Here is my spin on it.

Carrot Potato Latkes with Apple and Onion Chutney
Ingredients
- 2 medium grated potatoes
- 2 grated carrots
- 3 eggs
- ¾ cups toasted breadcrumbs
- 1 teaspoon salt
- ½ teaspoon black pepper
- 1 tablespoon canola oil
- 2 tablespoons of cooking oil per batch
Directions
After peeling, washing and grating the carrots and potatoes, take a small handful of each and quickly process them in a blender into a paste. Your mixture should be relatively wet, but not dripping. Incorporate the blended root vegetables with the grated so the mixture is consistent.
Crack the eggs into the mixture and add the remaining ingredients.
If you don’t have ready-made breadcrumbs, you can make them easily by toasting a slice of bread until brown and dry then blending them. Mix everything well.
Heat oil in fry pan on medium high heat. Grab a handful of the mixture with your clean hands and make balls. Don’t worry about making them into patties at this point.
After 3-4 minutes, lightly push the individual dollops with your spatula. If they move without breaking, they are ready to be flipped.
Once they are flipped, press into patty form by flattening them with your spatula
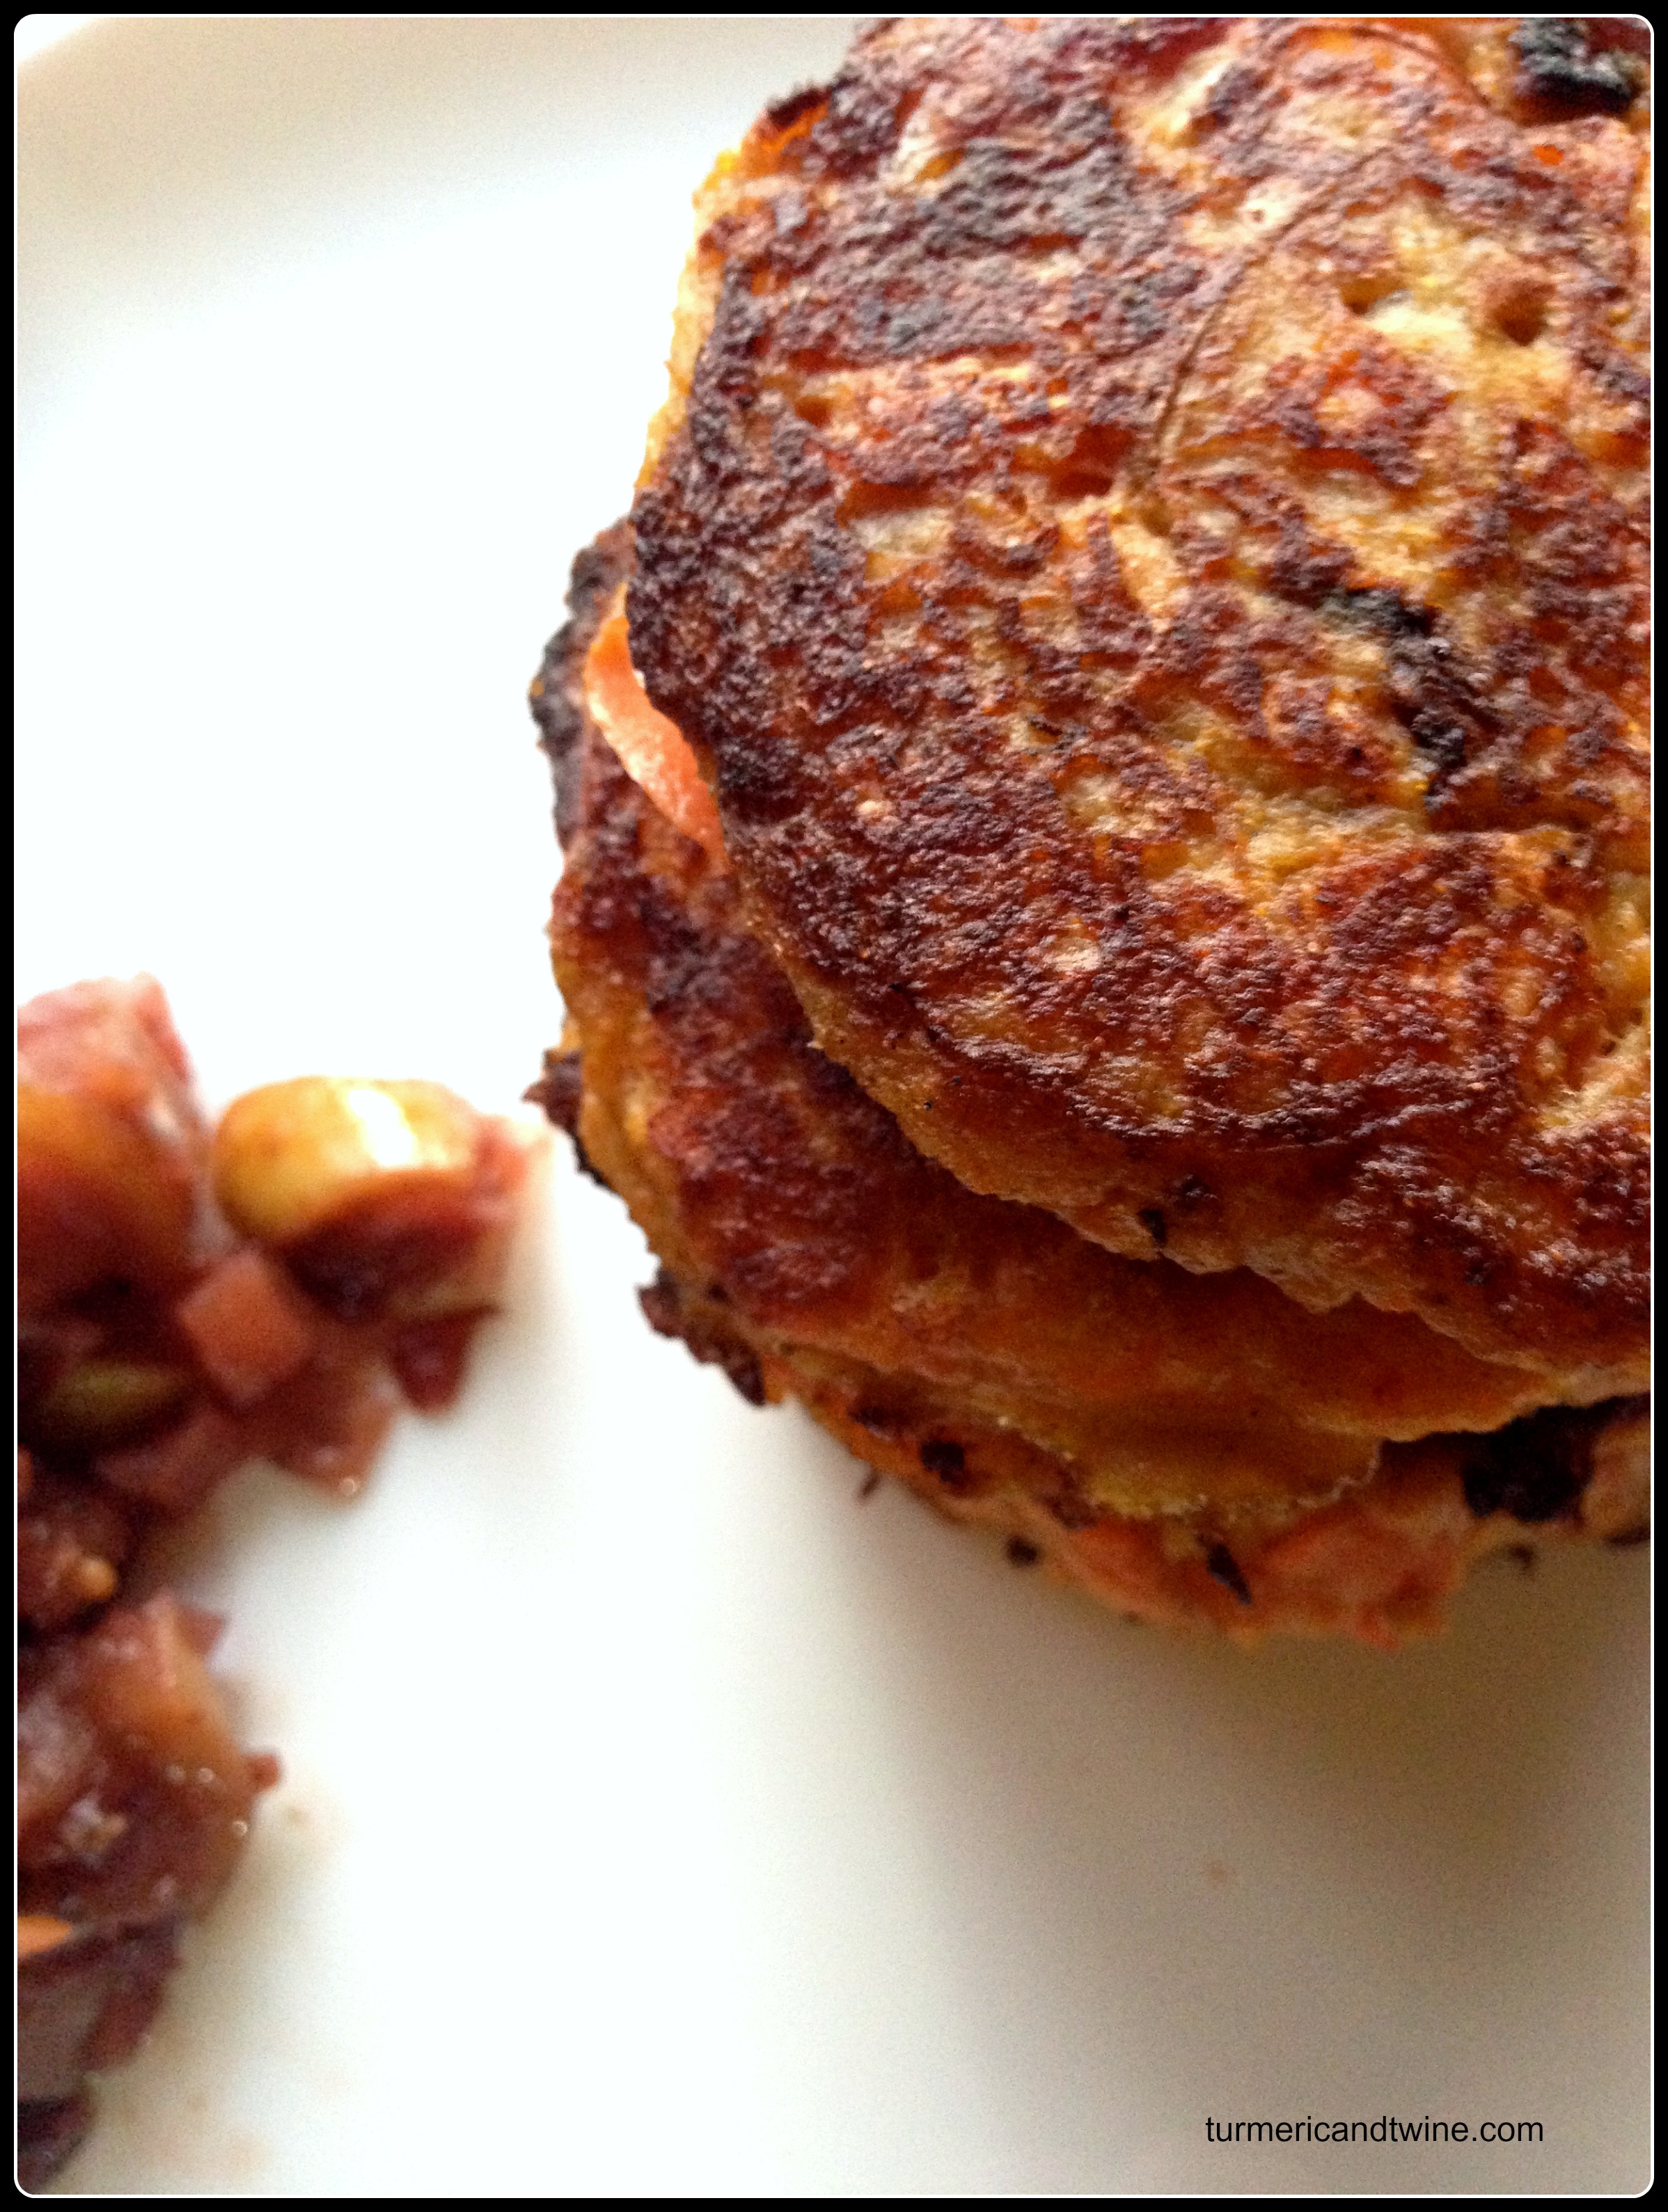
Brown them on both sides to ensure they are thoroughly cooked.

Heap Jacqui’s amazing chutney on top of each slice and top with sour cream. Devour.
For more information about WWOOF CSA Korea, or to subscribe for your own weekly/monthly share, contact wwoofcsa@wwoofsca.com or visit www.wwoofcsa.com.