Slow Cooker Tomato Sauce + The Lost Family Meal

slow cooker tomato sauce on cracker

Suppertime was not an especially sacred time in my household while I was growing up. Although we said a grace of sorts as a small reminder to be thankful for the food and family and all the things, I don’t remember if my parents had particular rules about sitting down to the family meal. We put our elbows on the table, chewed with our mouths full, answered the phone if it rang, snuck our brussel sprouts to the dog and did not ask to be excused. If we turned off the TV, it was because my parents found whatever we were watching annoying, not necessarily to encourage suppertime as a time for us to catch up and debrief about our day. Sometimes we sat together in discussion, sometimes we didn’t. Either way, my point is eating together and family time were not deeply instilled.

Since my childhood so long ago, things have gotten much worse. Busy schedules split families up during mealtimes, leaving members (children included) to fend for themselves. TV’s and smart phones hold our attention instead of precious conversation. Ready-to-eat meals are taking the place of homemade meals to make food preparation less of a hassle. As a result of all of these changes, young people are losing valuable life skills such as cooking, conversation and sharing time with others. The American family meal is swiftly being dismantled. In asserting independence from the kitchen, we’ve lost a fundamental key to civil society.

slow cooker tomato sauce plate

Michael Pollan, author of popular books such as The Food Movement, Rising and The Omnivore’s Dilemma states:

“In a challenge to second-wave feminists who urged women to get out of the kitchen, [Janet] Flammang suggests that by denigrating “foodwork”—everything involved in putting meals on the family table—we have unthinkingly wrecked one of the nurseries of democracy: the family meal. It is at “the temporary democracy of the table” that children learn the art of conversation and acquire the habits of civility—sharing, listening, taking turns, navigating differences, arguing without offending—and it is these habits that are lost when we eat alone and on the run.”

In Janet Flammang’s book The Taste for Civilization: Food, Politics, and Civil Society, the political scientist writes:

“Significant social and political costs have resulted from fast food and convenience foods … grazing and snacking instead of sitting down for leisurely meals, watching television during mealtimes instead of conversing viewing food as fuel rather than sustenance, discarding family recipes and foodways, and denying that eating has social and political dimensions.”

Being an individualistic society, we dropped many of our social formalities long ago. This includes the roles each member of a family must assume. Grandparents are sent to nursing homes, instead of being an active part of the household, single parents struggle to raise children on their own, children are not taught to respect their elders or engage in conversation.

slow cooker tomato sauce cracker

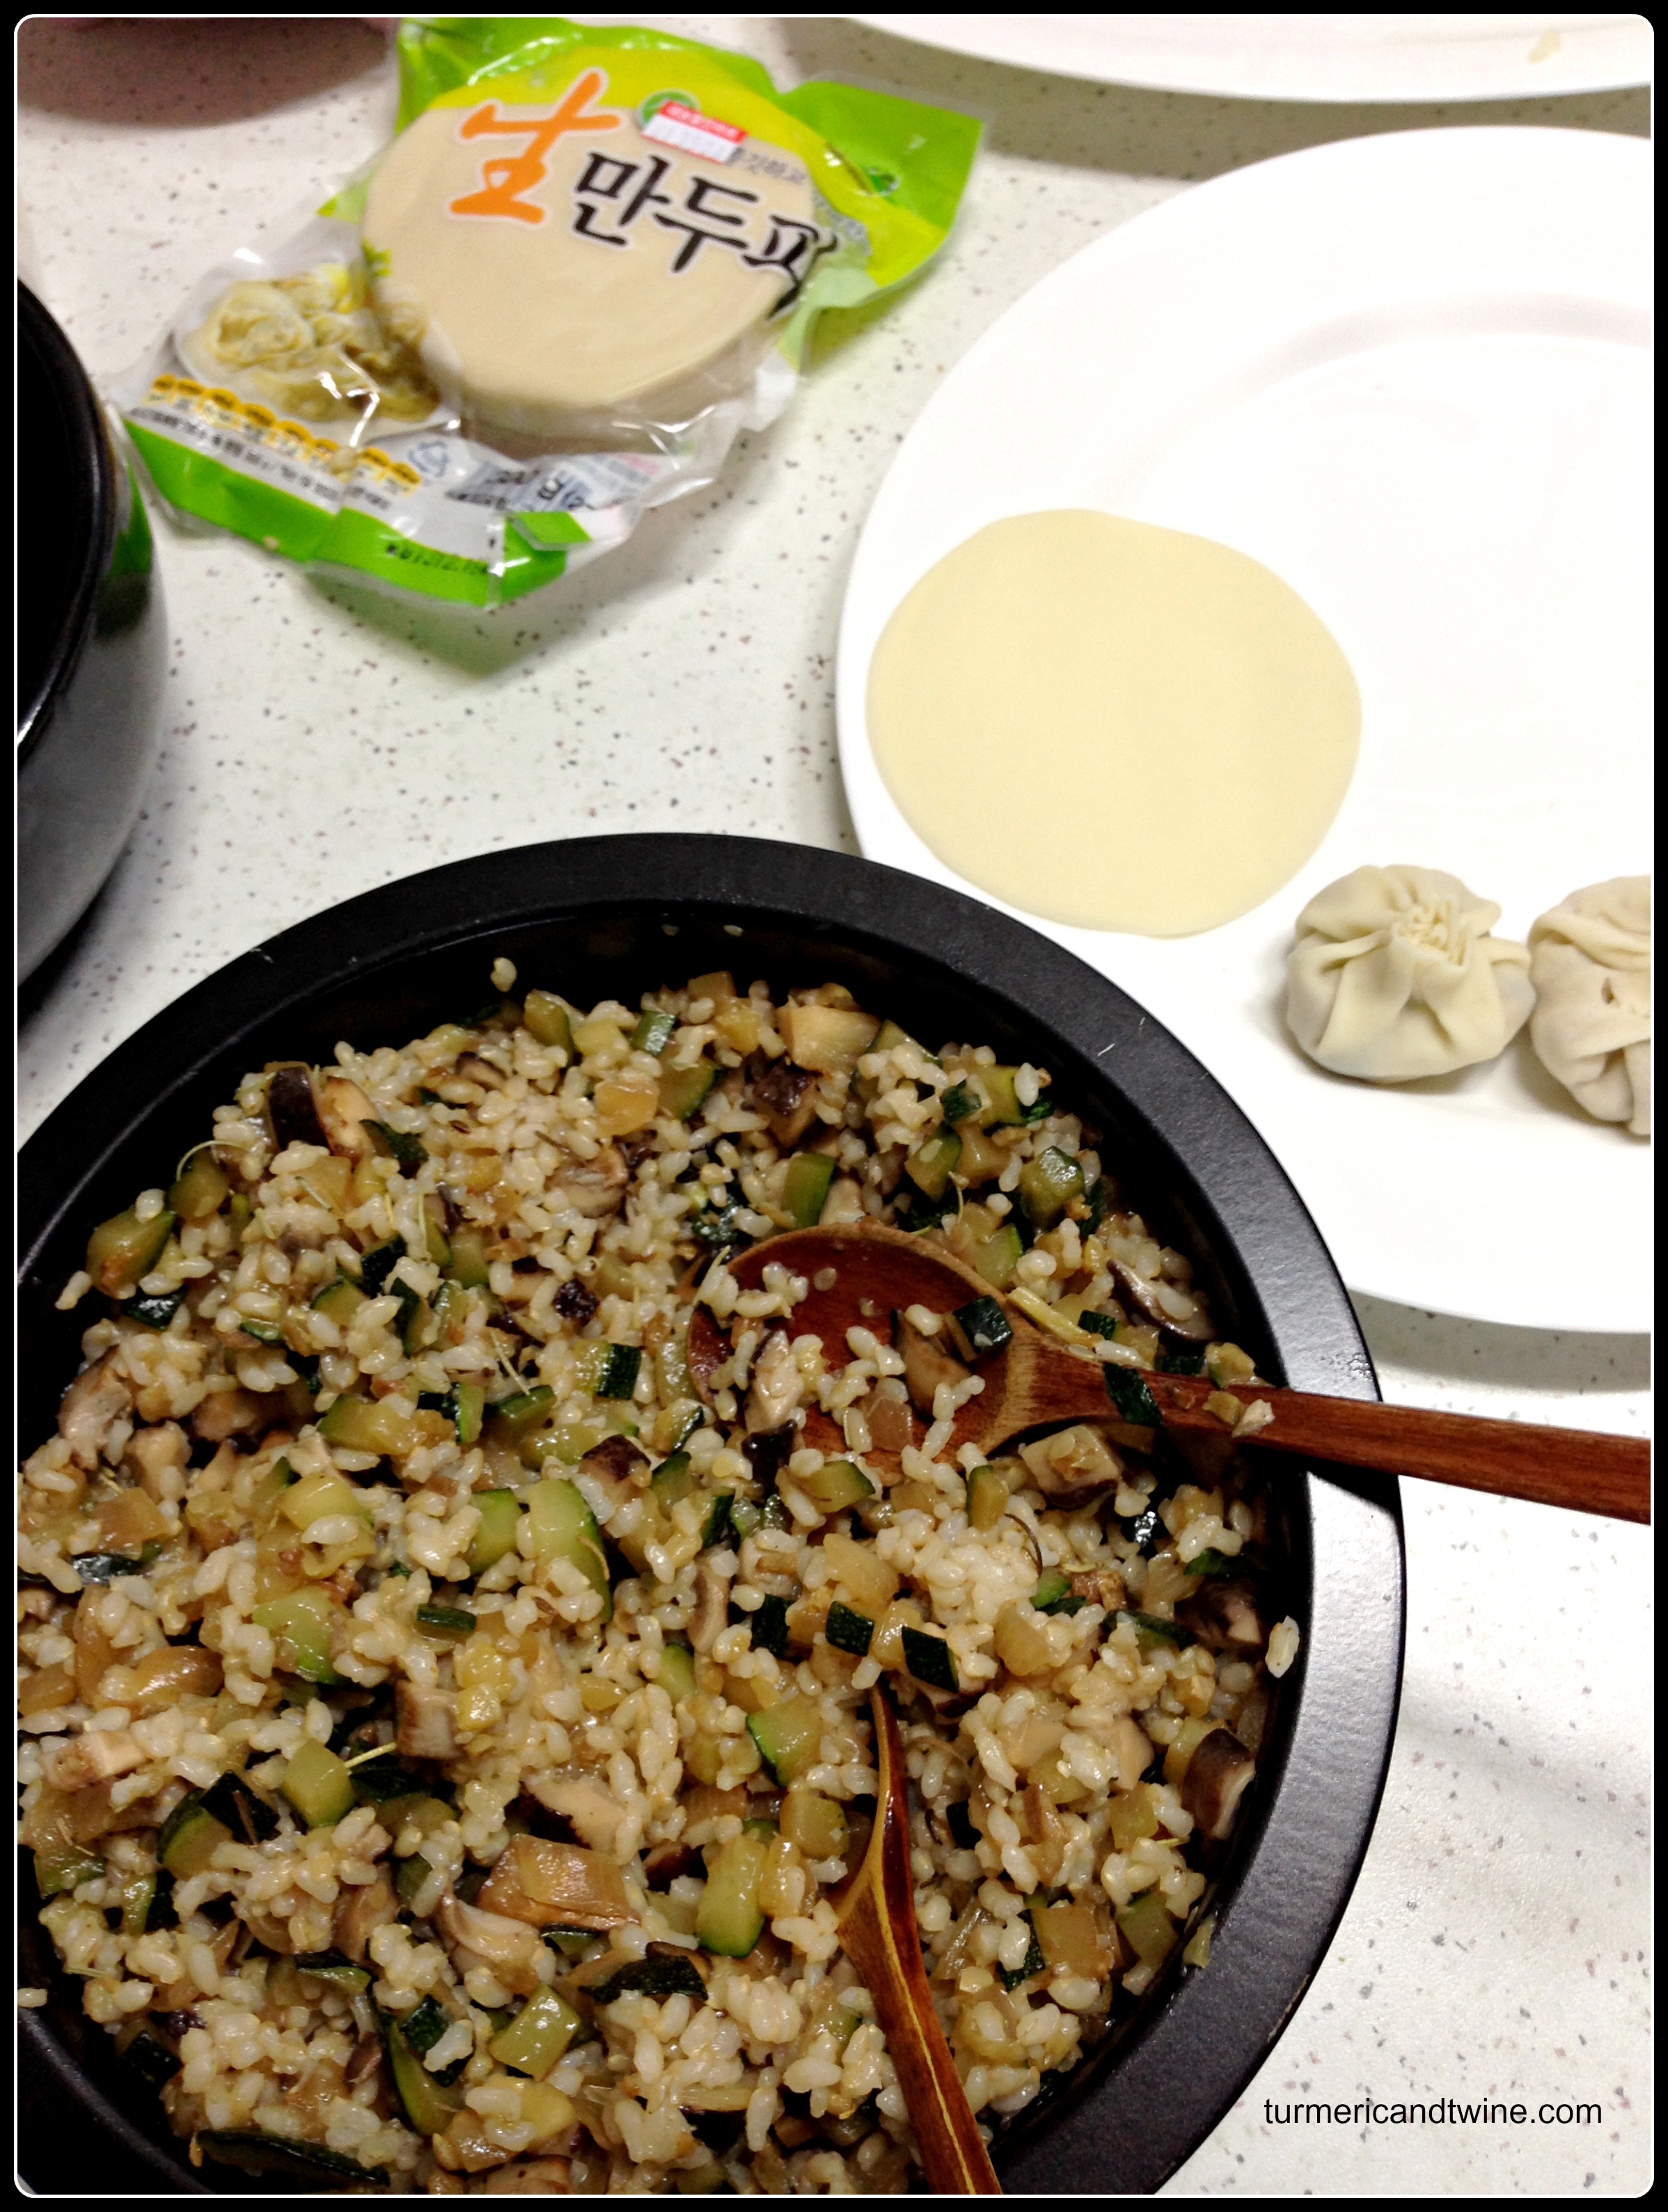
During my five years in Korea, a collectivist society in which everyone strives to be part of the accepted norm, I was shocked to see how differently family members interact with each other, especially in regards to food. Food is shared and enjoyed together. Family recipes have been passed down from generation to generation for centuries and the pride of preparing a home cooked meal can be tasted in the food. Grandparents live with, or close to their children so they can be active in raising their grandchildren and because of this, the young ones learn social skills as well as the art of conversation. Though collectivist societies have many problems of their own, they do family much better than we do.

I’ve thought about this topic a great deal. It disturbs me how easily we have come to dismiss the importance of food and family. When I have children, I hope to designate suppertime as a sacred time. Time I will never get back, so I must use well. After losing my father four years ago, I have learned to take advantage of the time I have and to be conscious of what I must not take for granted. Food and family are both precious and must be treated with love and care.

slow cooker tomato sauce bite

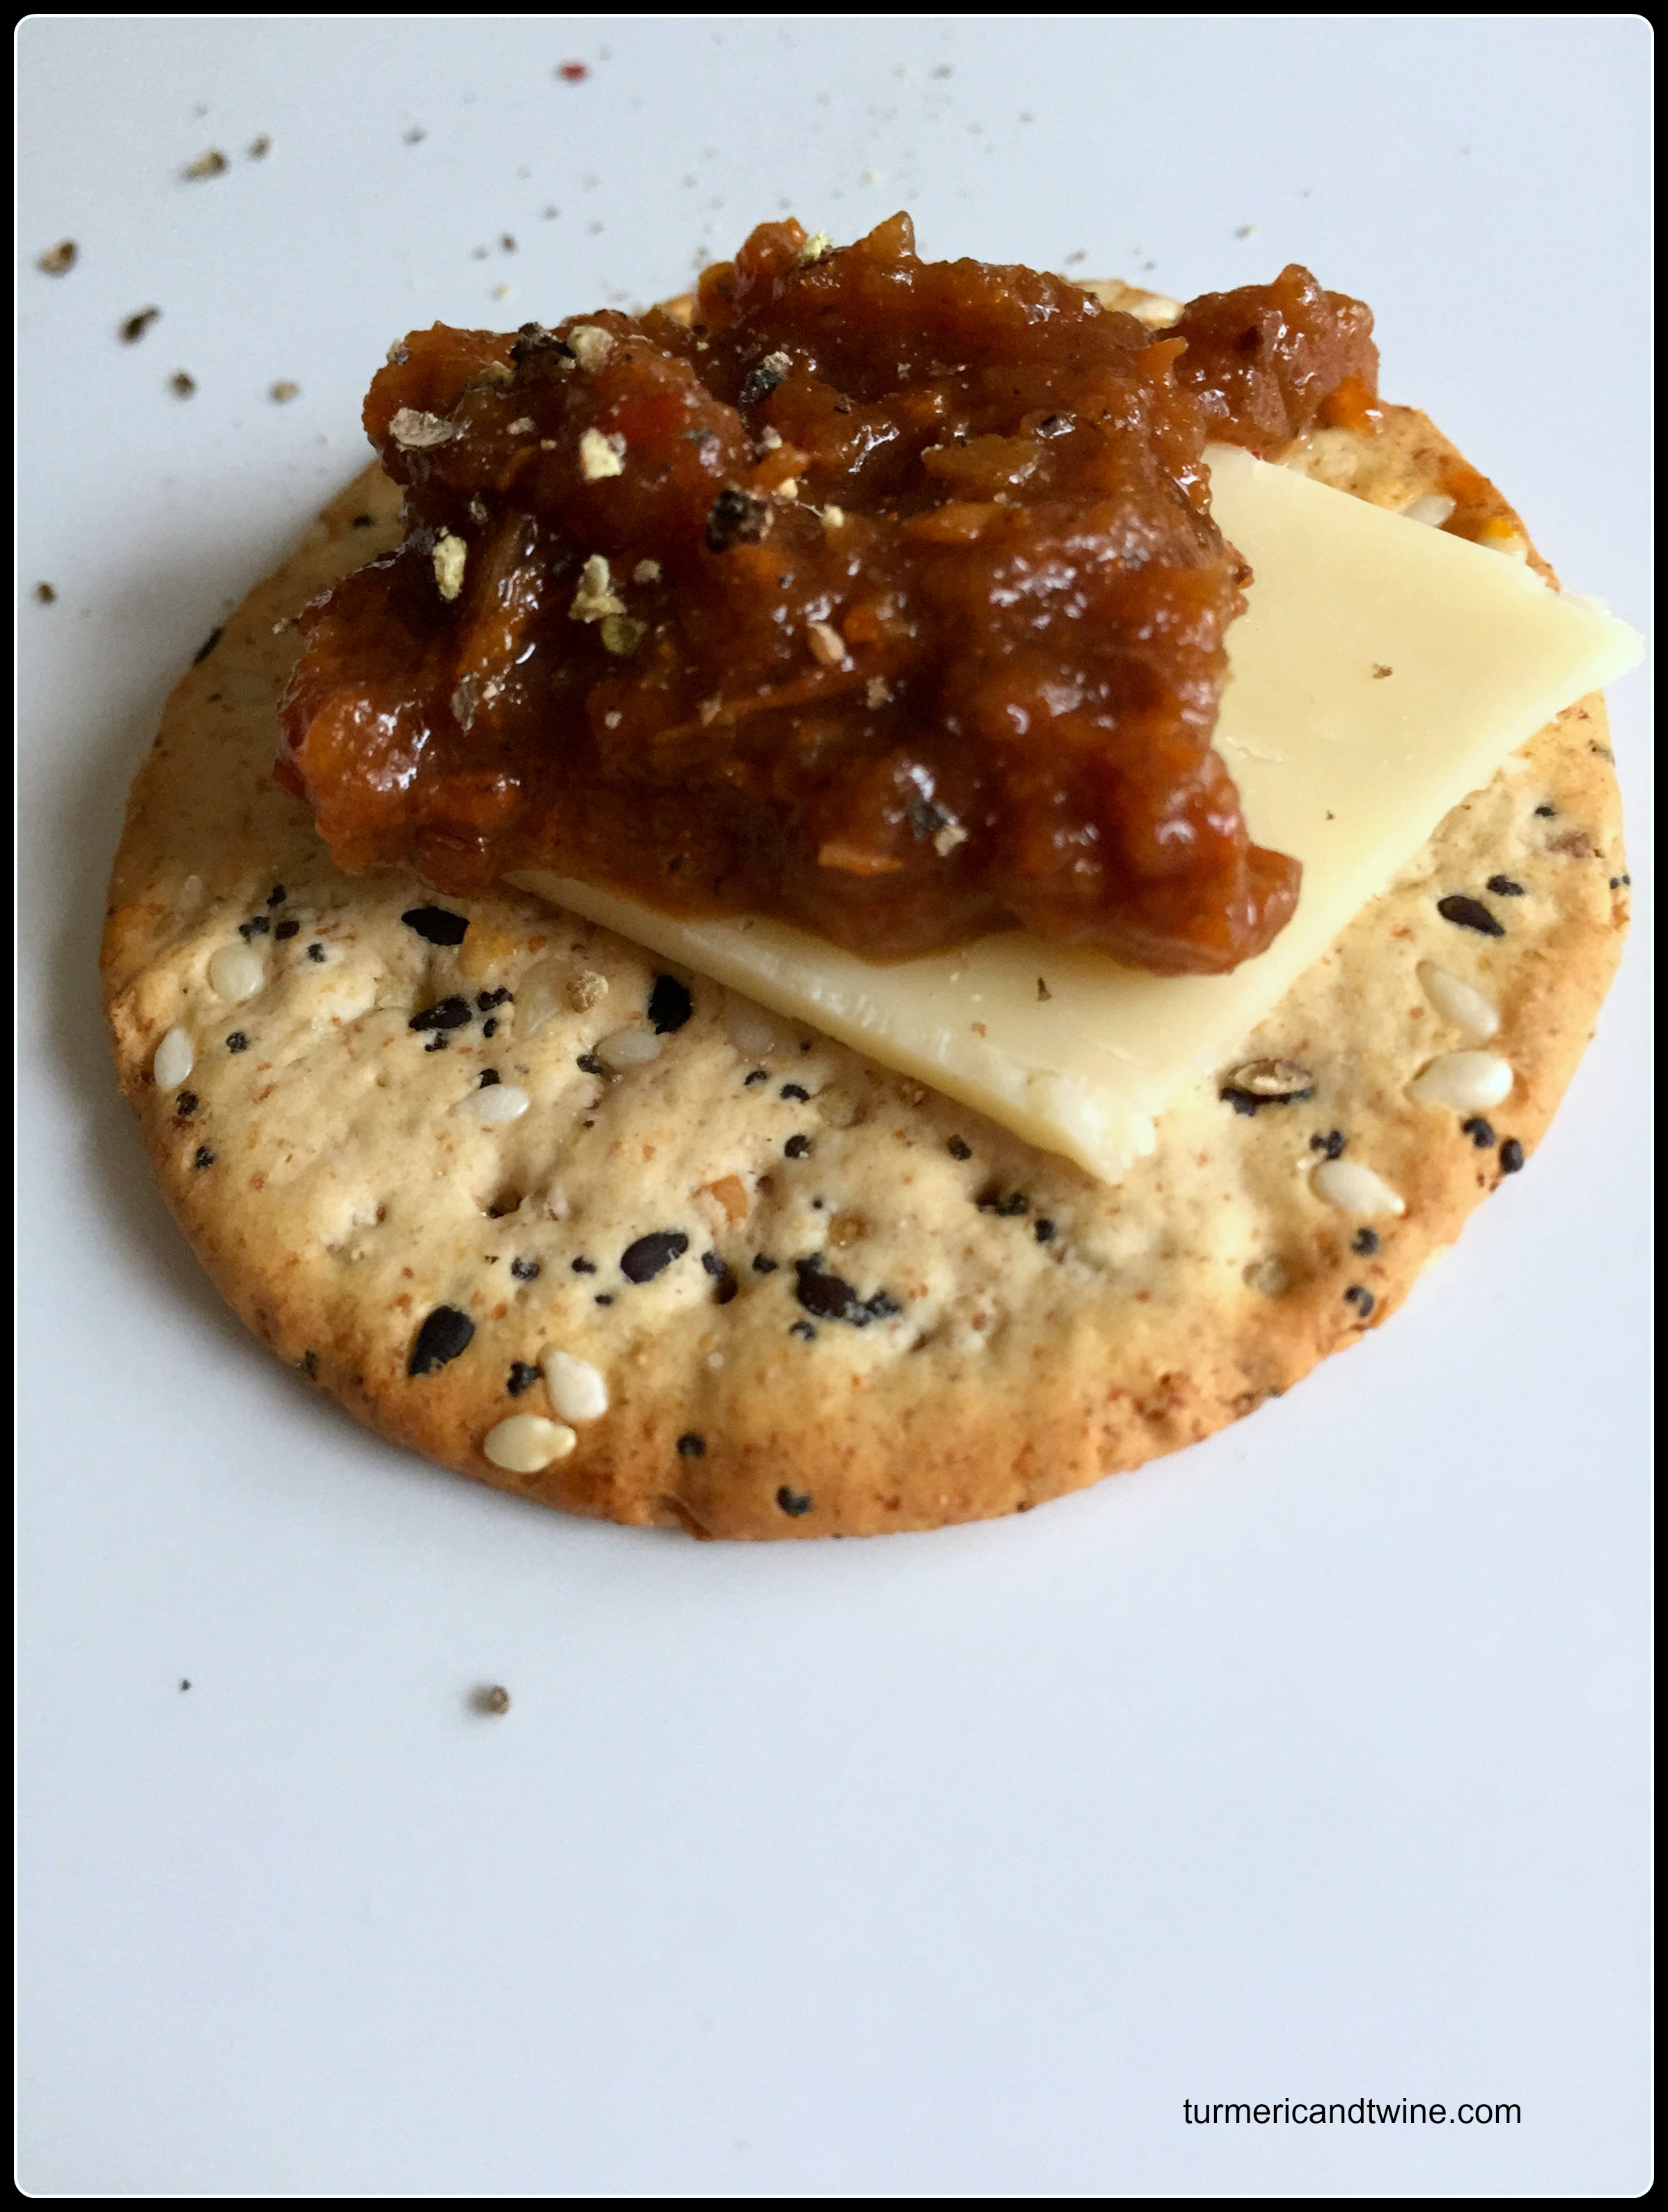
Slow cookers help. A lot. Slow cooked dishes that you don’t have to fear will burn your house down are always helpful. This large batch of sauce was frozen in smaller batches and used for a multitude of meals: pizzas, pastas, crackers, rice and meats – this sauce goes with everything. Start your cooker before you go to bed or in the morning before you leave for work and come home to a homemade meal for you and your family to share.

Slow Cooker Tomato Sauce

 Ingredients

  • 15-20 quartered roma tomatoes
  • 1 bulb (about a dozen cloves) of peeled and crushed garlic
  • 2 chopped yellow onions
  • 12 ounces of sliced crimini mushrooms
  • 1/8 cup brown sugar
  • 1 diced zucchini
  • 2 tablespoons sea salt
  • ½ cup olive oil
  • 2 teaspoons black pepper
  • optional: make it spicy with chilies – add to your preference
  • optional: jerky – your choice (it softens and melts in your mouth)

Directions

Using a 6 quart slow cooker, place all of the ingredients in the crock and turn on low (8 hours)

Mix occasionally… or don’t. The slow cooker will work its magic.

If the finished product is too chunky, use an immersion blender to get a smoother sauce.

Top your plate of pasta with this stuff as well as Parmesan cheese and fresh basil, dip bread or crackers in this sauce for a bite of heaven, use it as a base for your hand made pizzas. The possibilities are endless. Enjoy it with someone you love.

Peanut Sauce Soba Noodles With Roasted Zucchini and Wakame + Asheville is Awesome

peanut sauce soba noodles roasted zucchini and wakame 2

Since my youth, I’ve understood that food tastes better when it has grown close to home. I remember risking bee stings, thorns, and scorn in order to stuff myself with the neighbor’s raspberries. My mother’s garden produced tiny, knobby carrots that had an incomparable sweetness next to the perfect, yet tasteless, carrots in the supermarket. I’ve consistently preferred the taste of local food, and as I’ve grown, I have noticed numerous other benefits that local farms promote, from culinary to community. Farmers and chefs now work closely to serve the freshest meals from local goods. Citizens of Asheville have benefited from the resourceful ingenuity achieved by the numerous farm-to-table restaurants and locavore entrepreneurs who have built a community, brought us great tasting food and supported the economy by putting this city on the tourist map.

 peanut soba noodle assembly

Asheville forms a community around trades, skills, services and goods to support each other in entrepreneurial efforts. Chain restaurants have the option of purchasing their produce from local farms but often times, it is more profitable if they buy their produce from hothouses and factory farms. When I interviewed Chef Josh Widner, Chef du Cuisine at “The Market Place,” a farm-to-table key player in downtown Asheville, he confirmed that restaurants like his source most, if not all, of their products from local farms. “Supporting your farmers is a huge benefit of using local foods. We work hand in hand,” Widner stated. “Ninety percent of my product comes from within one hundred miles of Asheville including meat, poultry, pork, vegetables, dairy and eggs. It really is a community effort.” People of Asheville recognize the value of supporting local entrepreneurs. The efforts of farm-to-table restaurants have created a community-supported network surrounded around bringing Asheville healthy, local choices.

Farm-to-table restaurant chefs follow typical Asheville style resourcefulness by utilizing their craft to the ultimate boundaries of creativity. Without the use of pesticides or genetically modified seed the local, organic produce used by farm-to-table restaurants has a short shelf life and must be used quickly. “An advantage of the culinary aspect of farm-to-table is that you learn how to extend season[al produce] past their season,” Chef Widner stated. “A lot of times [the farm’s] product will not last very long. I’ll have to use that product a lot quicker.” There is usually an abundance of bounty in the warmer months and chefs find themselves swimming in a sea of whatever is in season at that time. To get the most out of their purchase, chefs at farm-to-table restaurants must be resourceful and come up with creative ways to serve and/or preserve their ingredients. “I have local strawberries in house right now and it’s February,” boasted Widner. “I’ve vacuum-sealed some, frozen some, fermented some, and pickled some. So, I have local strawberries that I can still put out on a table right now even though they [were] picked last July.” Asheville is lucky to have chefs like Josh who can produce culinary magic using farm-to-table guidelines.

What makes locally sourced food taste so much better? Any chef would endorse buying from local, organic farms because of the colossal difference in flavor and quality of the product. “The flavor of fresh, local food is night and day compared to non-locally sourced food,” professed Widner.Sometimes I’ll have a squash come in that is the ugliest thing compared to a perfect and round squash that was grown in California but the flavor is better.” The method of farming used can greatly influence the level of flavor produced in a crop. The farmer who has a few acres of land is better able to closely observe his crop, test the nutrients in the soil and have a hands-on relationship to his product than a farmer with hundreds or thousands of acres. Chef Widner claims, “There is fantastic earth in The Appalachians. [They are among] the oldest mountains… you have a lot of really ancient minerals and deposits here that really encourage growth.” Local, small farms are producing incredible tasting foods by planting an assortment of crops and taking advantage of the rich nutrients in the soil.

 roasted zucchini with paprika

Entrepreneurs and small businesses, such as farm-to-table restaurants, have become a major driver of tourism and economic growth in Asheville. I spoke to Diane Hendrickson, Program Developer for Entrepreneurial Outreach of the A-B Tech Small Business Center about small businesses in Asheville and she declared that, “Asheville [residence are] very interested in supporting products, goods, services and business folk that live in the community.” Asheville has gained some national traction recently because the country is recognizing the attractiveness of the entrepreneurial movement. Though entrepreneurship can be grueling and risky, it draws appeal to artists, artisans and craftsmen wishing to monetize their skills. The city has numerous resources available for potential entrepreneurs and is very supportive of those enthusiastic enough to try. “There are so many organizations that exist just to help people start businesses,” Hendrickson confirmed. She continued with, “Popular Mechanics’ did a survey recently and we were ranked number 2 of 14 for being a great place to start your business.” Asheville is making waves as its inhabitants use their creativity to pave their own way with entrepreneurial spirit.

 Peanut sauce soba noodles with roasted zucchini and wakame

After speaking with professionals, now I know why I had a locavore preference. “For some people, meh whatever, it’s a carrot, but if [diners] are passionate about ‘farm to table’ and the area that we live in, it is a big draw for them. [Our food] is simple and really nicely prepared. It is local and fresh and most diners love that.” With the rising popularity of Asheville and the efforts of its skilled and creative tradesmen, I think most would agree with you Chef Josh.

This peanut sauce, adapted from the Barefoot Contessa, is incredible. When I made it the first time, I couldn’t believe that I was putting together so many ingredients for sauce, but in the end, it was absolutely worth it. With roasted zucchini slices, julienned vegetables, and topped with wakame seaweed, this recipe is a vegetarian’s delight.

peanut sauce soba noodles with roasted zucchini with wakame bite

Peanut Sauce Soba Noodles With Roasted Zucchini and Wakame (adapted from The Barefoot Contessa)

Ingredients

For the peanut sauce:

  • 6 garlic cloves, chopped
  • ¼ cup fresh ginger, peeled and chopped
  • ½ cup vegetable oil
  • ½ cup tahini (sesame paste)
  • ½ cup smooth peanut butter
  • ½ cup good soy sauce
  • ¼ cup dry sherry
  • ¼ cup sherry vinegar
  • ¼ cup honey
  • ½ teaspoon Asian hot chili oil
  • 2 tablespoons dark toasted sesame oil
  • 1/8 teaspoon ground cayenne pepper
  • Good olive oil
  • Kosher salt and freshly ground black pepper
  • Optional: black truffle oil

All the rest:

  • 1 8-ounce package of soba noodles, cooked
  • 1 zucchini, thinly sliced
  • ½ of a red onion, sliced
  • 1 carrot, julienned
  • Fresh fennel bulb, sliced
  • Dried wakame, rehydrated

Directions

Preheat oven to 425ºF/220ºC/Gas mark 7.

Lay zucchini slices on an oiled pan. Sprinkle salt and smoked paprika over all the slices.

Bake for 25-30 minutes until soft and slightly brown around the edges. Remove from heat and cool.

While the zucchinis are roasting, mix all of the peanut sauce ingredients together and mix well.

Mix the soba noodles, onion and fennel into the sauce.

Plate the noodles and place two or three slices of zucchini on top. Spoon some wakame on the crown of the dish and top with carrot.

Devour.

One-Pan Roasted Winter Meal

It’s cold.

 Roasted winter meal 2

I like to think of this dish as a kind of soup without the broth. Warming, cozy and comforting, I make it all the time when I want something easy. It is kind of a non-recipe and can make good use of random bits of food you have lying around. Put as much or as little of each as you want/have. Improvise. Create.

 Roasted winter meal 3

One-Pan Roasted Winter Meal

 Ingredients

  • brussel sprouts, cleaned and quartered
  • sausage or tofu (or your protein of choice)
  • onion, chopped
  • garlic, lots
  • sauerkraut and some of the juice
  • sun-dried tomatoes
  • mushrooms, halved or quartered
  • carrots
  • bell pepper
  • any vegetable

Dressing:

  • olive oil
  • toasted sesame oil
  • salt
  • black pepper
  • lemon
  • rosemary
  • cumin

Directions

Preheat oven at 425ºF/220ºC/Gas Mark 7.

Combine the dressing ingredients in a bowl. Set aside.

All ingredients are to cleaned and chopped into bite sized pieces. They should be around the same size so they bake evenly. Put everything directly into your casserole dish/baking pan.

Drizzle the dressing all over the ingredients and mix until everything is saturated.

Put the uncovered pan in the oven for about 45-50 minutes. Check every 15 minutes and stir so nothing gets burned. When the carrots (or potatoes, if you use them) are soft, remove from heat.

Garnish with Greek yogurt, hot sauce and more cracked black pepper. Dig in.

Roasted Winter Meal

Homemade Salted Caramel with Vanilla for Holiday Gift Giving

homemade salted caramel bite

I have just moved to Asheville to begin the newest phase of my life as a student of the culinary arts. With the madness of moving back to the country and then moving again shortly after, I’ve been too busy to prepare for the Holidays. This recipe is perfect if you need to produce a special DIY gift on the fly for a bunch of special people.

 winter canopy homemade salted caramel in jars

The exact origins of caramel are unknown, but can generally be traced back to the 17th century. The word itself is from French, meaning ‘burnt sugar’. This came to us via Old Spanish, ultimately from Medieval Latin, traditionally from Latin, possibly from an Arabic origin. Either way, this gorgeous goo has been around for a while. If it has never lived in your fridge, perhaps now is the time.

 winter berries homemade salted caramel in jars 2

I first tried making caramel for molten lava cakes. I had a bit left over which was used to top pumpkin pies for Thanksgiving. These pies were the best pumpkin pies any of us had ever eaten. And since I’d made a lot of pie filling, we were happily having repeat pie every night. This caramel is very versatile and makes everything really, incredibly decedent and delicious.

salted caramel pumpkin pie

Drizzle it on top of your ice cream, stir a dollop in your coffee, spread a little on toast, or eat it with a spoon. Soon, you too, will be as infatuated as I am.

winter berries 2


Homemade Salted Caramel with Vanilla

(yields about six cups!)

Ingredients

  • 4 cups granulated sugar
  • 2 cups/500 ounces unsalted butter cut into pieces
  • 2 ½ cups heavy cream
  • 1 tablespoon salt
  • 1 teaspoon vanilla extract

salted caramel ingredients

Directions

-Heat sugar in a saucepan over medium heat. Stir continuously with a rubber spatula to avoid burning. The granules will clumps and eventually melt.

-Once the sugar is liquefied, add all of the butter and stir rapidly until the pieces have melted completely. The sugar will not combine with the butter, but stirring will ensure a smooth end product.

-Using a whisk to stir, slowly pour the cream into the mixture. Due to the coldness of the cream, the hot mixture will splatter as the cream is poured in. Continue pouring and rapidly whisking the mixture until the cream is fully incorporated and the caramel is smooth.

-Stir in salt and vanilla and let the caramel boil for one minute. Remove from heat.

-Let the caramel cool before distributing into gift containers. Small mason jars worked very well for me. Discard any chunks of sugar that may have hardened.

-Keep refrigerated for 3-4 weeks.

Share with friends and loved ones. Happy Holidays!

homemade salted caramel

Mustard Fail


homemade mustard in a jar.jpg

As a fearless experimenter of food, I pride myself on my ability to adapt a recipe to make it my own, as well as combine unassuming flavours and be undeterred by the results whether they prove to be edible or not. More often than not, I am able to pull something interesting together. Other times prove disastrous.

mustard seeds .jpg

Being a sensory oriented person, I am often inspired by what lies before me. I like to surround myself with lots of ingredients and imagine, or feel, how well they will go together (science has actually found ways to pair foods by their molecular structure… one day, I will have to look into that). Having honed this ability over a lifetime of playing around in kitchens, I often have a pretty good sense of what I am working with will taste like. Kim chi and eggs? Hell yeah. Mango chutney on lentil loaf? Why not? Lamb stew with a touch of maple syrup? You’re damn right. Chicken and milk? If Jamie Oliver can do it, I can, too.

homemade mustard ingredients 2.jpg I found a this recipe for mustard on David Lebovitz’s website. I enjoy making my own condiments, so I thought I’d give it a try with a few of my own “improvements”. The first time I doubled the recipe in my eagerness to have large quantities of homemade mustard in the house. It was awful. I was overenthusiastic in my use of horseradish. It tasted like bleach had a threesome with cat piss and Satan and was unable to detect who fathered the love child. It was all thrown out.

homemade mustard 2.jpg

After a few months buffer to my taste buds, I tried again. I omitted the horseradish, so it was a bit more tolerable, but I still did not find the results pleasing…or even acceptable, really. The recipe I used called for white wine vinegar, which is difficult to find in Korea. But, for whatever reason, I had no problem finding red wine vinegar. I know there are some distinctions between red and white, but could it really have changed it that much?  I managed a few sandwiches, but it was too hard to choke down. Two batches of mustard… rubbished.

homemade mustard ingredients.jpg

How could a bit of mustard seed, red wine vinegar, and a few other things fail so hard? Did I accidentally leave out a crucial ingredient? Had a misread the instructions? Did I take my improvisation too far? Well, I can’t say for sure until I’ve tried several different recipes multiple more times.


But… ironically, I think it was the turmeric.

homemade mustard 1.jpg 

Do you know any tips and tricks regarding making mustard? Please leave a comment! 

Candied Ginger Week: Ginger Syrup and Candied Ginger

candied ginger and ginger syrup.jpg

Most children have difficulty eating very sharp and hot flavours. There are some foods and flavours that I remember despising when I was very young and later grew to enjoy, such as cilantro, arugula and mustard. I never had that problem with ginger. Though I could only handle it in small doses when I was child, ginger has always had a special place in my heart.

ginger syrup prep 6.jpg Ginger root belongs to the Zingiberaceae family and is closely related to turmeric, cardamom and galangal. It was first cultivated in parts of Southern China and is now used in cuisines around the world. It is quintessential to Chinese, Korean, Japanese and Southeast Asian cuisine and also shows up in many Caribbean dishes. From kimchi and curry to ginger beer, tea and cookies, ginger makes all kind of appearances in your cup, bowl and plate.

ginger syrup prep.jpg

Ginger is also a boss in the medicinal foods category. It can be used to suppress nausea, has been proven to have hepatoprotective qualities and has even been promoted by the American Cancer Society as treatment to keep tumors from developing.

Ginger syrup prep 3.jpg Hot and spicy in flavour and aroma, ginger can overwhelm a gentile or unfamiliar user, but it is certainly worth pushing through the burn for flavour like that. Ginger adds so much to any meal.

cocoa covered candied ginger, ginger syrup and candied ginger pieces.jpg

Since ginger knows how to bring the goods to the table so hard, it is Candied Ginger Week here at Turmeric and Twine. I’ll be featuring sweet uses of the spicy rhizome. Every week should be ginger week.


Ginger syrup and candied ginger can, luckily, be made at the same time. It is extremely easy and satisfying to make.


Ginger Syrup and Candied Ginger


Ingredients

  • 14 ounces (375g) fresh ginger
  • 16 ounces (450g) light brown sugar
  • 4 cups water
  • pinch of salt


Directions


Ginger root can be found in varying degrees of dirtiness. In Korea, sellers make no attempt to clean the dirt off their roots, so mine was really filthy. Scrub the outside very well or you will find your syrup has an unwanted earthy flavour. Peel only if absolutely necessary.

dirty ginger.jpg

Cut ginger about 1/8 inch slices. Then roughly chop in small pieces. The smaller the pieces are, the more flavour will be extracted.


Place ginger, sugar, salt and water into a non-reactive skillet (non-stick or stainless steel work best) and heat to a boil. Reduce heat to a simmer and cook for about an hour or until the liquid is thick and syrupy.

Making ginger syrup.jpg

Pour the syrup and ginger pieces into a jar, cover and refrigerate for 3-4 days. This simultaneously infuses the syrup with more flavour and candies the ginger pieces.


To separate the syrup from the candied pieces, simply strain in a stainless steel strainer. Candied ginger can be refrigerated for up to a month and frozen for several months. Use them to get fancy with baked goods or nibble on their own (like I enjoy).

Separating ginger syrup from candied ginger .jpg

Strain the syrup further with a fine mesh strainer so there is no fibrous material left. Drizzle on ice cream, use as a cocktail mixer or make spritzers. Ginger syrup keeps very well and can be refrigerated for 3-4 months.


Makes a great gift if you divide in small jars.

Experimenting with Dumplings + Musings On Time

 vegetarian dumplings 1.jpg

I’ve come to a place in my life where I realize how precious time is. I wish I had more of it. I wish I hadn’t wasted so much time in my youth on… being young. Wandering aimlessly. Thinking about various paths to take with my life and not committing to anything in particular besides living. It is, at times, difficult to avoid overwhelming myself with big questions and demands. “Why didn’t you just go for it?” my brave self says. “Why did you go for it?” my careful self says.  Honestly, how do we not tear ourselves to shreds everyday? Damn you, self-reflection.

 handmade mushroom dumplings detail

Though, I know time is never really wasted. Not really. One of the self-preservation guidelines I have acquired over my 34 years is to live life without regret. No regret for my actions or inactions. Think carefully, but not too carefully. Pick your battles, but don’t let yourself be pushed around. Cut your losses when you need to, but stand firm at other times. Focus your energy on what makes you feel good and productive. As a youth, people generally terrified me. The amount of times I wish I’d said/did something but didn’t is uncountable and I lived with the regret of it. I lived with it… until I didn’t. There was a moment in my life where I understood that regret is the most wasteful emotion in existence. Ain’t nobody got time for that.


I’m a little embarrassed to admit this, but it was actually after watching Brokeback Mountain that I decided to kick regret out of my life. I literally cried for two weeks- everyday, all day -after watching that film. It is a story of a character’s lifelong regret and it gave a very brutal, very lonely idea of what it took from him. It destroyed me. I felt like I was mourning the loss of time. All the time that I had dwelled on things that didn’t help me or hadn’t made the best of a situation. Why had I let my insecurities ever get the best of me? Why have I let my fears take control? I have a body and a mind. Use them! Go! Do! Be! I cried and cried and when I finished crying, I was done and have been ever since. Luckily, regret is just a state of mind. I still do dumb things, but just don’t regret them. Instead, I learn from them and take notes on how do it better next time. I suppose time has had a hand in that.

mostly vegetarian mushroom dumplings filling

I greatly enjoy wrapped things as well as the act of wrapping things. Wrapped things contain presents, surprises to discover. I take any opportunity to wrap things, especially food. Mandu, or dumplings, are so fun. I bought some mandu wraps recently and gave my first attempt at making those mini pockets of delight. I often see Mandu Masters working their magic on each specimen, making them perfectly uniform every time and with incredible speed and efficiency. I bow down to these masters.

Some discoveries from my first few attempts:

  • It is challenging to prevent the mandu from looking like deformed ears.
  • It is fun to eat the ones you mess up.
  • You can fill your mandu with pretty much whatever you want, as long as it is viscous enough.


Mandu wraps can be found in the refrigerator section of just about any market or supermarket in Korea. If you do not reside in Korea/Asia nor have a market that provides these wraps, they can be made easily with a little flour and water. I may try a more traditional filling recipe someday, but for now, experimenting is too much fun.

Here is the recipe I made most recently.

vegetarian dumplings.jpg

Vegetarian Mandu and Dipping Sauce


Ingredients

  • 1 package of mandu wraps (containing 20-30 wraps)
  • 2 cups of cooked rice, rice noodles or your starch of choice
  • 1 block of firm tofu
  • celery tops and leaves from one bunch, chopped
  • 8-10 cloves of garlic, chopped
  • 3 chili peppers, chopped
  • 1 onion, chopped
  • ½ teaspoon salt

Directions

Heat a stovetop fry pan and pour in a dash of cooking oil over medium high heat. Cook the chopped garlic, chilies and onions for a few minutes until translucent and slightly brown. Then, add the chopped celery. Cook until the celery is tender. Once cooled, blend this mixture until viscous. Set aside in a bowl.

If using rice noodles or any longer noodles, be sure to break or cut them before adding to the filling mixture. This is to prevent difficulty in closing up the mandu properly. If using rice, simply add to the mixture.

Heat your stovetop pan once again with oil on medium high heat. Crumble the tofu by hand directly into the pan and cook for 5-10 minutes or until slightly brown. Add the tofu to the rest of the filling mixture along with the salt. Mix.

Prepare a steamer with water and heat until boiling.

Now for the fun part: filling the wraps. Place a heaping teaspoon of filling into the center of each wrap. Fold one side over and roll the wrap into a log shape. Pinch the ends closed and wrap them around until they touch on one side. Wet your fingers and pinch together until closed. Place them in the steamer and steam for 7-10 minutes.

Your mandu can be eaten at this stage, but I highly recommend a further step of a light pan-frying. This makes your mandu extra delicious. Simply, heat a little oil in a pan and fry the mandu on each side for about 2-3 minutes.

For the sauce, my method is fool proof and delicious: one part soy sauce, one part white or apple cider vinegar and a pinch of chili powder.

Dip your lopsided, ear-shaped mandu lovingly into the sauce. Laugh about how each one will help you hear better and devour ruthlessly.

The Cruel Realities of Kopi Luwak (a.k.a. Poo Coffee) + Adventures in Coffee Reduction

You may have noticed my most recent obsession with Bali and the images I took there. It’s true. The plant life, ocean, natural landscape, food and general gorgeousness of Bali have really helped to inspire me this winter. Though the photos have thus far not included a recipe, they have all been leading up to this post.

 Balinese coffee

I have been pretty fascinated with Kopi Luwak for some years now. Ever since I’d heard it was considered the most expensive beverage on the planet and was basically cleaned up cat poo, there was no turning this experience junkie around. 

 coffee plant

I enjoy thinking about the beginnings of foods. For example, who decided to eat blue cheese for the first time? Why did they think it would be a good idea? Who did all the fieldwork needed to figure out which mushrooms are edible and which would melt their insides? Why was it worth it to them? Who decided that soured milk, or yogurt, was ok to eat? And of course, who decided to pick up the droppings of a civet cat because they thought it would make an extra delicious espresso? I know many food traditions have been discovered out of need, but come on.

 kopi luwak beans

Kopi luwak got its beginnings in just that way. The civet, a cat like creature native to Indonesia, eats the choicest, ripest coffee beans as part of its diet. The beans then ferment in their digestive tract and come out whole because the civets are unable to digest them. Then, some people decided it would be a great idea to collect the wild civet poo, clean and roast the beans and call it a delicacy. A rare and expensive beverage. While in Bali, I made it a priority to seek kopi luwak out. My guide in Ubud brought me to an agro tourism farm called Bali Pulina. I was warmly greeted as soon as I walked onto the property and was given a small tour to show what they grew and produced. The place was beautiful. Several photos from my previous posts were taken there, including flowers, spices and one of the many amazing rice terraces that Ubud is known for.

 Coffee samples

In their little café, I was offered a free tasting of the beverages they produce and a fantastic overlooking view of the rice terrace. I sipped the teas, coffees and cocoas, tasting and enjoying them individually and comparing the results. They were all lovely, but I was far too focused on getting to the shop to buy luwak coffee. I finally got some. I brought it back to Korea and drank the shit out of that shit coffee. It produced a nutty, farmy coffee that was quite pleasant. It was exciting to compare it to the normal coffee I keep around the house and try it with different sugars and milks.

 cocoa beans in BaliBali mystery plantspices in bali

Unfortunately, with the slightest bit of research, I discovered information that made me regret having made my purchase. I found out that farmed civet coffee can never produce the desired results so sought after by coffee connoisseurs. This is because wild civets eat the ripe coffee beans as a part of a balanced diet including all the other things civets eat, while the animals on these plantations (often taken from the wild) are fed a diet made entirely of coffee beans. This is very unhealthy for the civets. And since there is nothing else in their guts, the beans don’t produce the desired flavours they once did. More importantly, farmed civets are often kept in horrendous conditions. They are shy and territorial by nature. Being kept in cramped cages so close to other civets is very stressful and often results in a loss of sanity and decrease in their health. Perhaps it was my enthusiasm for food and wildlife that kept me naïve, but learning this was heart-wrenching and I no longer wish to support the production of this culinary rarity. Though I certainly did savour the small amount I acquired there.


I was perhaps a little ambitious with this recipe. I cannot actually say it was a success. In fact, it was mostly a failure. I tried very hard to pair coffee with various flavours with nauseating results. I poured some on quail eggs and potatoes, dipped in some toast and even a tiny bite of pan-fried fish. I tried tasting it with random ingredients around my kitchen. The only success with this experiment, thus far, is in making me feel ill. Clearly, I have my work cut out for me. Luckily, the reduction itself is quite nice (albeit bitter) in small doses. When I’ve worked out what to pair it with, I’ll post something magical. Suggestions are welcome!

spiced coffee and red wine reduction.jpg

Spiced Coffee and Red Wine Reduction

Ingredients

  • ¾ cup strong coffee
  • 1/3 cup red cooking wine
  • 1 tablespoon sugar
  • a piece of fresh ginger (about the size of a quarter), cleaned and chopped
  • 1 cinnamon stick
  • 2 cardamom pods
  • ¼ teaspoon whole lavender flowers
  • ¼ teaspoon chopped dried lemongrass

Directions

While the coffee is still hot, pour it in a cup with the ginger, lavender, lemongrass, cardamom and cinnamon. Let the spices infuse for a 2-3 hours then strain.

Using a non-reactive skillet, pour in the wine, coffee and sugar. Simmer over medium high heat for about 10-15 minutes or until the liquid has reduced by about half. Remove from heat.

Taste your coffee reduction with various things around your kitchen. Have blind taste tests with your friends. Laugh at the faces they make.


Stuffed Bell Peppers with Saffron Yogurt Sauce

Stuffed Yellow Peppers with Saffron Yogurt Sauce

I remember starting an odd little short story inspired by saffron when I was about twelve. My parents were avid listeners of NPR when I was growing up and I fancied Garrison Keillor’s fabulous stories from A Prairie Home Companion. I’d learned about saffron being The World’s Most Expensive Spice and started imagining tiny garden plots that could yield big money. I’d even considered using my backyard to start my own crop, blissfully unaware that the New England climate might not be suitable for saffron production. The story, if I remember correctly, was about an unassuming saffron farmer trying to survive in a small town riddled with landmines. I didn’t complete the story. The loose ends were too difficult to tie up.

 Roasted yellow peppers

The delicate filaments of the saffron crocus are handpicked and dried individually. To produce a pound, 200,000 stigmas must be picked from flowers that yield up to three threads per season. It costs $70 for an ounce. Precious.

Stuffed Yellow Peppers with Saffron Yogurt Sauce 2 

Saffron has been used in many traditional cuisines, including Spanish, Indian, Mexican and Mediterranean. Rich in flavour and deep yellow in colour, the delicate spice is often used to flavour rice, breads and seafood dishes. Saffron’s metallic flavour and sophistication are surprisingly adaptable and versatile. I was lulled by the bitter field grass scent and rusty aroma. It reminded me that the simplest answer is often the best. A few threads sprinkled on top of yogurt complimented my stuffed peppers perfectly.

Stuffed Yellow Peppers with Saffron Yogurt Sauce bite

Stuffed Bell Peppers with Saffron Yogurt Sauce

Ingredients (makes 2)

  • 2 bell peppers
  • 2 king oyster mushrooms
  • 8 oz of ground beef
  • 3 cups of shredded green cabbage
  • 6 minced cloves of garlic
  • 1 cup of cooked basmati rice
  • ½ tsp rosemary
  • 2 tbsp red wine
  • 1 tbsp soy sauce or tamari
  • ½ tsp salt
  • cooking oil

For the sauce:

  • 1 cup yogurt
  • pinch of salt
  • pinch of saffron

Directions

Preheat oven to 175ºC/ 350ºF / Gas mark 4.

Halve the mushrooms lengthwise and sprinkle oil and salt on them. Bake them in a lightly oiled pan for 30 minutes. Transfer the mushrooms into a blender and blend into a paste.

Cut the tops off the bell peppers and remove the seeds and pith from inside. Wash and sprinkle with oil and salt. Roast for 20 minutes.

Using medium high heat, brown garlic in a fry pan with some oil. Add ground beef and stir until evenly browned. Remove from heat and transfer ingredients into a bowl with the mushroom paste.

Using the same pan, stir-fry the cabbage until translucent. Transfer cabbage into a blender and blend into a paste. Add to the bowl with other ingredients.

Crumble the cooked rice into the bowl with other ingredients. Add soy sauce, salt, rosemary and red wine. Mix well.

Carefully stuff the mixture into peppers and replace the tops. Bake for 30 minutes.

Combine yogurt with salt and saffron.

Drizzle yogurt sauce on the peppers and serve.