Howdy!

As a Seoul dweller, I experience virtually no wildlife and rarely get to see animals other than street cats and tiny white dogs. So, when I met this little fella on a recent trip to the countryside in Chungju for an amazing day of learning about and eating fermented foods, I had to snap a photo. Praying mantises have always seemed like tiny (frightening) sages to me. The way they turn their wee heads all the way like they do makes me feel like my soul is being read, judged and thusly, condemned. Alarming. Maybe I need to reel in my imagination a bit.

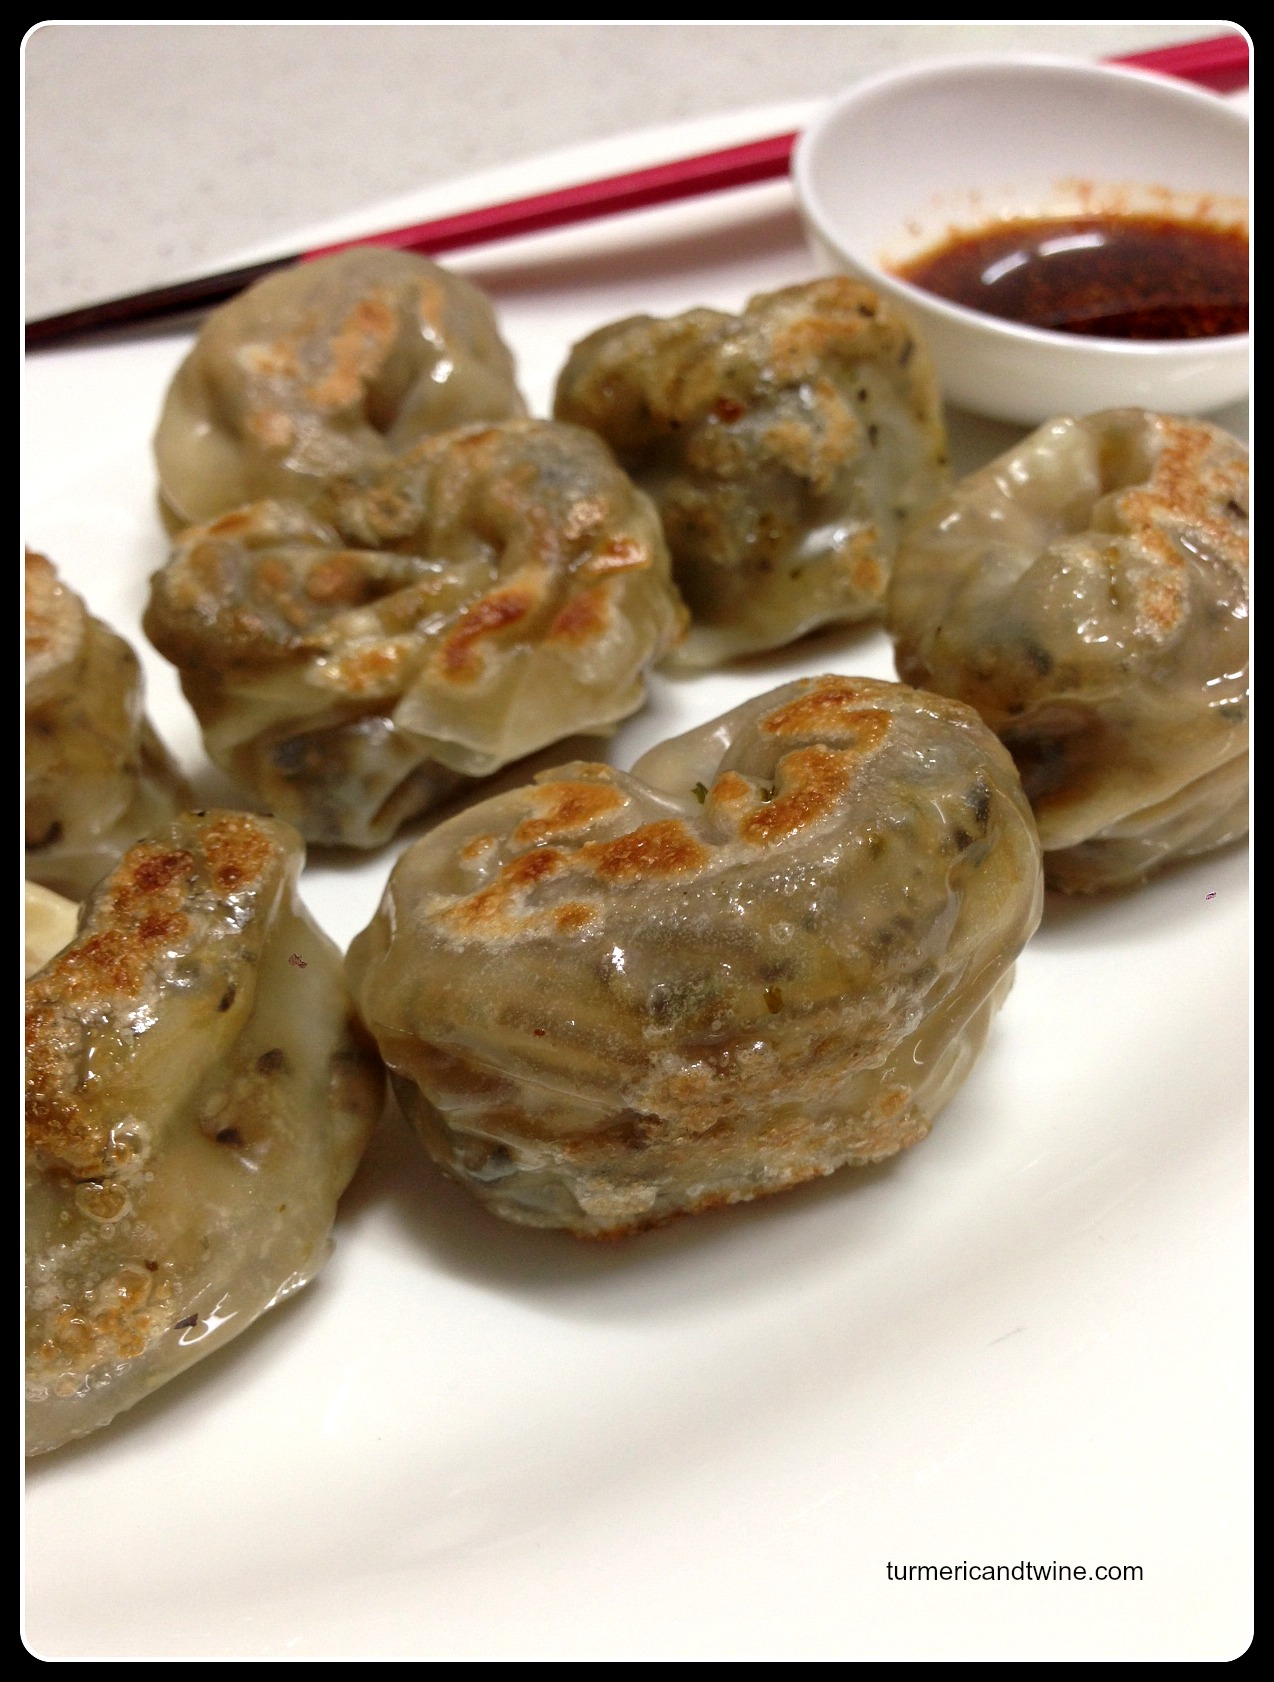
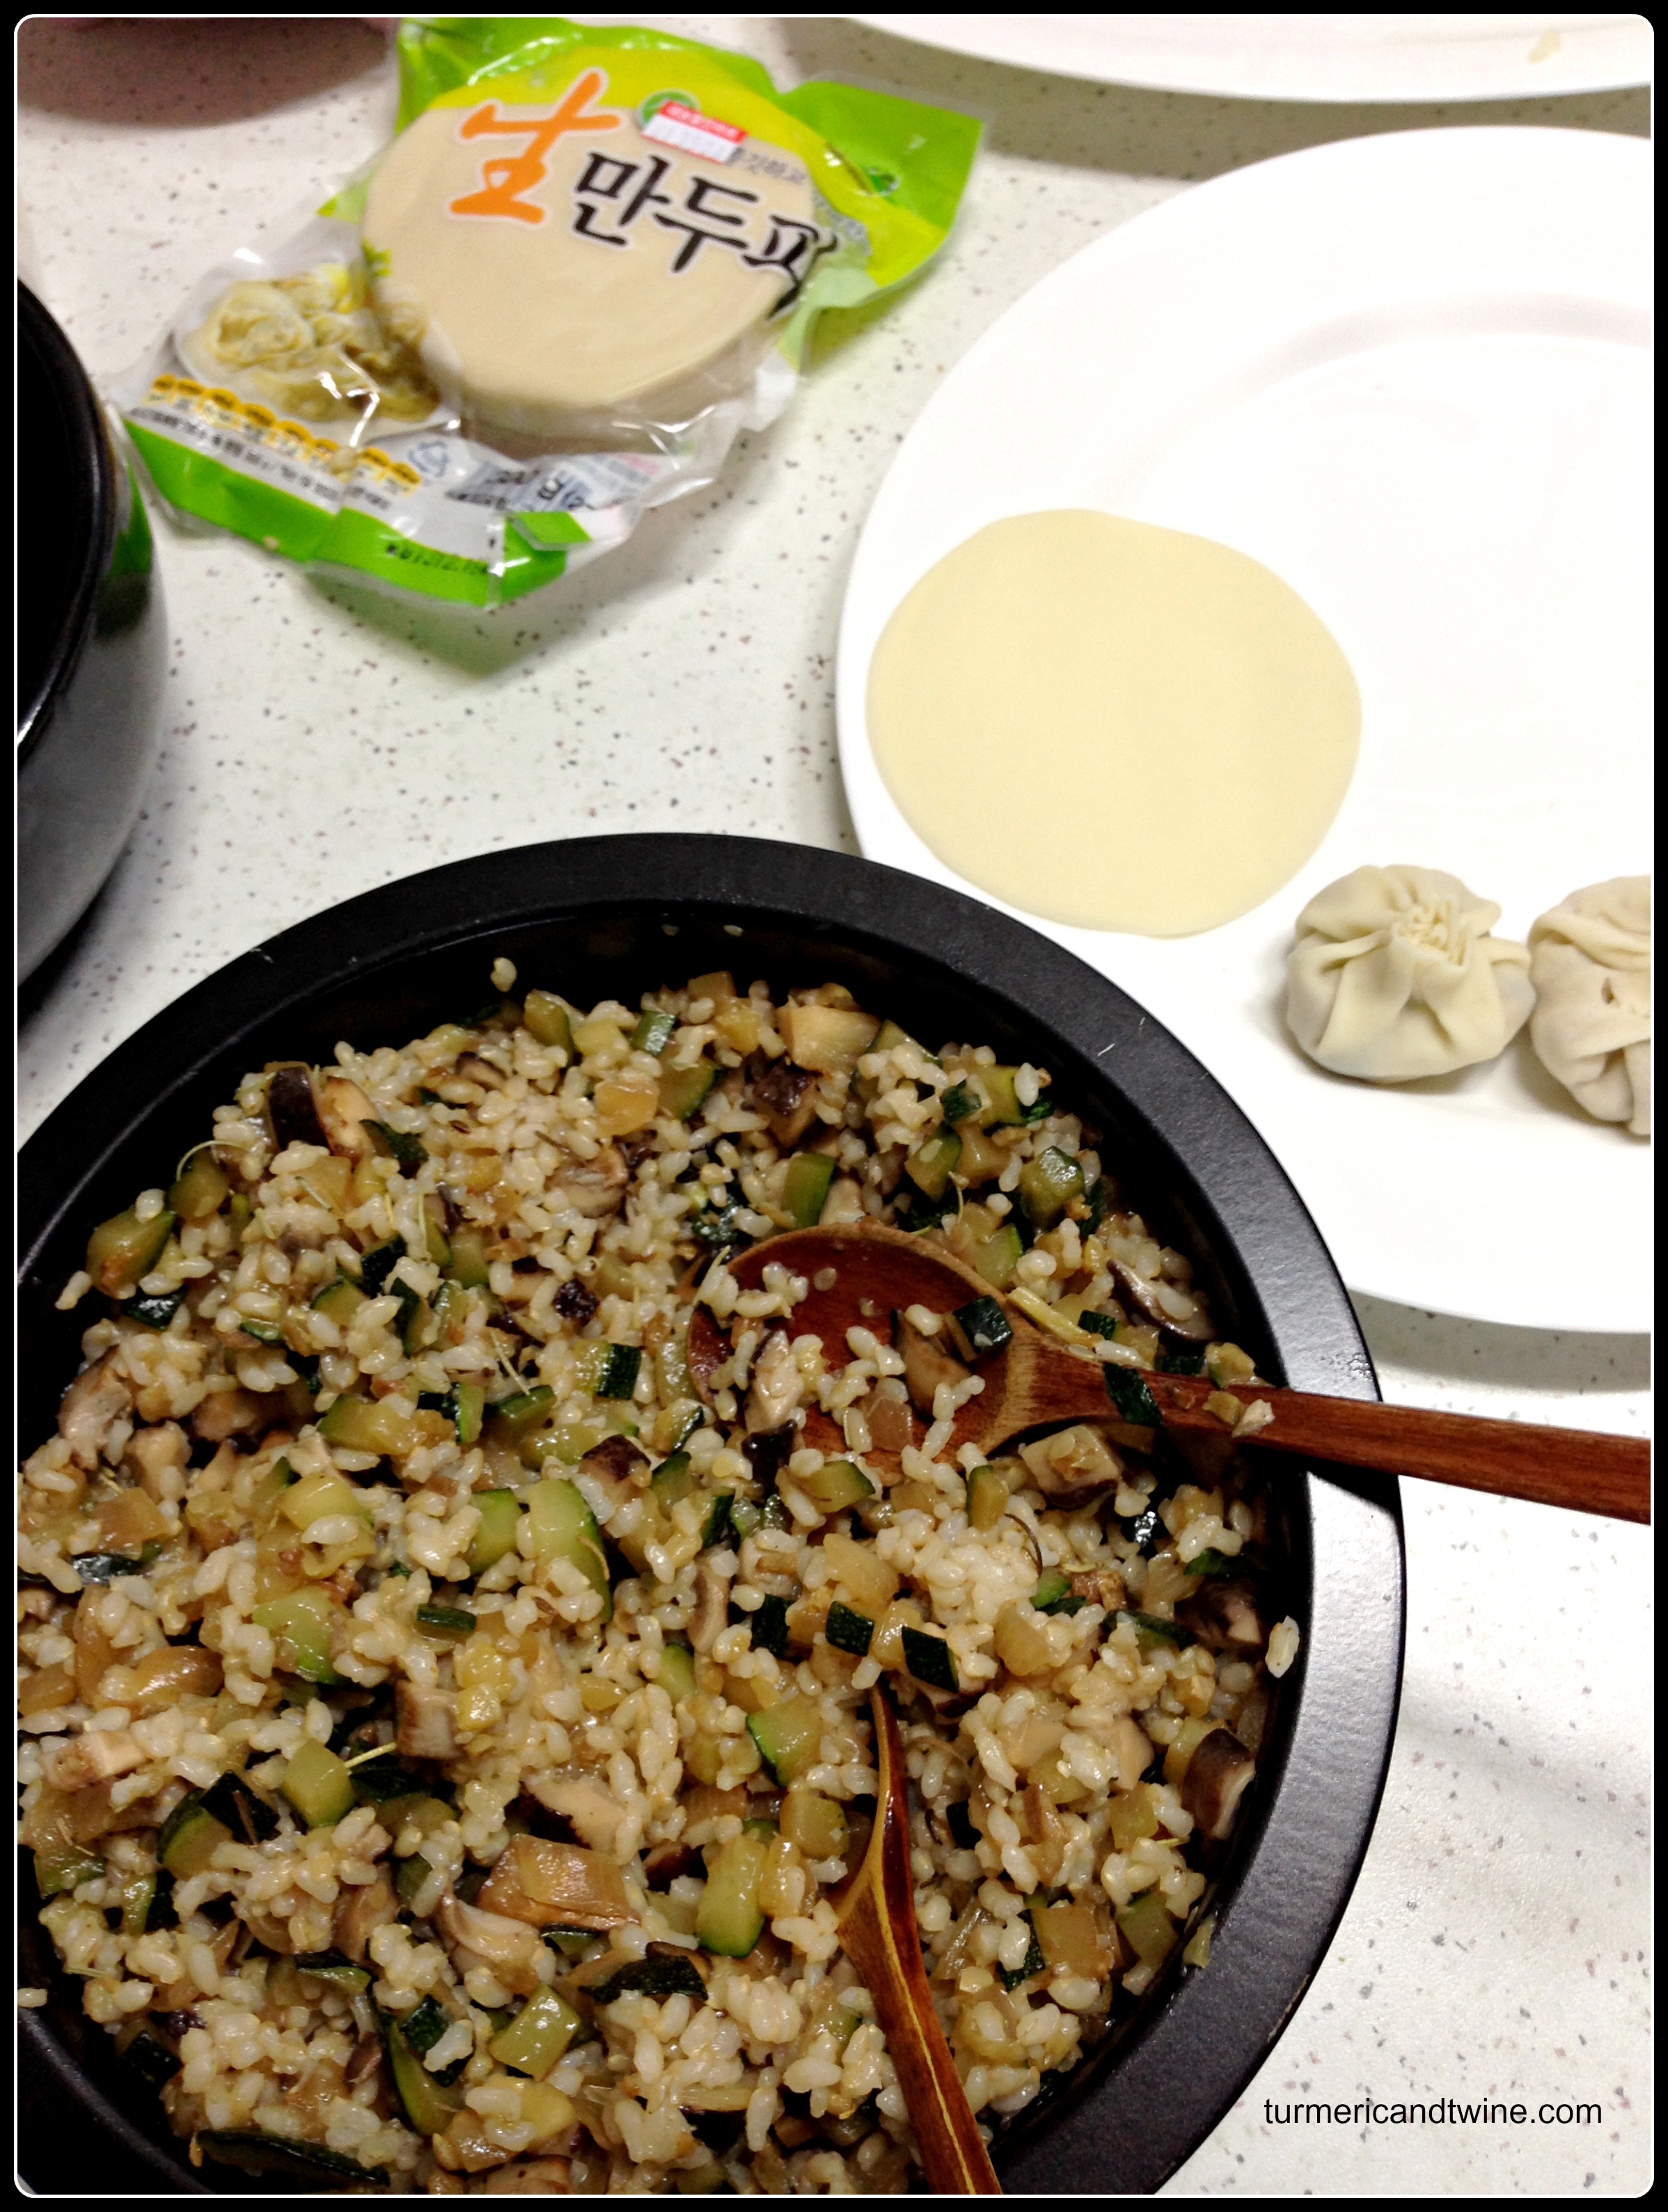
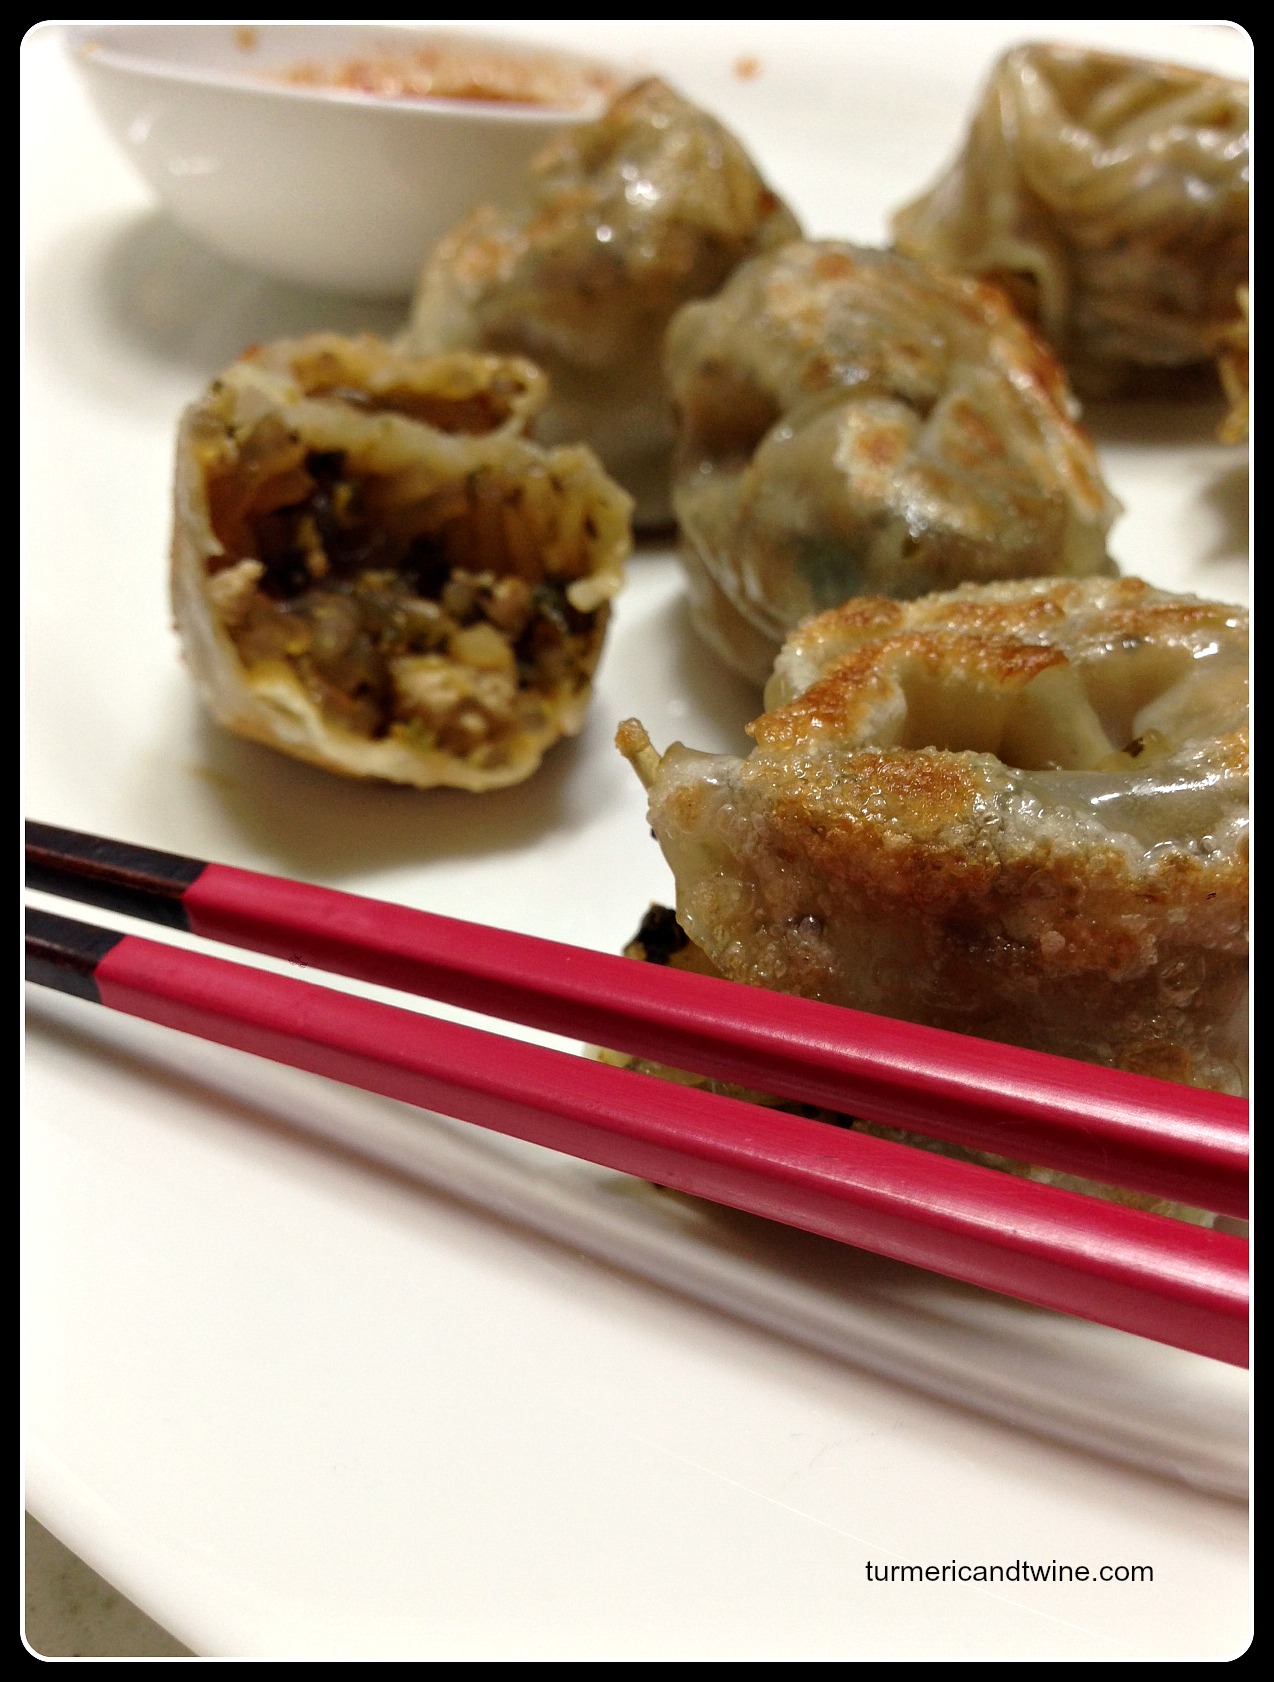
The day trip, hosted by Kinfolk, was the dream baby of my fabulous friend Jacqui. A group of about 20 were swept away to a beautiful meditation retreat center that is also dedicated to traditional Korean fermentation recipes and techniques. We tasted soy sauce, garlic, vinegars, eggplant wine, various leafy plants and kimchi all brewing in large pots in the sun. Participants were able to help prepare some dishes, such as stuffed rice balls and tofu skin wraps for the feast at the end of the day. After sampling all the fermented goods, it was pretty astonishing that were able to consume more. But, oh, we were able and, oh, we did.

It was a glorious day and even thinking about it helps remind me that I need to get out more often. Living in the city is… challenging. Since starting my newest job four months ago, my commute has gone from a five-minute walk to forty-five minutes of walking, riding the subway and walking again. It is no surprise, yet still shocking how much a longer commute saps ones energy. Further, my commute is on one of the most packed lines on the Seoul Metro. One day last week, it was so mind-numbingly packed and people were being tossed around so hard that some ladies were wincing and yelping as they were trying to get off (imagine a disturbing mix of sex noises and dog cries). I practically ran off the subway car at my stop, very dramatically, tears in my eyes, feeling depleted, defeated and stressed. I wondered if I would be able to survive this commute to the end of my contract.
Luckily, most days are, at least, bearable. I force myself into a numbed state most every time I get on, determined not to let the daily violations of my personal space get the best of me. I’ve seen people who have. It ain’t pretty.


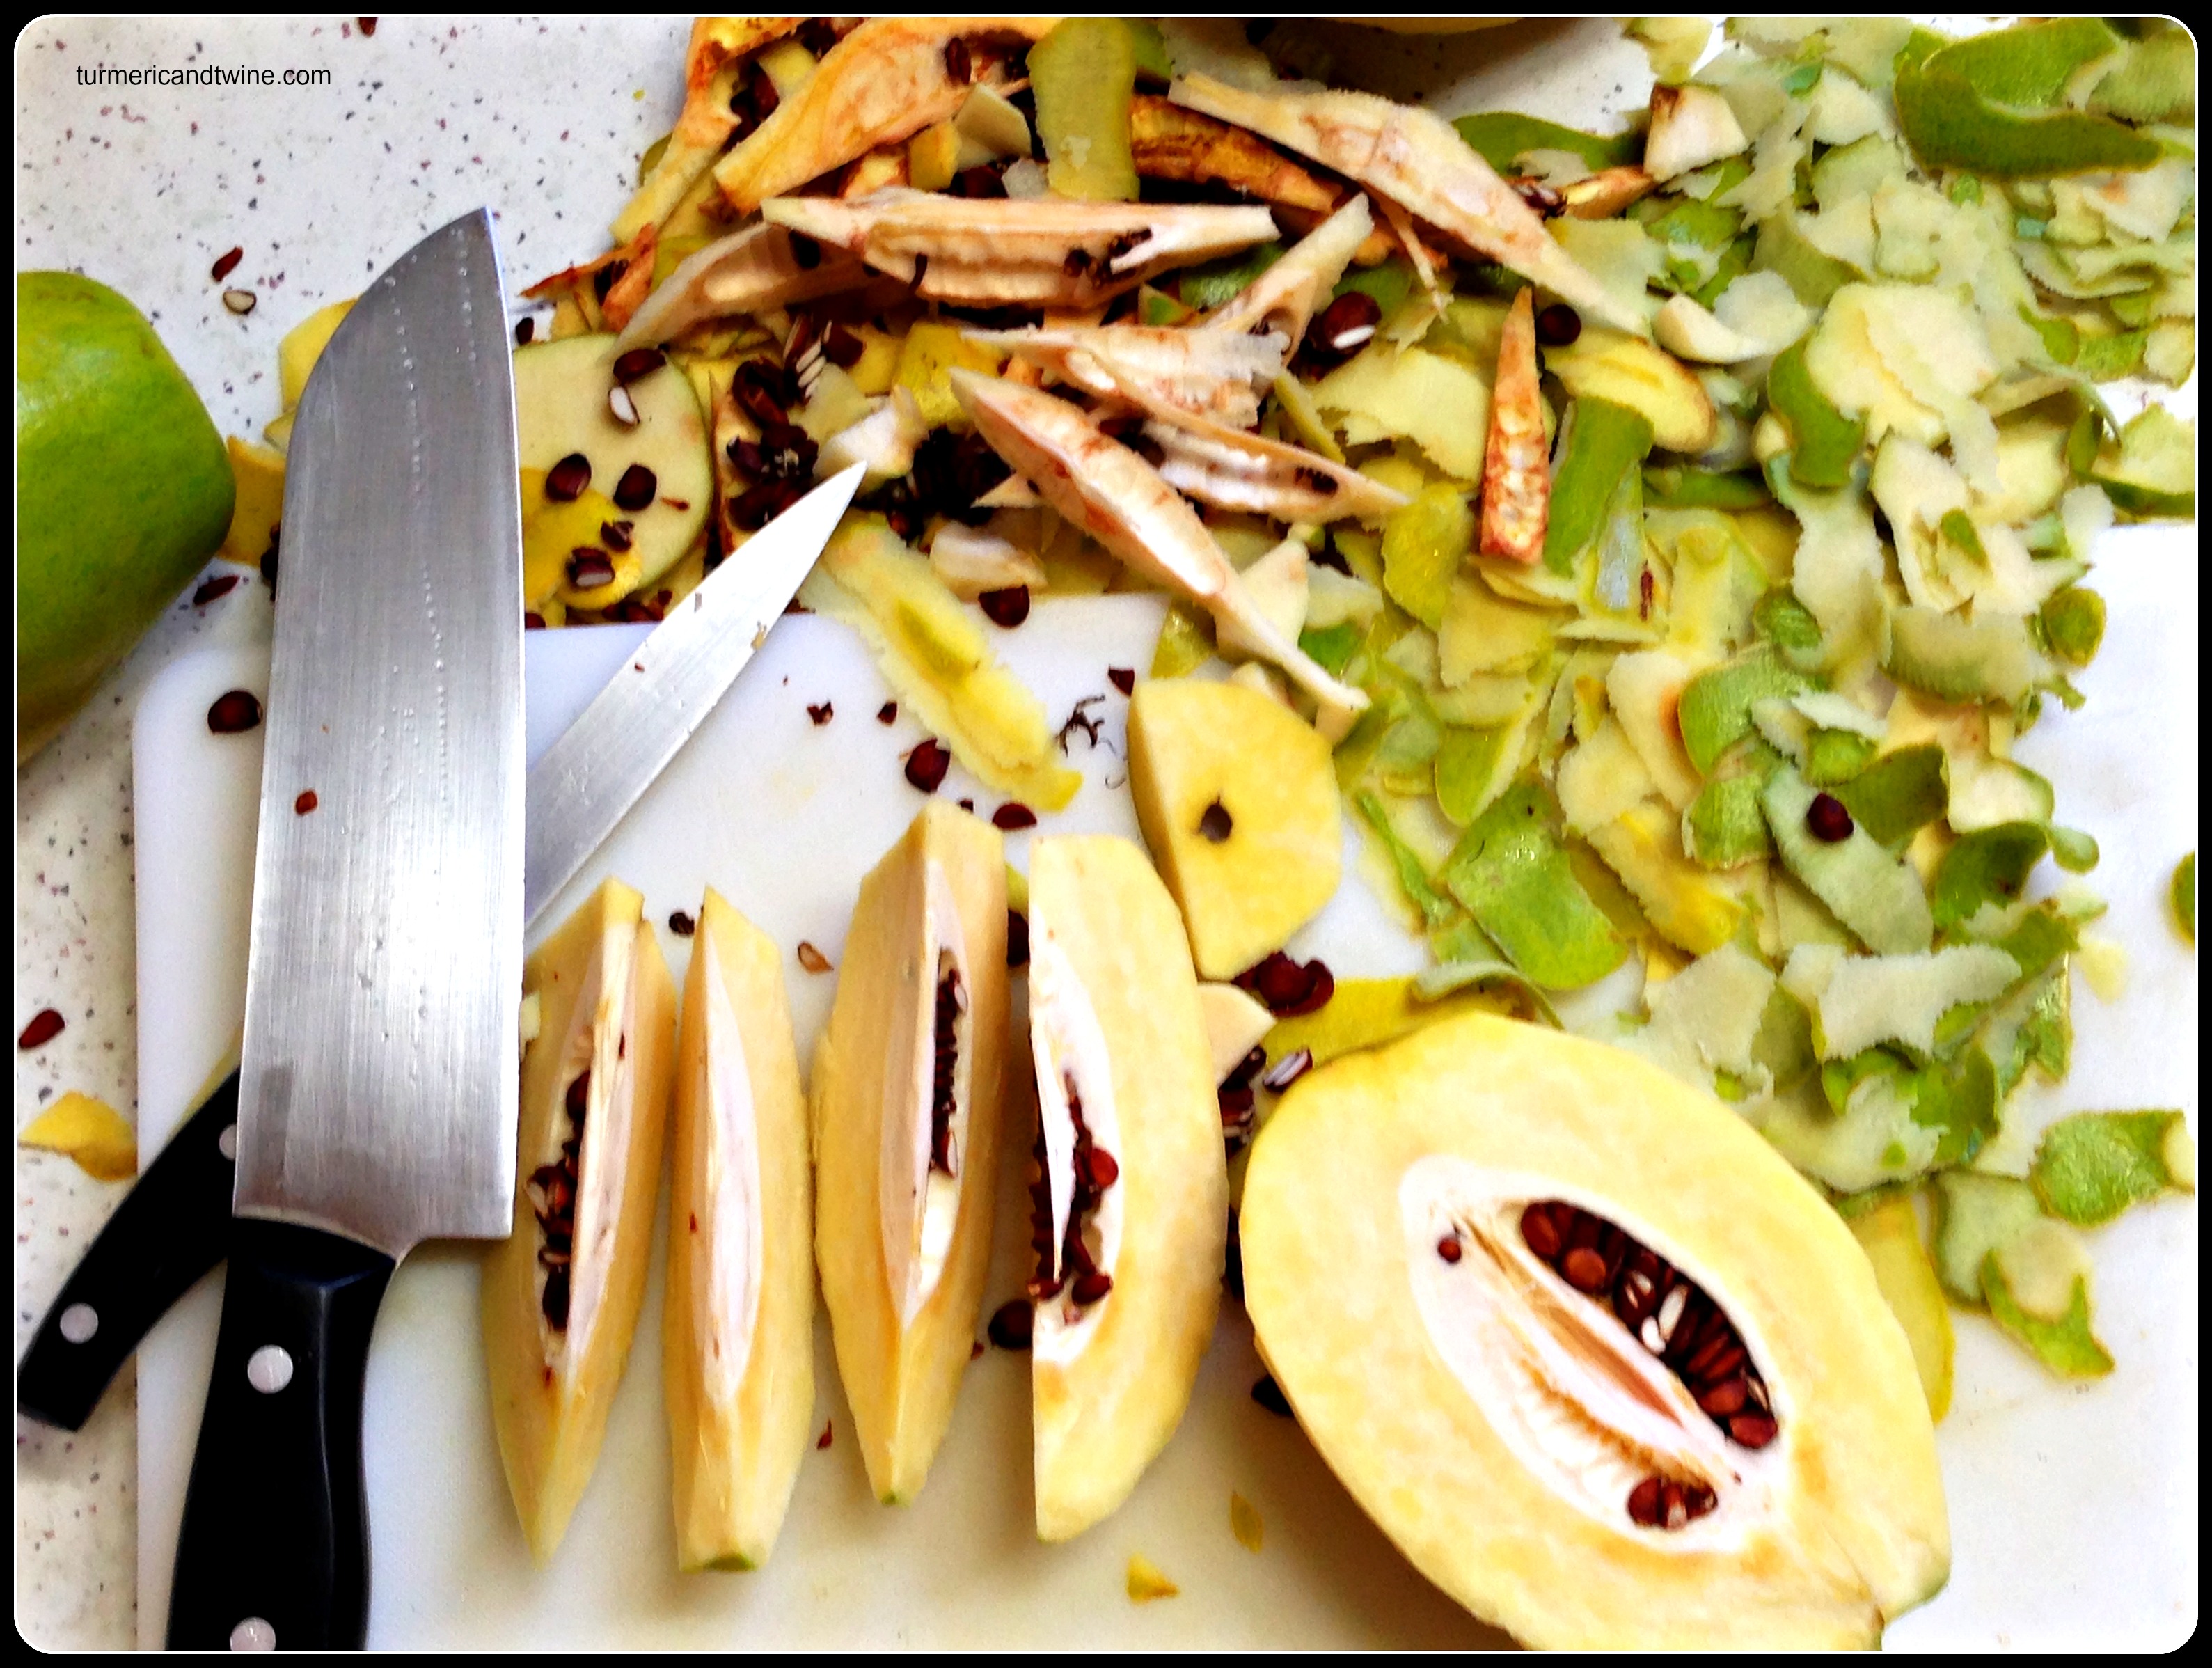
Quince is a curious fruit I’ve never really had the time for. When there are other trusty fall fruits like pomegranate, tangerines and persimmon about, who has time to be excited about an unassuming green rock of a fruit such as quince? I have since mended the error of my ways and become mildly fascinated with the most awkward member of the Rosaceae family.

Before I learned that quince isn’t exactly edible/digestible when it is uncooked, I, of course, ate lots of it raw. I even brought it as a snack to work, gaining the attention of the older and hungry elementary students. After some initial trepidation and reactions to the astringency, they were begging for more. I was too, after they devoured the lot. Buggers.

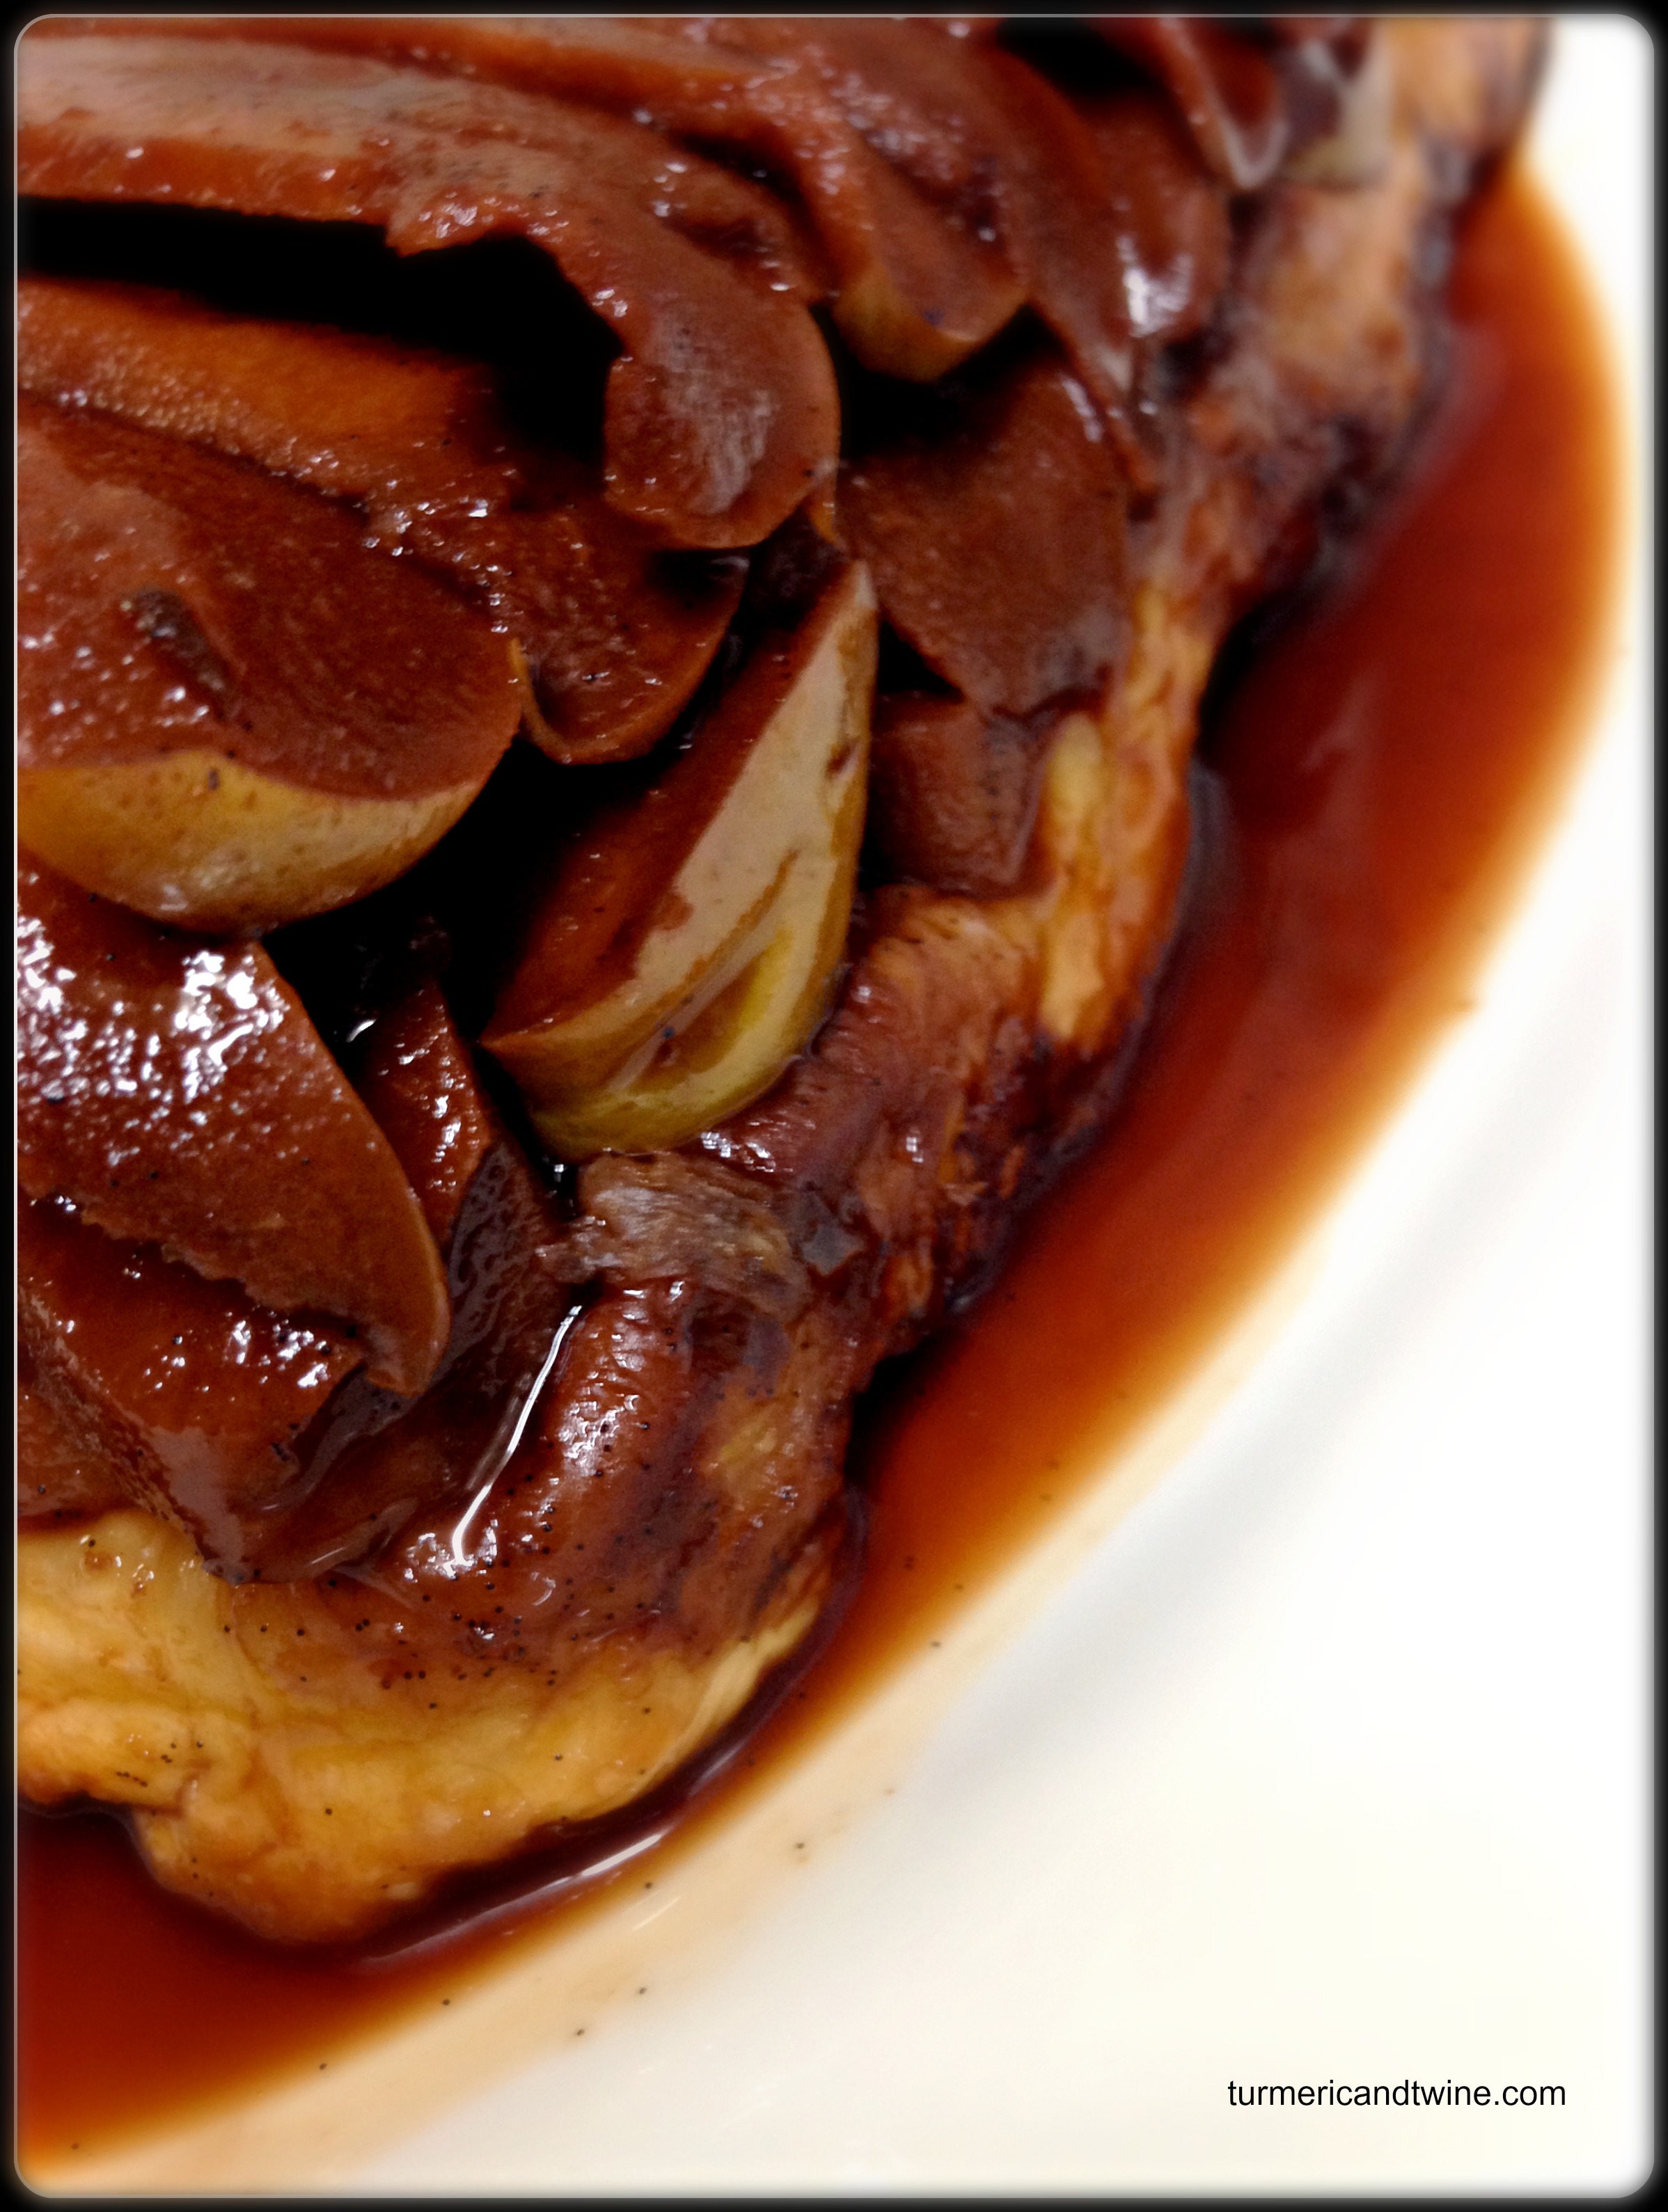
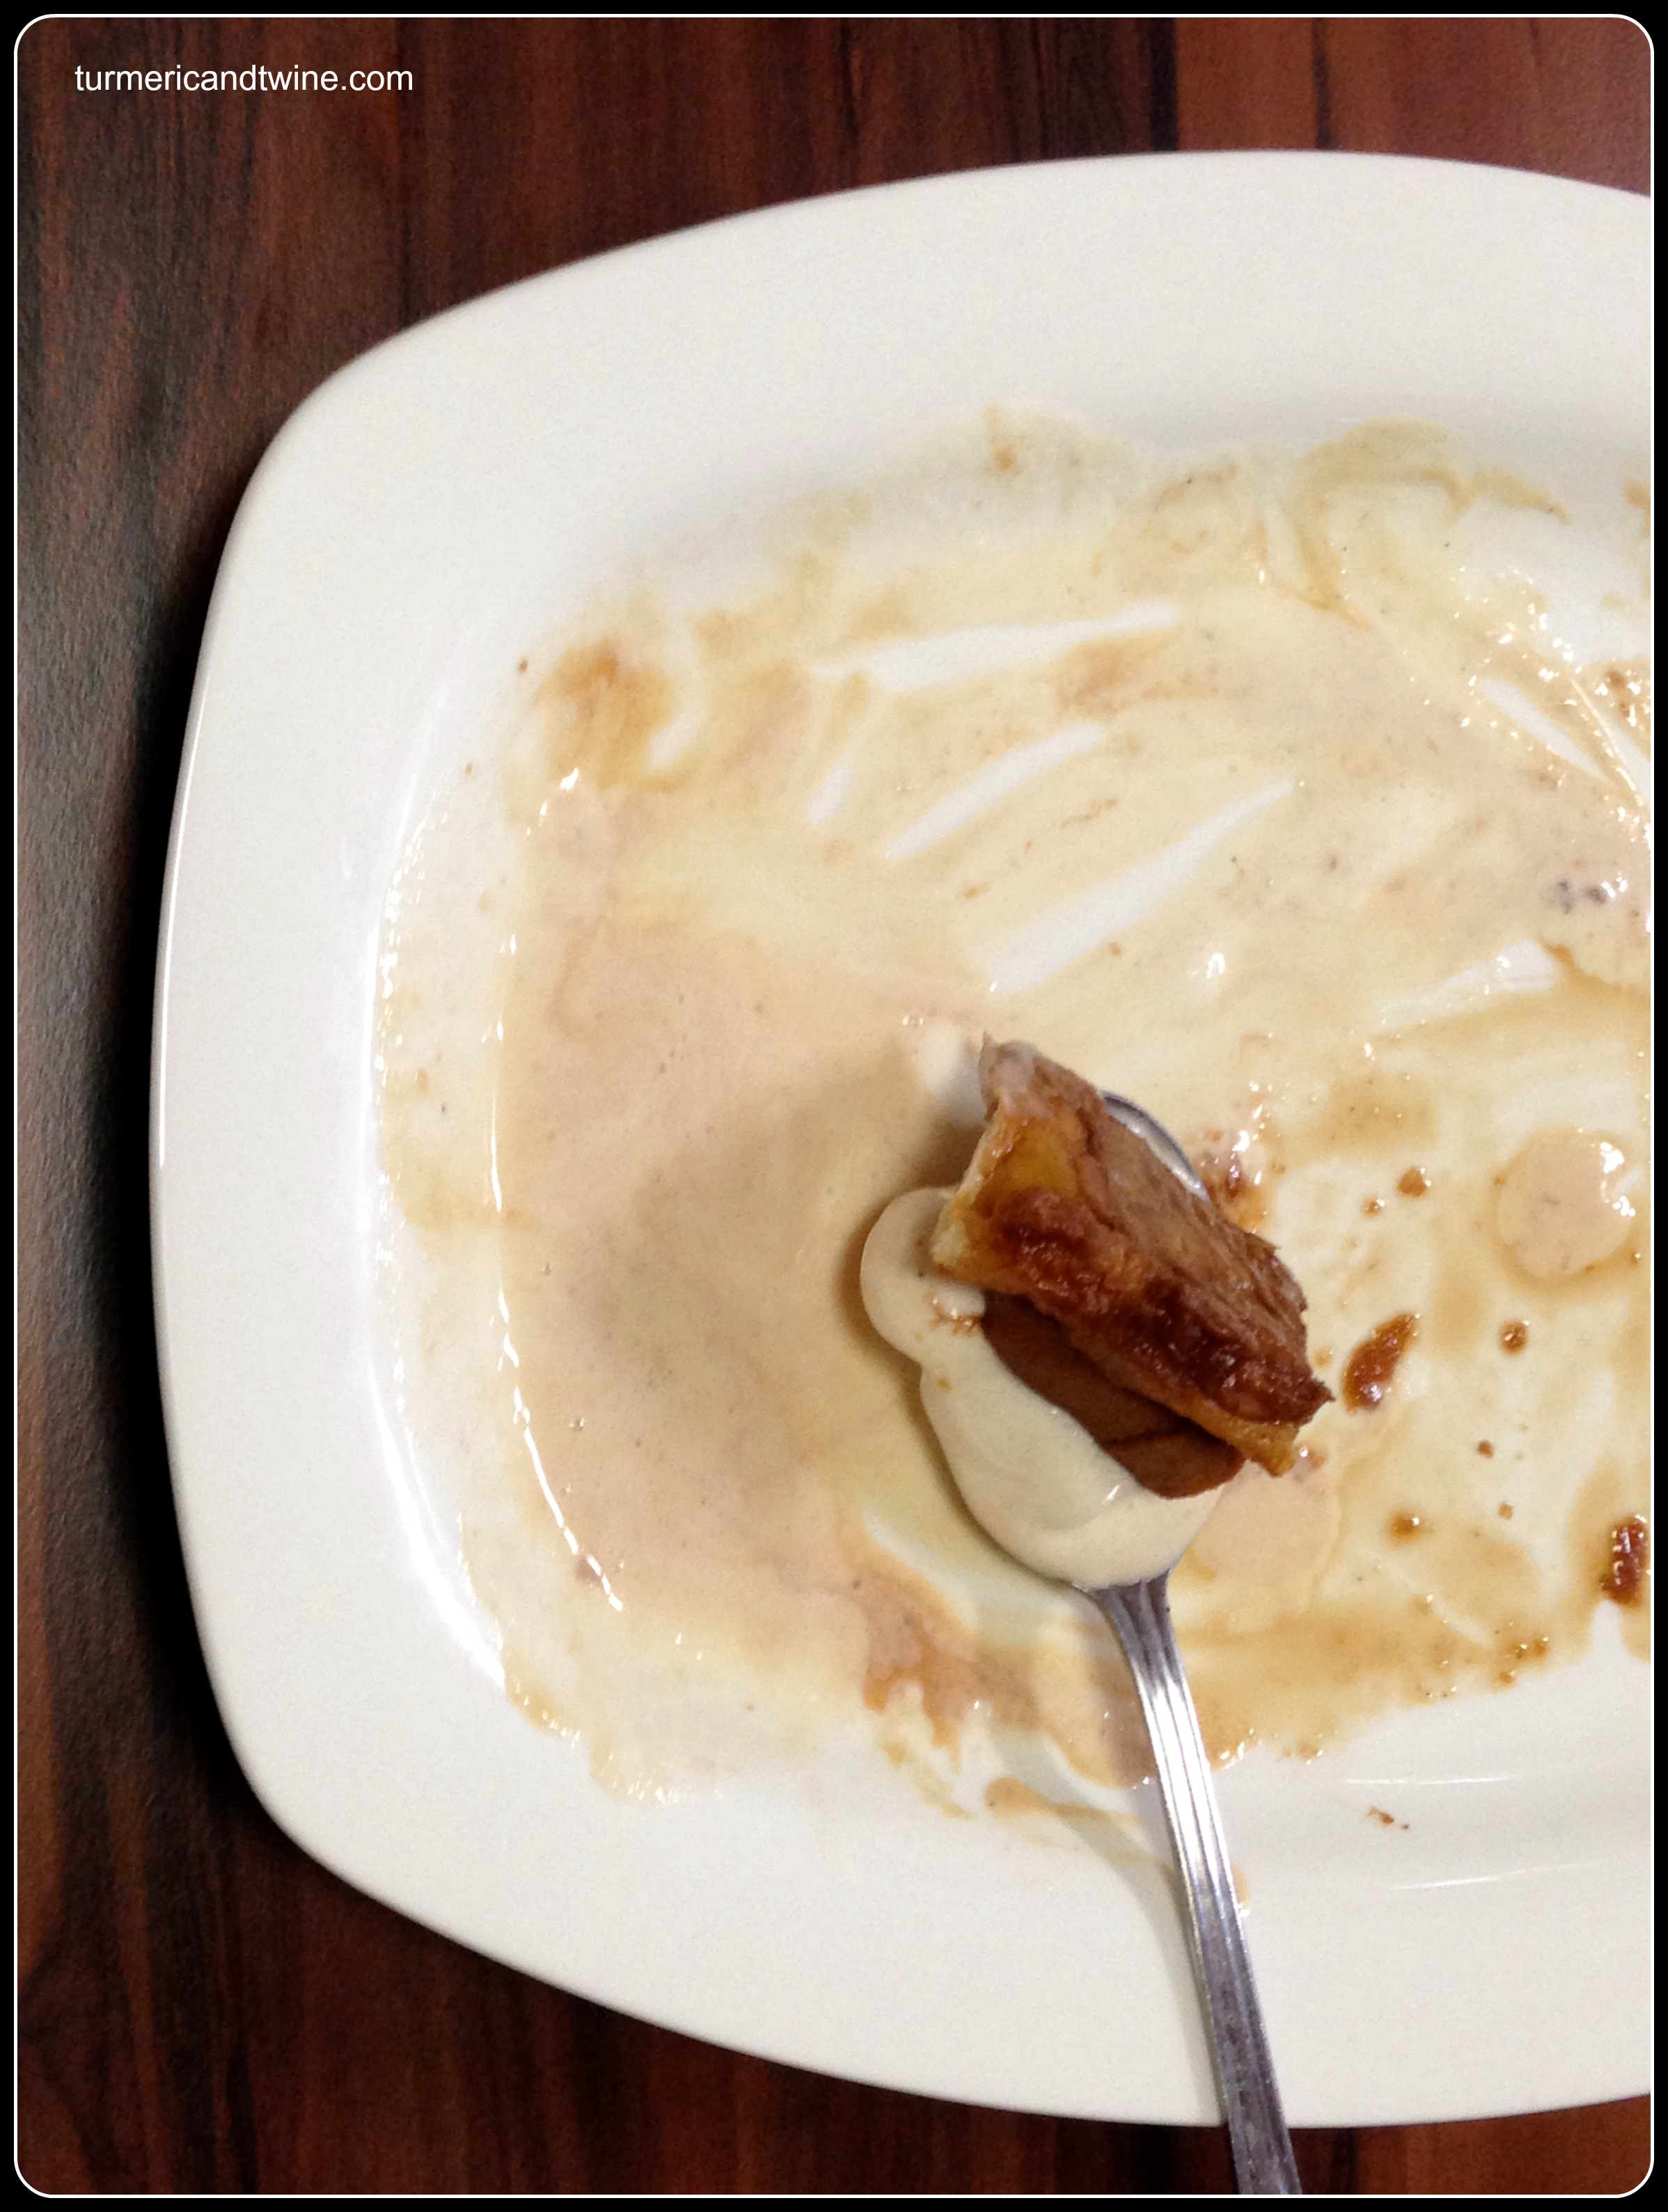
I’ve never particularly noticed quince on sale here in Seoul, but I now live close to several traditional markets that provide produce that is seasonally sensitive, so they’ve made appearances everywhere. I bought a few and tried Food52’s version of quince tarte tatin. I usually dislike pies with quince’s sweeter cousins apple and pear, (I know, I know… I’m just really picky), but quince really hit the spot. The fruit not only kept its deliriously tart goodness, but it sweetened just enough to be transformed into a unique dessert. Another interesting feature is that the white flesh of quince also turns red once cooked. It has tempted me to experiment with it more.

Quince Tarte Tatin
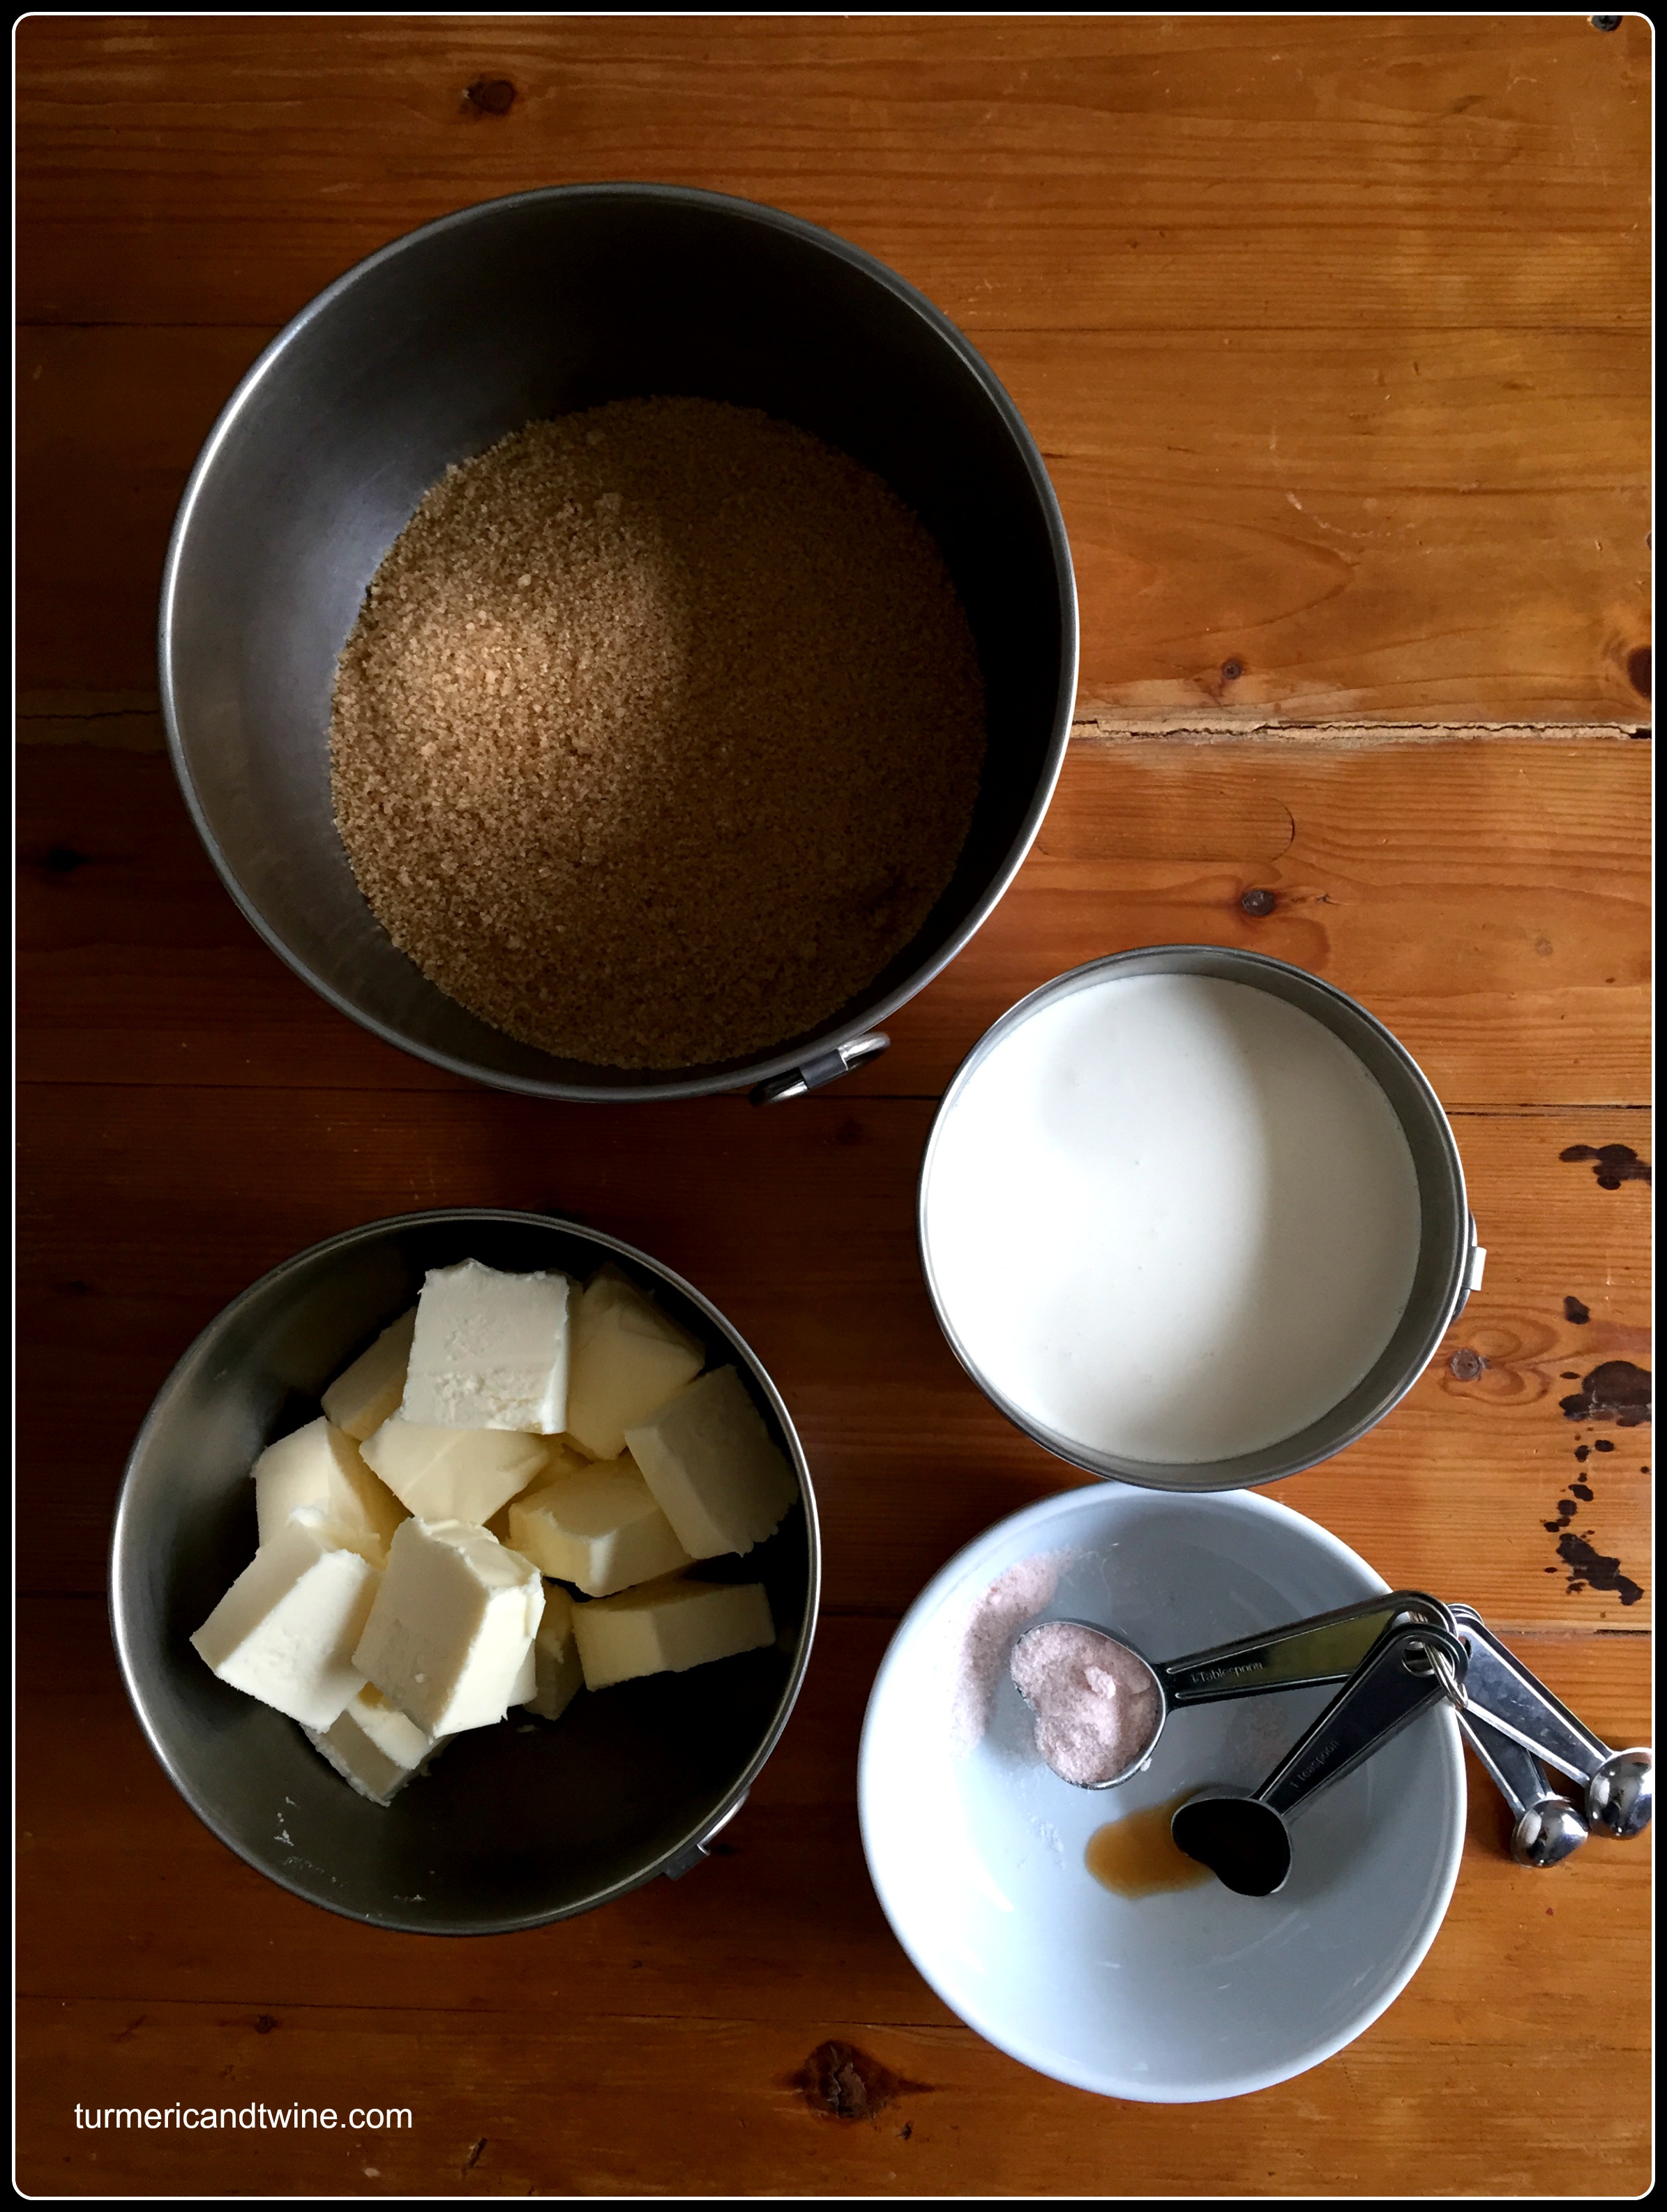
Ingredients
For Poached Quince
- 4-5 quince, peeled and deseeded
- 6 cups of water
- 1 lemon, cut in a half and juiced
- 2 cups of brown sugar
- 3 vanilla beans
- a pinch of sea salt
For Quince Tarte Tatin
- 1 pound puff pastry
- 3-4 poached quince (depending on the size of your baking pan)
- 1 ¼ cup quince poaching liquid
Directions
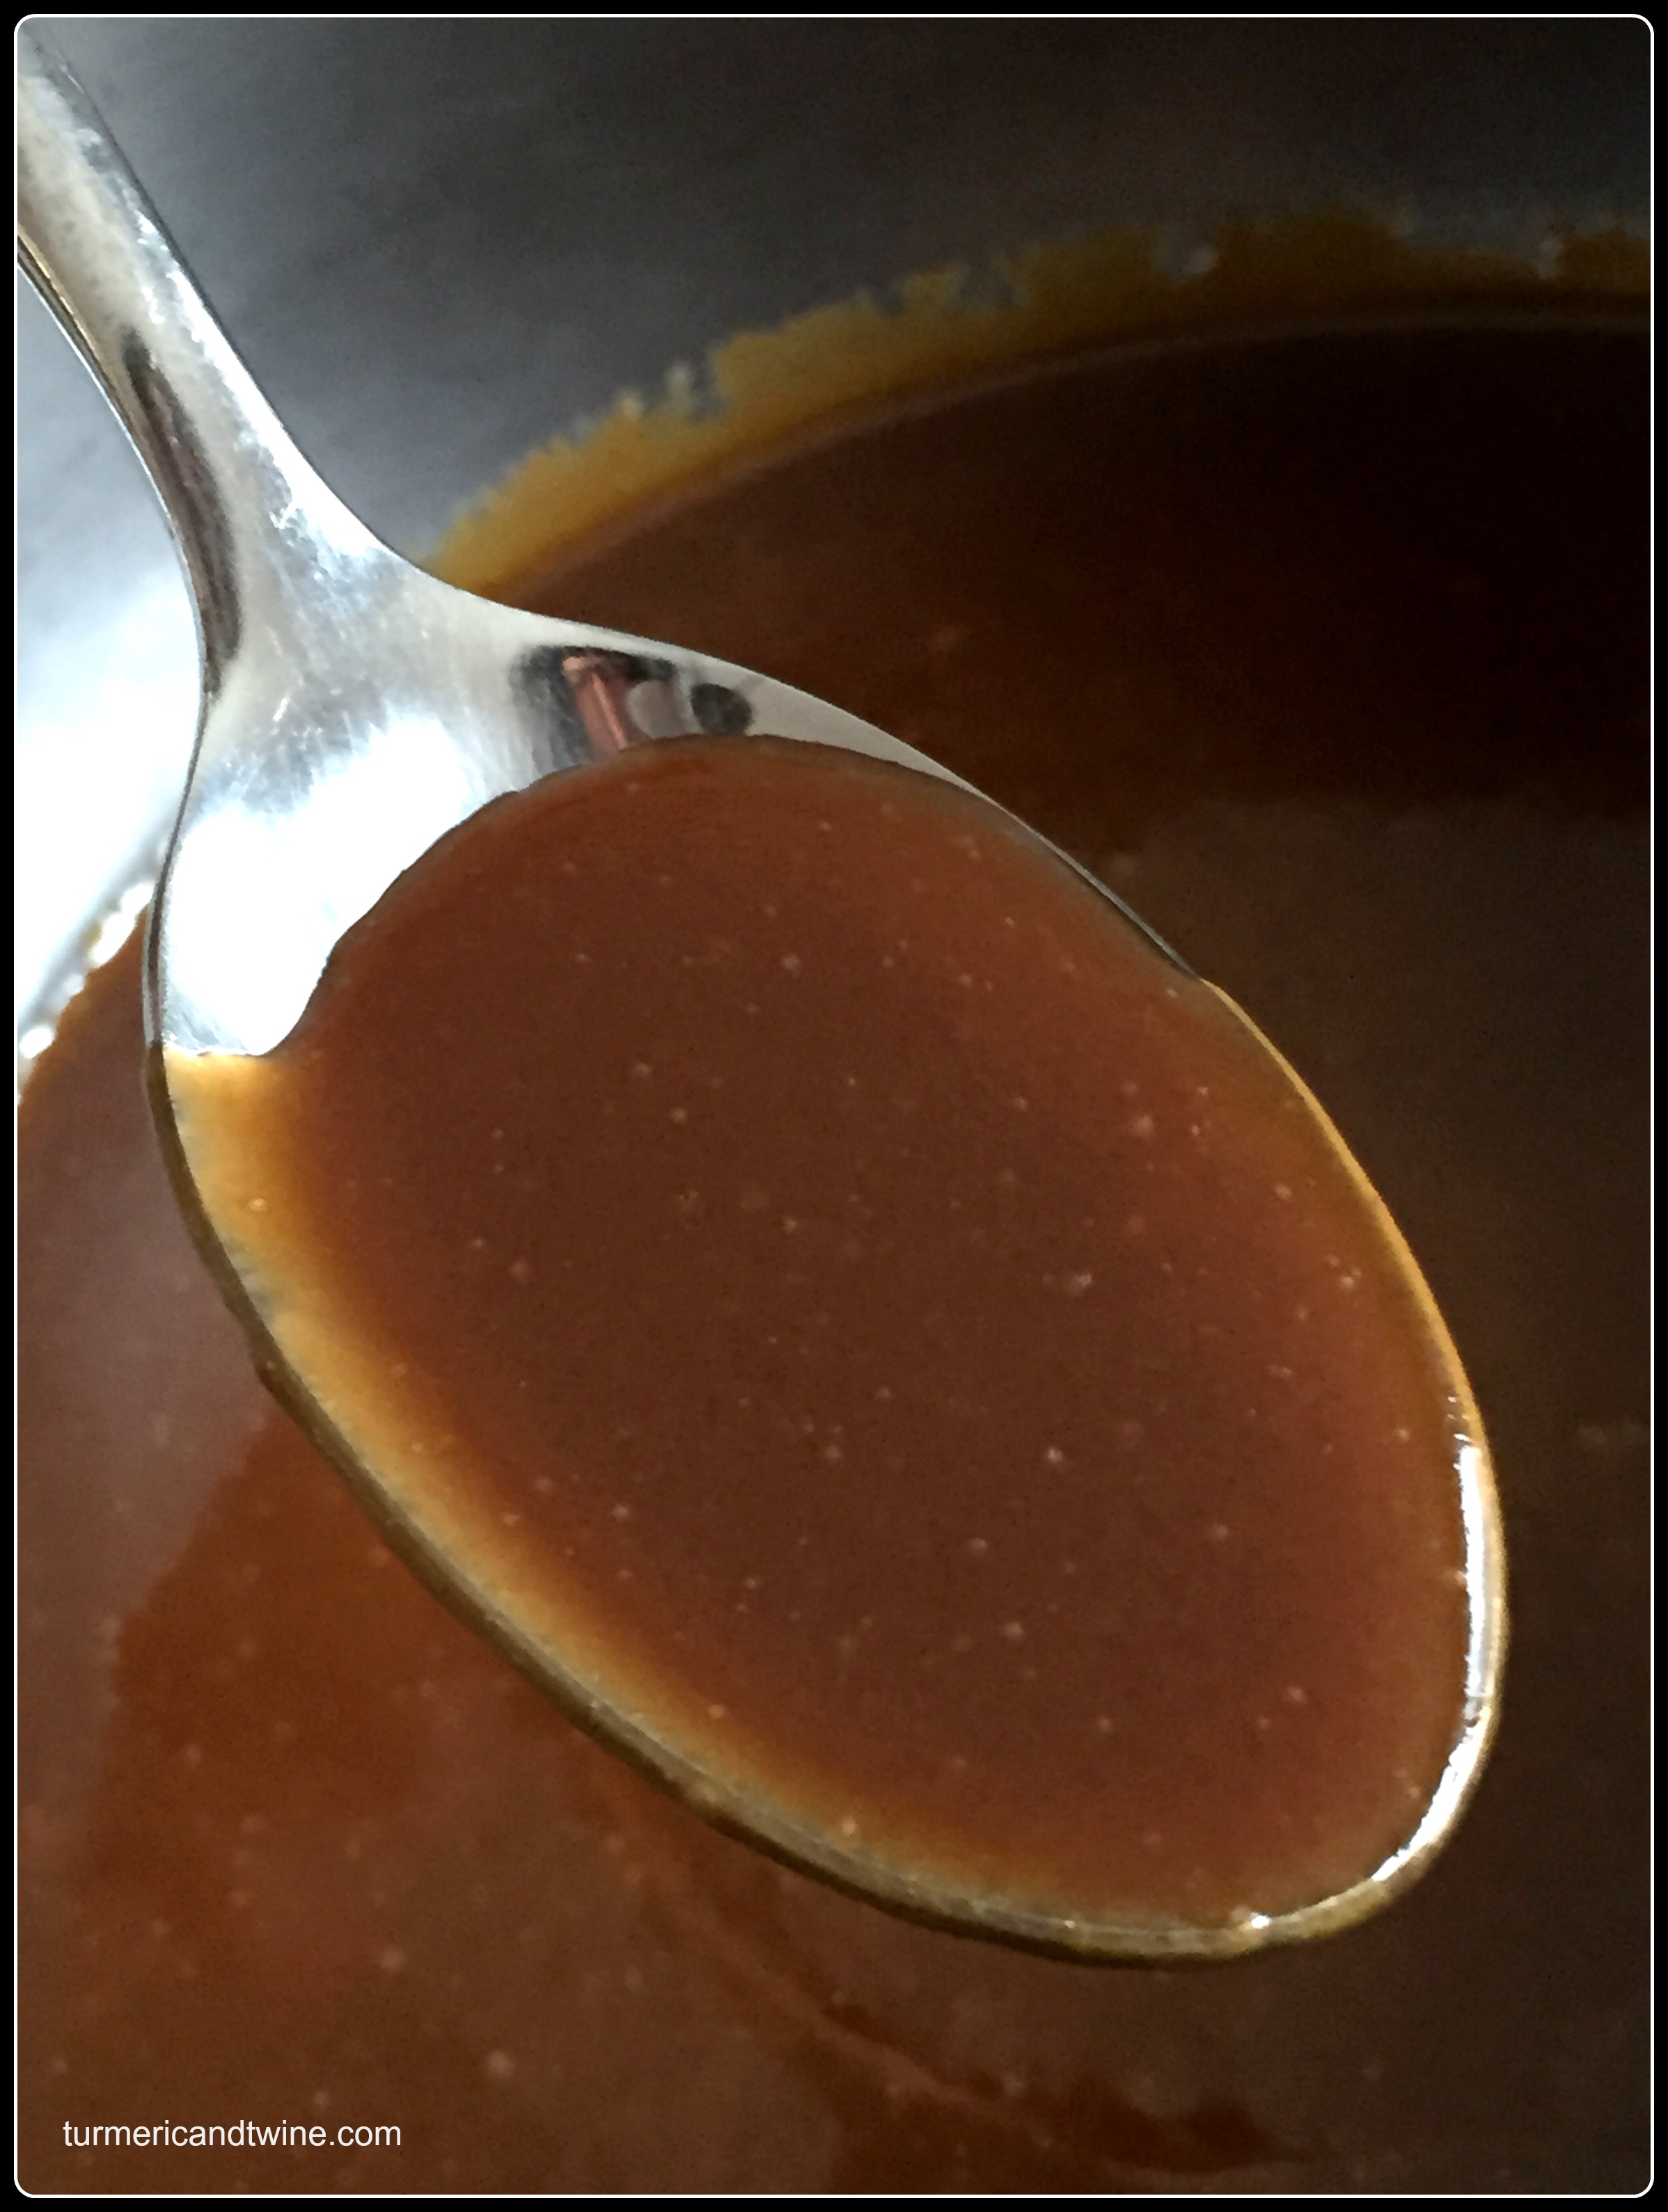
In a large pot, add the sugar and water and bring to a low boil. Once the sugar dissolves, add the lemon, lemon juice and vanilla beans.
Peel and deseed the quince then cut into quarters (or sixths, depending on the size of your fruit. Gently drop the quince into the liquid and cook until tender, which can take about 45 minutes to an hour. Remove from heat and scoop the quince pieces from the liquid with a slotted spoon.

Preheat oven to 375ºF/190ºC/Gas mark 5.
Pour about 2 ½ cups of the poaching liquid into a non-reactive skillet -most Teflon or heavy bottomed stainless steel brands will do. On medium high heat, reduce the liquid until it develops a syrupy viscosity. Be careful not to burn it, or you will have a terrible mess to deal with.
Arrange the quince pieces in a baking pan, cutting them further if needed. You may need to place several layers of the fruit so they fill the pan adequately. Drizzle the reduced liquid on top of the quince.
On a lightly floured surface, roll out the puff pastry to a third inch thickness and lay the sheet on top of the awaiting quince. Cut away excess pastry.
Bake the tart for about 35-40 minutes or until the pastry is golden brown and fully cooked. Let it cool for at least 10-15 minutes. When ready to serve, place a plate that completely covers the pan over top of the tarte. In a quick, fluid motion, carefully flip the tarte onto the plate so it is completely removed from the pan.

Serve warm, with vanilla ice cream if desired.
Serves 6-8.