In the past month, in the midst of my job search, I went on a few mini trips for the purpose of pleasure and to visit friends and family (previously mentioned here). It had been many years since I’d seen my sister and even longer since I’d been on the State side of the Pacific, what with the whole living in Asia thing. In fact, the last time I’d been to the west coast was for my sissy’s wedding to her fabulous wife 5 years ago. It was a lovely trip full of fish tacos, kitties and pretty nature.
The Ladies of Hanukah: Bee, sissy, mum and me. Thanks to Erika for the photo!
While wandering, I took a few (hundred) photos of those pretty natural things. Here are some of my favorites:
Colourful.
Beets are also colourful. And flavourful.
This recipe has converted a few beet haters I know. Beets pair astonishingly well with dill, which has been a traditional gastronomic practice in many European cuisines in various forms. Borscht in Eastern Europe and salads in Italy. With the aid of lemon and Dijon, this salad is an exemplary archetype of freshness. The walnuts add texture and creaminess. Do make. Do eat. Do enjoy.
Tangy Dill Walnut Beet Salad
Ingredients
3 large beets, peeled and cut into bite sized cubes
3 stalks of celery, diced
1 cup ( ½ a bunch) of chopped fresh dill
2 tbsp of diced red onion
2 tbsp of dijon mustard
1 ½ -2 tbsp mayonnaise
2 lemons, juiced
2 tbsp tamari
1 tsp toasted sesame oil
1 tbsp olive oil
3 tbsp walnuts, crushed (optional)
salt and pepper to taste
Directions
Place the peeled cubes of beets in a large pot of water and bring to a boil. Continue boiling for 25-30 minutes. To check if they’re fully cooked, poke a large piece with a fork. Like a potato, it should be soft when done. Do not overcook, or you’ll have beet mash.
Drain and rinse the beets in a colander and place in a large bowl when fully drained.
Add all other ingredients and mix well.
Variation
Replace mayonnaise with goat’s cheese for a saltier, less emulsified creaminess.
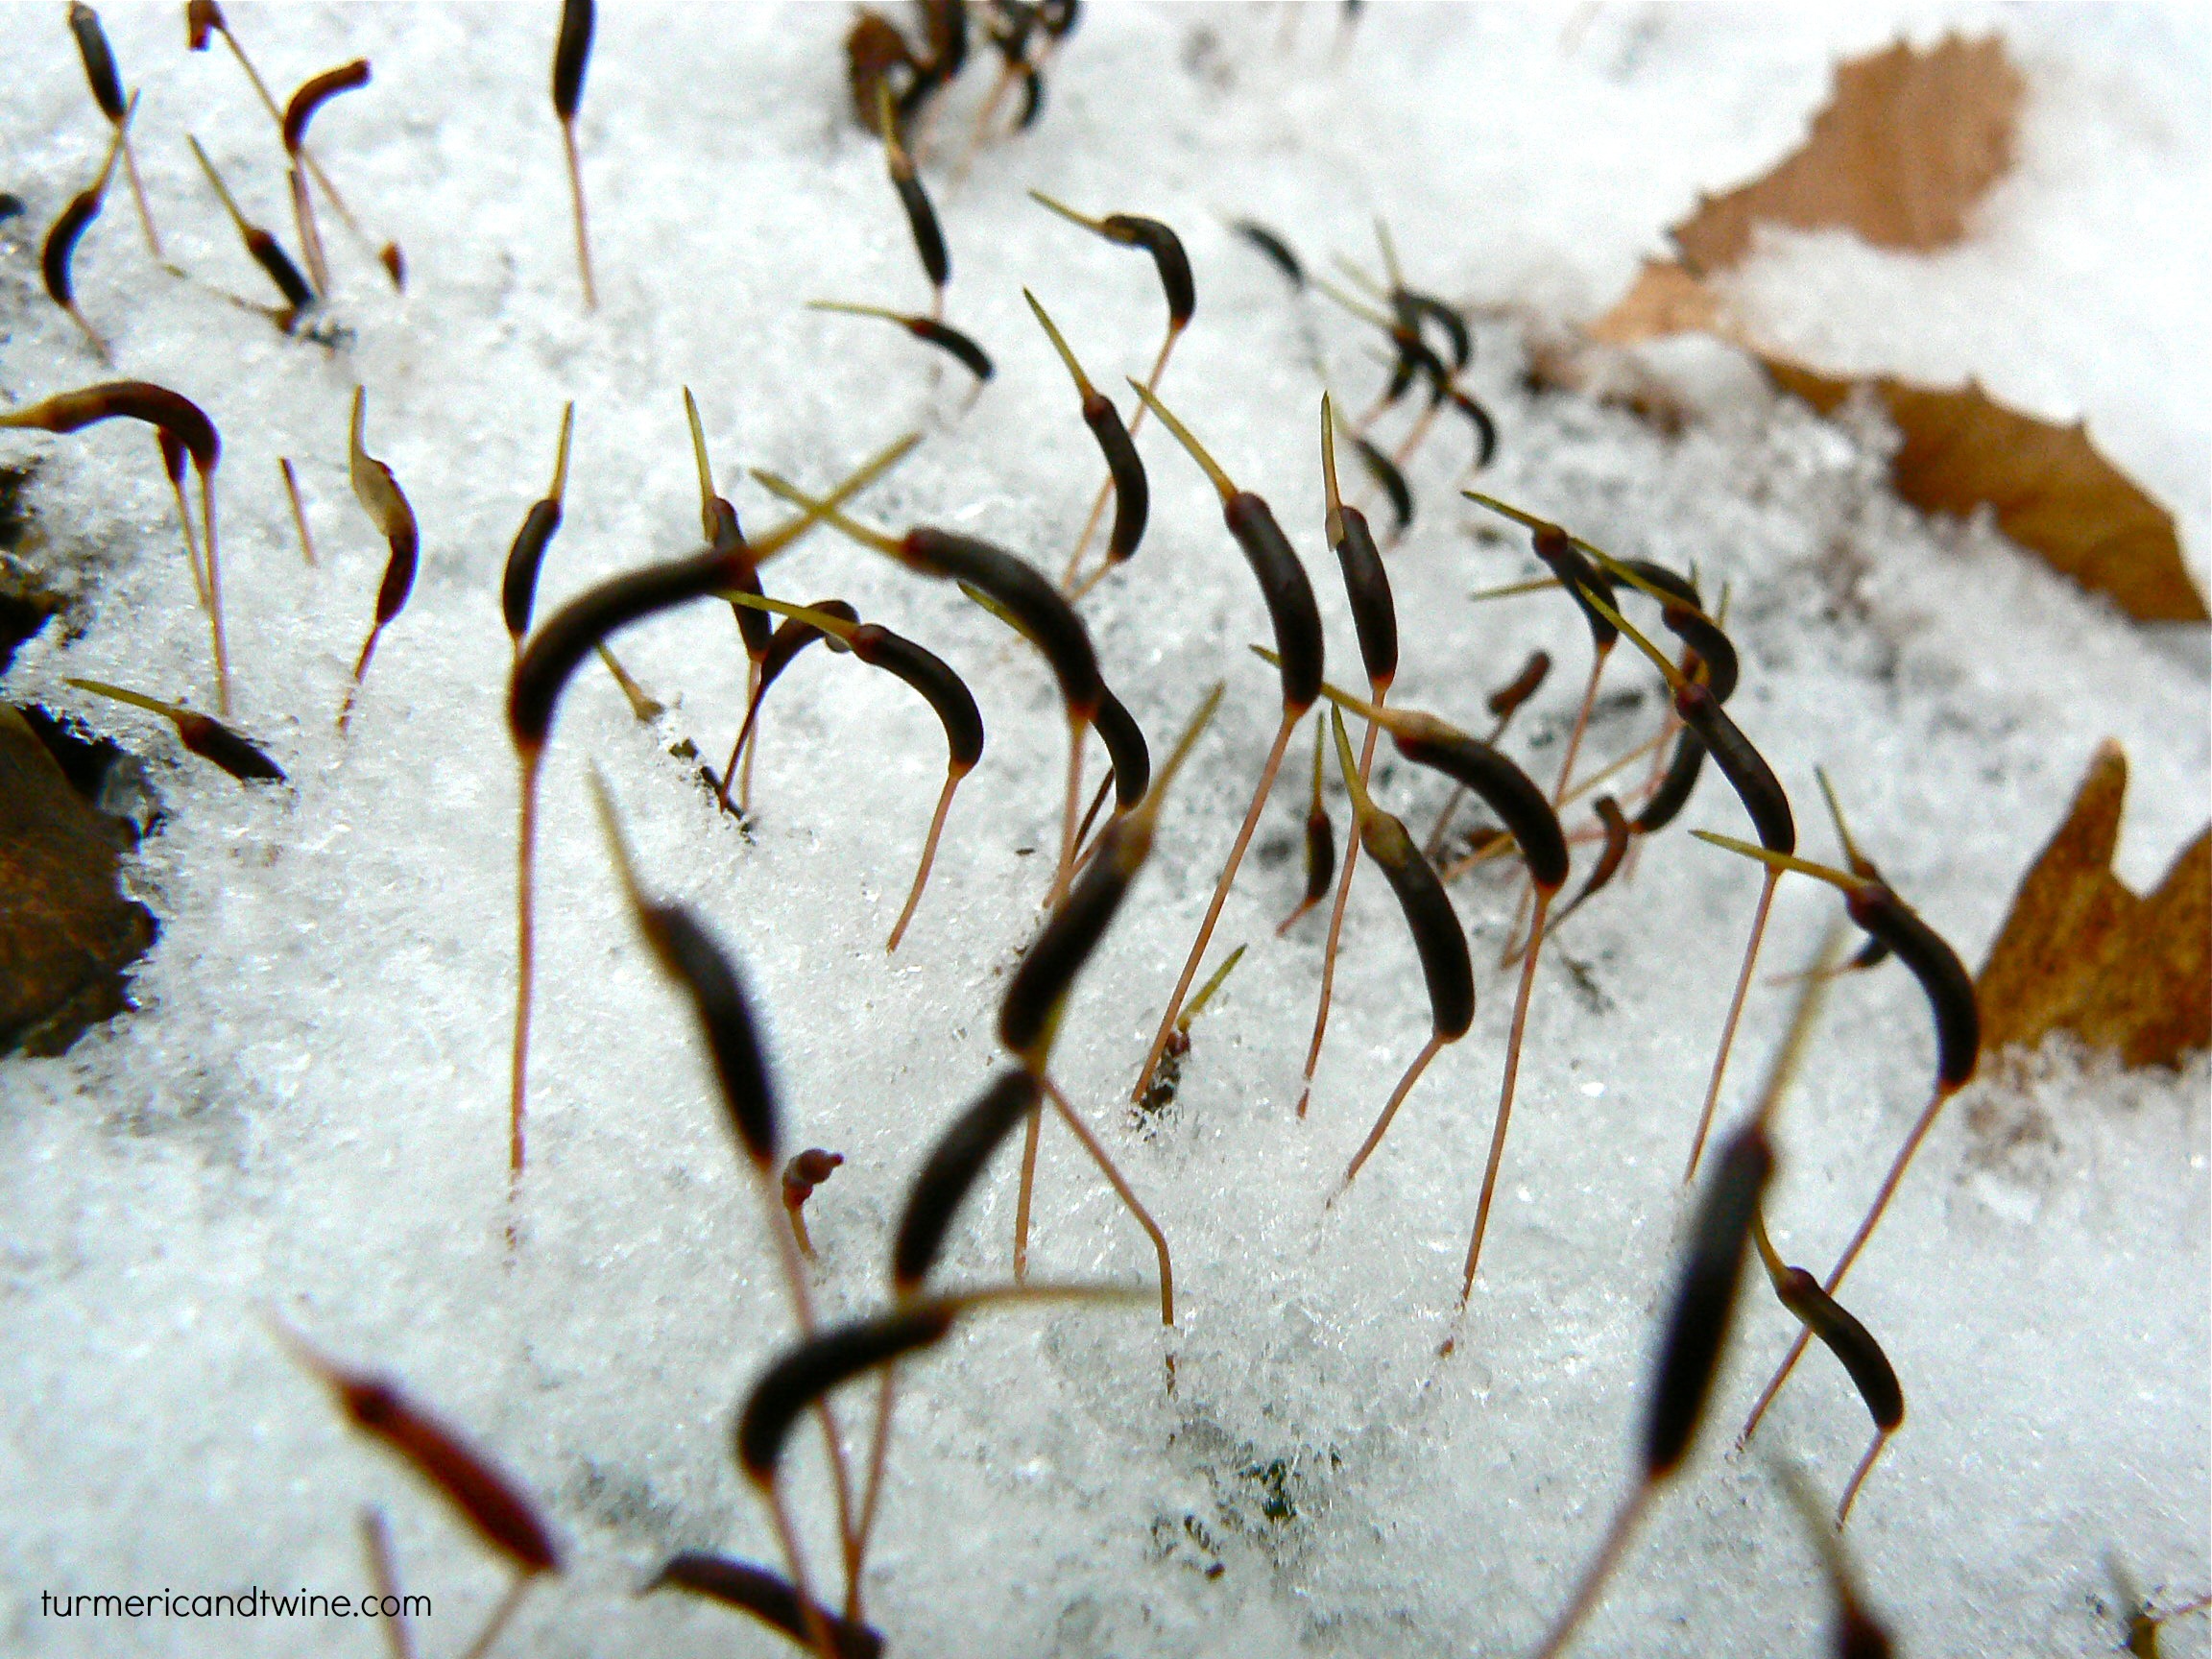
Mum and I went for a walk in the woods last week in the fresh snow. A friend had cleared a new path this past summer that borders the unfriendly edges of our property and we wanted to explore the old ruins found there. When I say unfriendly, I’m alluding to the gun toting, 4 wheeling neighbors who once threatened my mum when she approached their home to get directions. How charming.
I can see that my New Year’s resolution of being less sarcastic will be a challenge. (Happy 2013, by the way!)
Some expert of some relevant subject came to see these ruins and speculated that they might have been built and used by the Mohicans as a trading post long ago. The ruins consisted of a large stone marker and 3-walled structure of some sort, where people would meet and/or leave goods for each other. It’s pretty cool to find this sort of thing in ones own (extended) backyard. It can be easy to forget the possibilities of the past in just about any place (except for maybe Surtsey Island), and especially in an area as quiet (quiet for me, anyway) as the Berkshires. It is unknown whether or not these are actually Mohican ruins, but it is nice to think of that possibility. I like feeling the rich history of a place, whether it’s geological or human. Time has spread its wings over everything.
One of the most satisfying winter comfort foods are sweet potatoes. Warm, earthy, orange and versatile. They add flavour and heart to any meal.
Though many cooks like to take the natural sweetness found in sweet potatoes to an even sweeter level (sweet potato pie, candied yams, sweet potato pancakes, etc) I prefer to balance the sweetness by adding salty and savory ingredients. A quick look at my brand new Flavor Bible by Karen Page and Andrew Dornenburg lists a few great ideas, like: garlic, duck, dill, cilantro, cumin, prosciutto, sage, Dijon, chives and more. Mmm.
If you’re not that comfortable working and experimenting with new sweet potato recipes, try these fries as a way to practice. You are guaranteed delicious results.
Cumin Rosemary and Garlic Sweet Potato Fries
Ingredients
3 medium-large sweet potatoes
3 crushed and minced cloves of garlic
1 ½-2 tbsp of cumin powder
2 tsp of fresh or dried rosemary leaves
1 tsp salt and pepper
1 tsp sesame oil (optional)
Cooking oil
Directions
Preheat oven to 400ºF/200ºC/Gas mark 6.
Peel your sweet potatoes (or leave the skin on and just cut off the ugly bits like I do- when they are roasted the skin becomes soft and yummy. It is matter of taste. Just make sure you wash them well). Using a large knife, cut the sweet spuds into ½ inch slices. Then cut them into long fries.
Place them into a large bowl with all the other ingredients and mix until the oil and spices are evenly coating the fries.
Place the fries onto (a) baking sheet(s). Be sure to give them plenty of space. If they are too crowded, they won’t roast as well and will take much longer. Also, be sure to add any oil and spices at the bottom of the mixing bowl for extra flavour.
Place in oven and roast for about 45 minutes. Check them every 10-15 minutes to stir and turn them. This will prevent burning on one side and ensure even cooking.
Remove from heat when nicely browned and your kitchen is filled a warm, hearty smell.
On a completely unrelated note, here are a few photos my friend Dilwara and I took not too long ago. The moon was full and we were drawn out into the frigid night air to gawk at the blanket of night she covered the land with. With long exposures and fast moving clouds, the results were, as you can see, orgasmicly gorgeous.
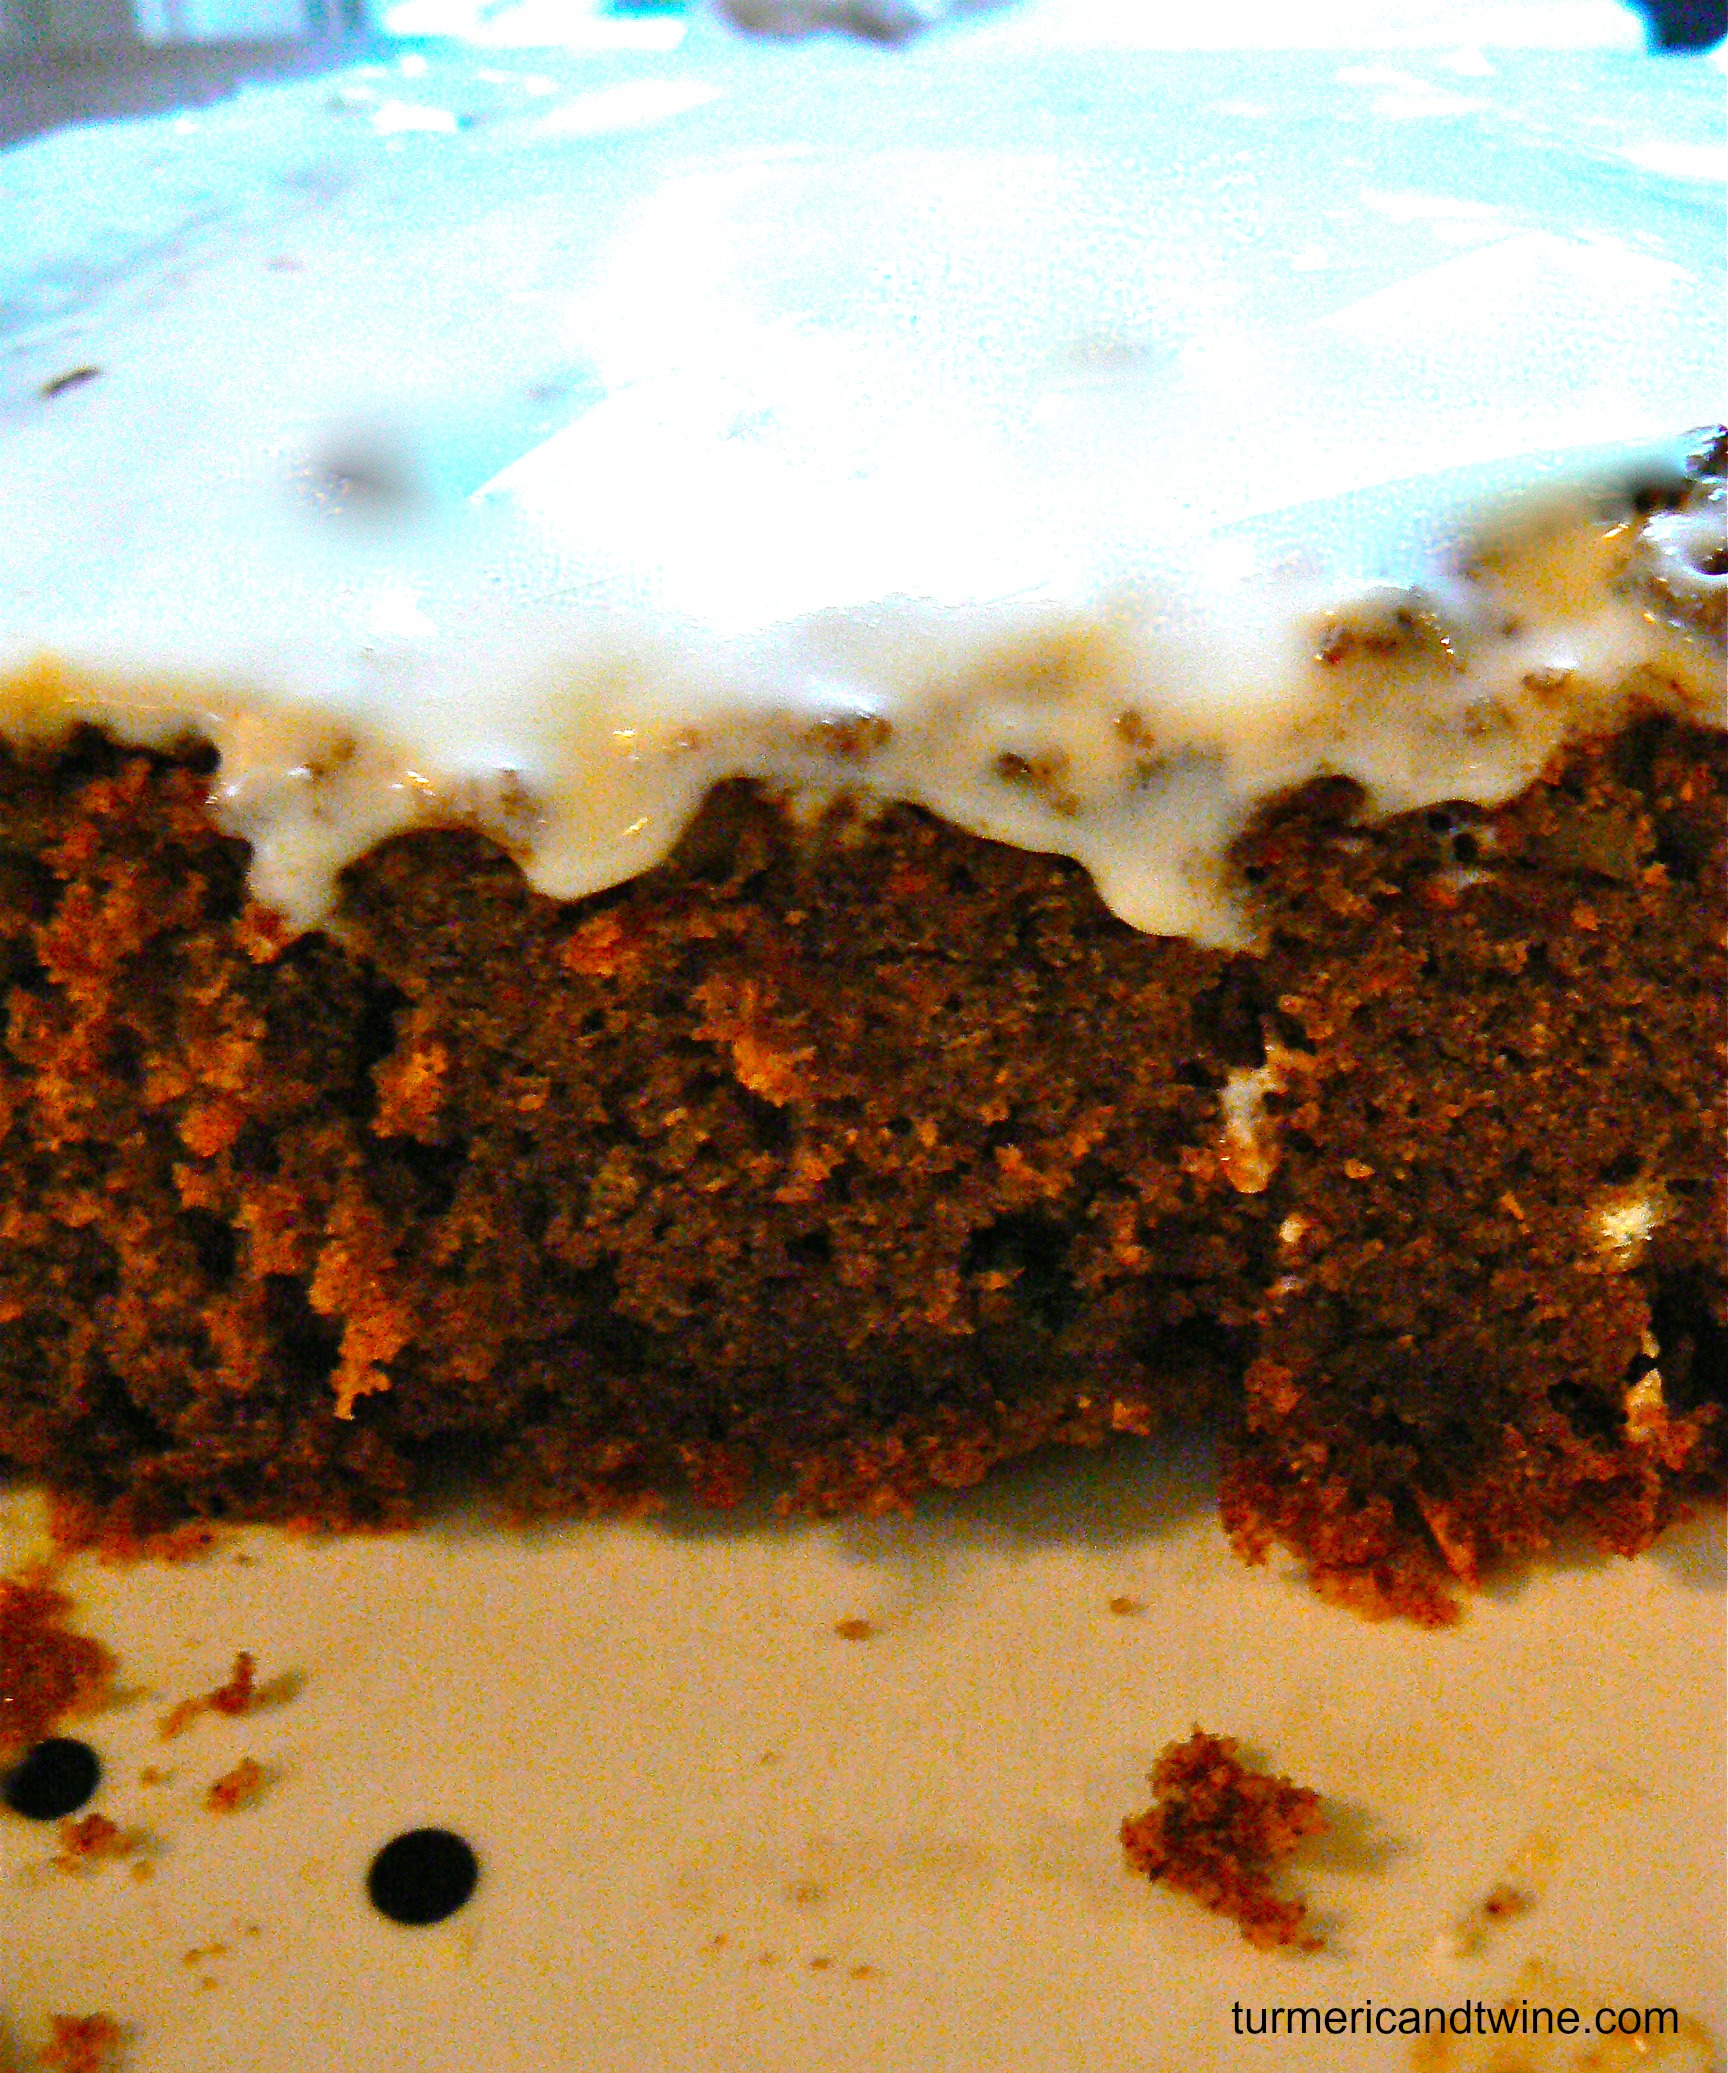
I was asked to make a gluten free cake for an event I was cooking for at The Abode this past Fall. I was given a choice between making carrot cake or frosted banana bread. I completely despise everything about bananas, so it was sort of a non-choice, really. My distain for bananas goes so deep; it’s practically become part of my identity. Habiba: The Girl Who Hates Bananas. My young Korean students were always so confused that anyone would not like bananas, it became one of the class jokes. My mum told me that as a child, I cried if someone offered them to me. Sometimes I tear up in horror a little bit still.
Banana lovers are very sneaky with their yellow torture devices and more than once I’ve been traumatized by the ill placement of said fruit. Banana haters can expect to have to double-check the ingredients of a smoothie, cookie or sweet cake, and even though it’s disappointing, it’s not horrifyingly shocking. But, when eating a vegetable stir-fry, pizza or chicken enchilada, one shouldn’t have to be on guard for bananas! I have had the misfortune of experiencing each of these normally fine dishes with the addition of bananas, rendering them useless. I am exceptionally good at detecting even the smallest amount of banana, which promptly ruins whatever food I am eating. If I could pass a ban, I would.
I digress.
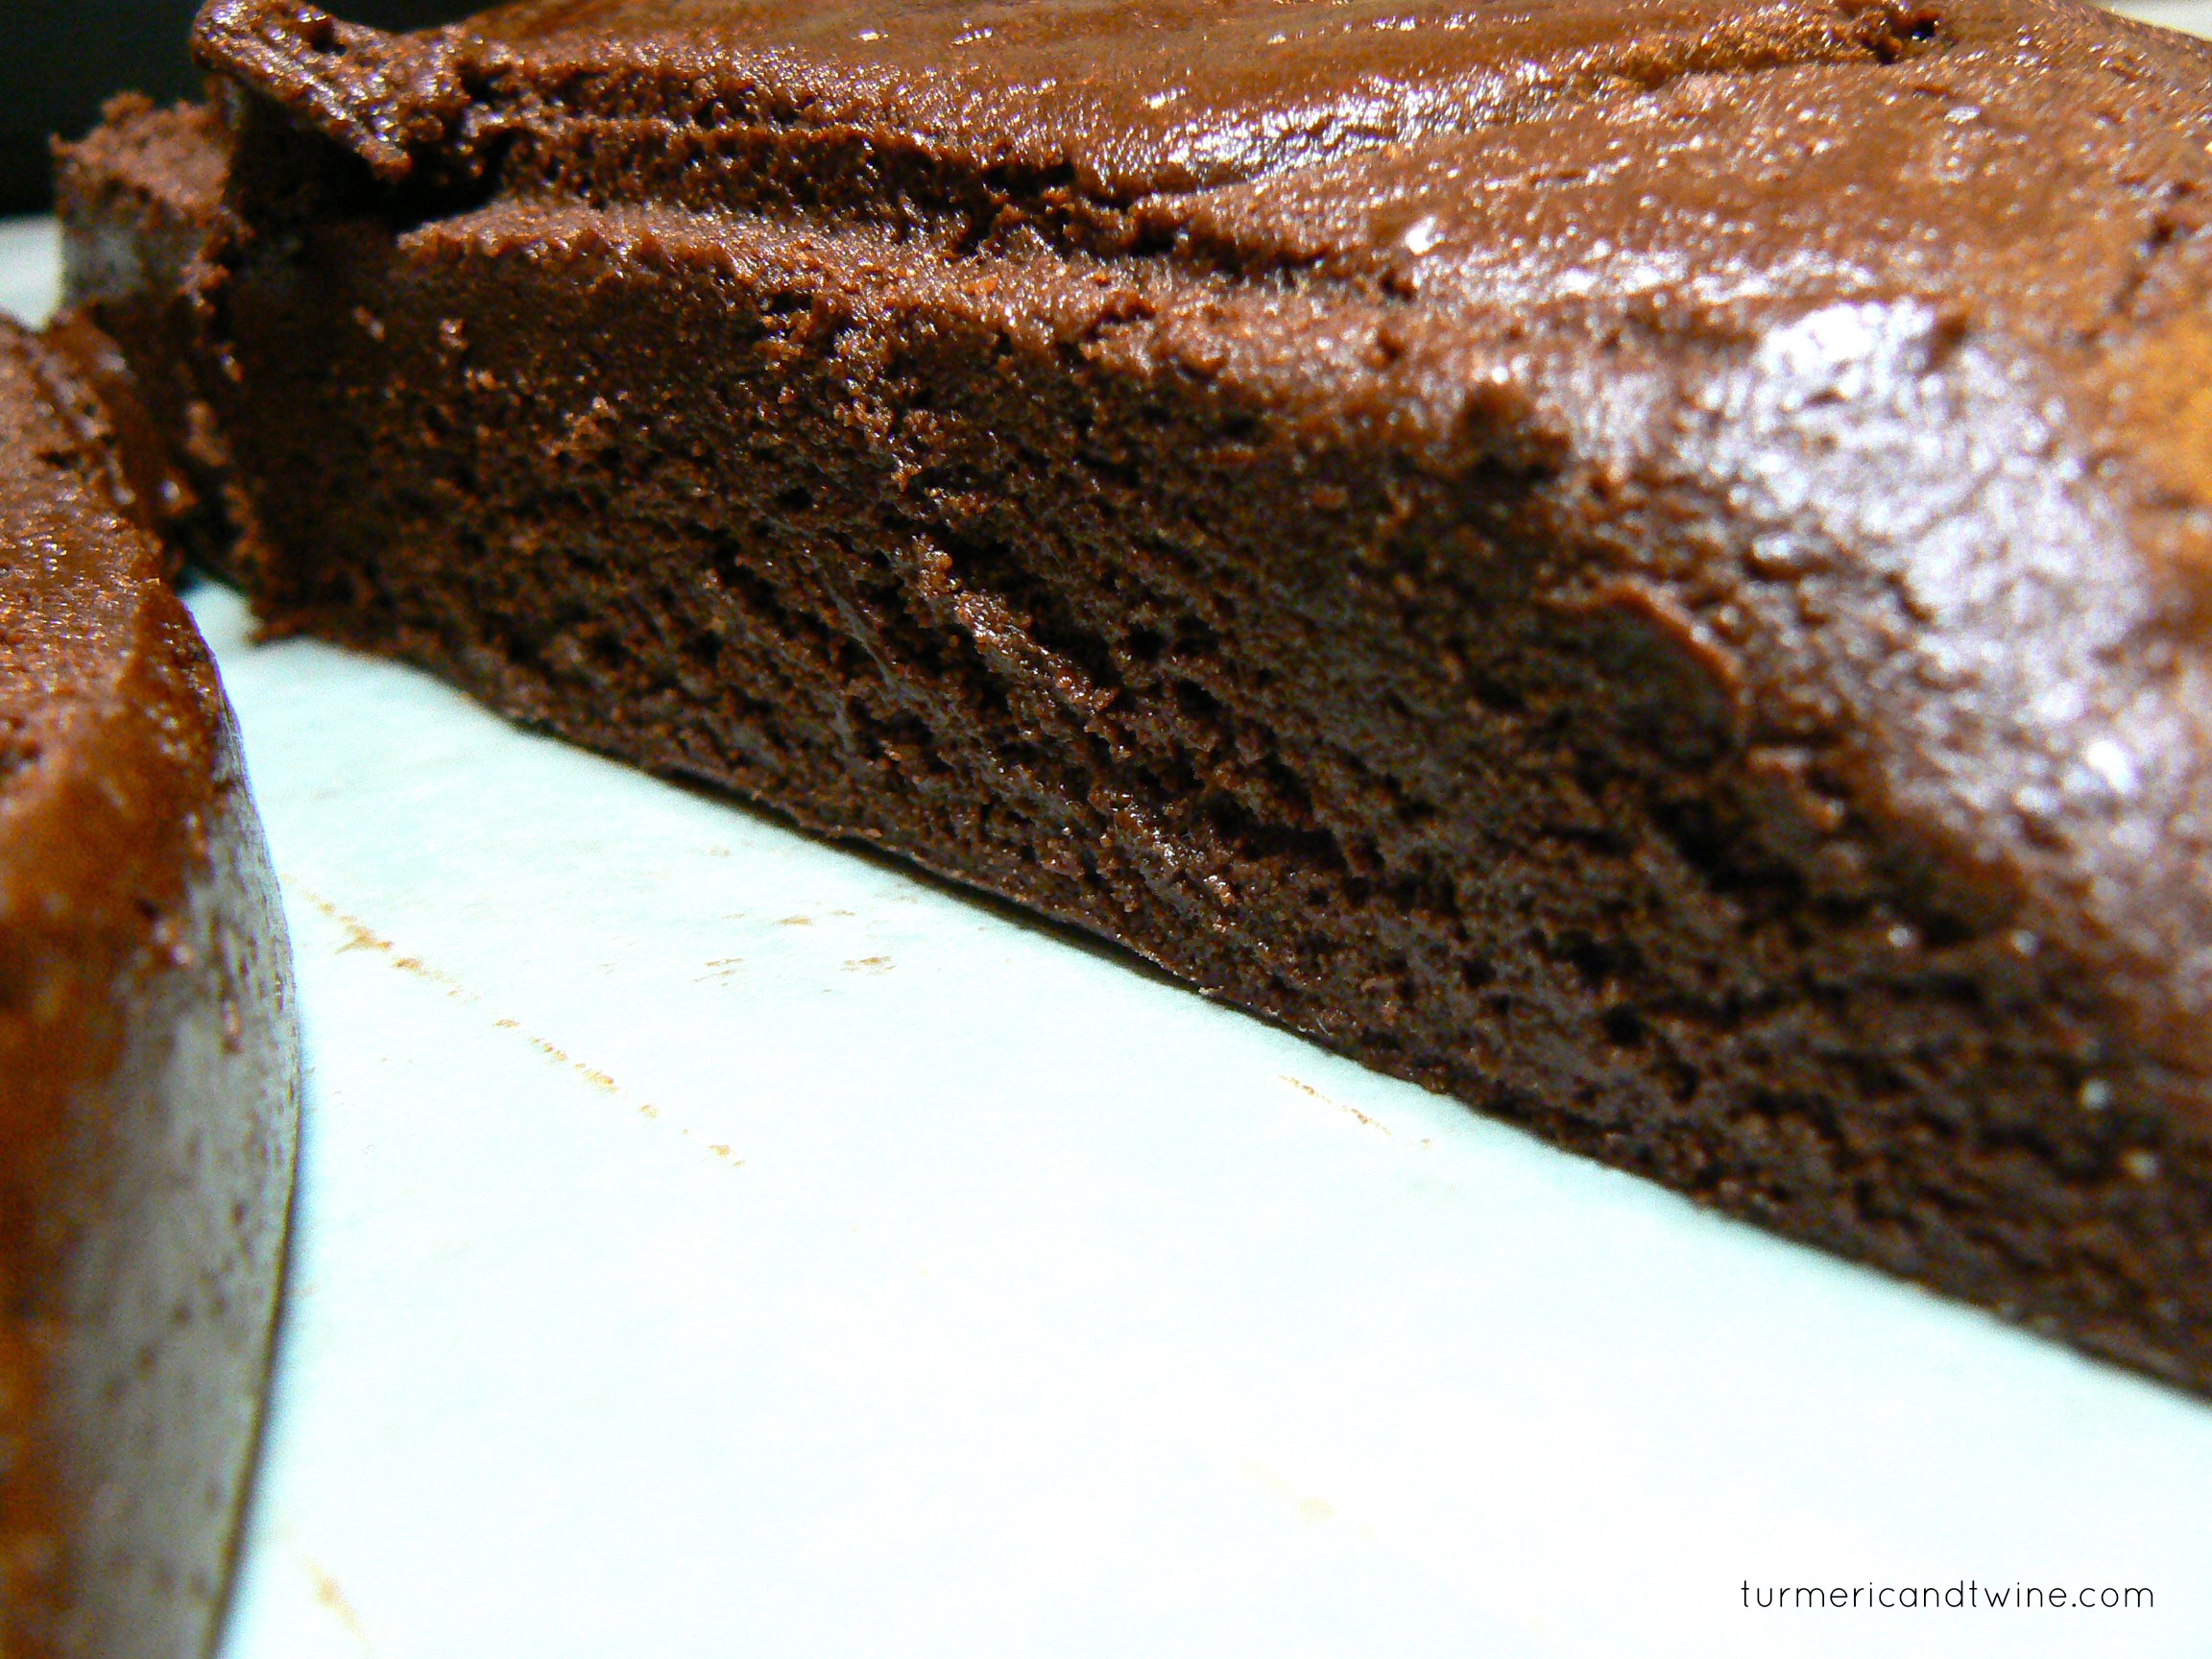
I made a carrot cake (banana free!) with maple cream cheese icing. It was a gorgeous texture, not too dense, and full of flavour.
I’m very skeptical with gluten free foods (probably because of the early attempts of gluten free enthusiasts to recreate comfort foods and ending up with a mouthful of something chalky, hard and tasteless) but I was very pleased with the flour I used. Bob’s Red Mill Gluten Free Flour uses garbanzo bean flour as its base. Sounds like you’ll end up with a cake that tastes like falafel, but I didn’t detect a thing.
Gluten Free Carrot Cake with Maple Cream Cheese Icing
Ingredients for 50 servings
For the cake:
12 cups gluten free flour
3 tbsp baking soda
1 tbsp salt
3 tbsp cinnamon powder
3 tsp nutmeg powder
3 tbsp ginger powder
3 ½ cups canola oil
8 cups sugar
24 large eggs
10 cups grated carrots
3 cups chopped walnuts (optional)
2 cups raisins (optional)
For the icing:
3 cups of softened cream cheese
2 cups of softened butter
4 cups icing sugar
2 cups maple syrup
Ingredients for 8-10 servings
For the cake:
2 cups gluten free flour
2 tsp baking soda
1 tsp salt
2 tsp cinnamon powder
½ tsp nutmeg powder
1 tsp ginger powder
2 cups sugar
1 ¼ canola oil
4 large eggs
3 cups grated carrots
1 cup chopped walnuts (optional)
½ cup raisins (optional)
For the icing:
1 cup softened cream cheese
½ cup softened butter
2 cups icing sugar
¼ cup maple syrup
Directions
Preheat oven at 350ºF/180ºC/Gas mark 4.
In a bowl, mix flour, baking soda, salt, cinnamon, nutmeg and ginger together.
In a separate bowl, whisk sugar and oil until smooth. Then, whisk in eggs one at a time.
Slowly stir the dry mixture into the egg mixture. Stir until smooth.
Stir in carrots, nuts and raisins.
Pour the batter into a greased pan and bake for about 30-40 minutes. To check if the cake is fully cooked, poke it in the center with a fork or skewer. If it comes out clean, it is finished.
Let the cake cool. To remove the cake from the pan, use a knife to scrape the edges and ensure it is not attached. Put a plate or tray on top of the cake and flip them together. Ice that bad boy.
I know its been a while. It has been a non-stop hair pulling fest around here. For the past month I’ve been in a whirlwind of resumes, preparations for interviews, interviews, random panic attacks brought on by said interviews and finally: Employment. Got me a job. What what! Of course, while all of this was going on, I went on a few previously scheduled trips, not knowing just how busy and insane I’d be feeling. A week in the California to visit my awesome sister, her awesome wife and their awesome cats, Christmas in D.C. to visit my awesome brother, his awesome wife and their awesome baby and New Years in the Eastern Townships of Quebec to visit a group of about 30 of the awesomest friends possible. Tequila, maple syrup and merguez sausages (not combined…although that really wouldn’t be so bad). What a party.
So, I’ll be back in Seoul by the end of February of 2013 to teach English to little kindergarteners. From my interview with the director and my contact with a Canadian girl who is currently working there, my new place of employment seems like a relaxed and supportive environment. Teachers seem to feel respected, happy and appreciative of the management. AND they get paid on time. Though I’ve never experienced it personally, it is not so uncommon to hear of hagwon (private academies) paying their teachers late (or not at all), holding passports and/or diplomas hostage, finding absurd reasons to fire someone in the 11th month of their year long contract so they could avoid severance payment and a return flight and other such practices of a horrible work environment. Luckily for teachers looking for work in Korea, there is the Hagwon Blacklist. There, unhappy teachers can post their woes and warn others about their shitty school. Before accepting the job at EPA, I checked the Blacklist and found nothing. To my delight, a google search uncovered POSITIVE feedback about the school.
Wanting to celebrate all of this positivity, I made some gelatin grapefruit screwdrivers with a touch of molecular gastronomy. They turned out to be like large, fancy Jello cocktails. They were visually stunning and quite tasty.
Also, they were very bizarre. Gelatin always is. If I were to make gelatin screwdrivers again, I would make each individual drink a bit smaller and therefore less intimidating. While I went for a second glass, some of my friends (A.K.A. guinea pigs) could only manage a few bites.
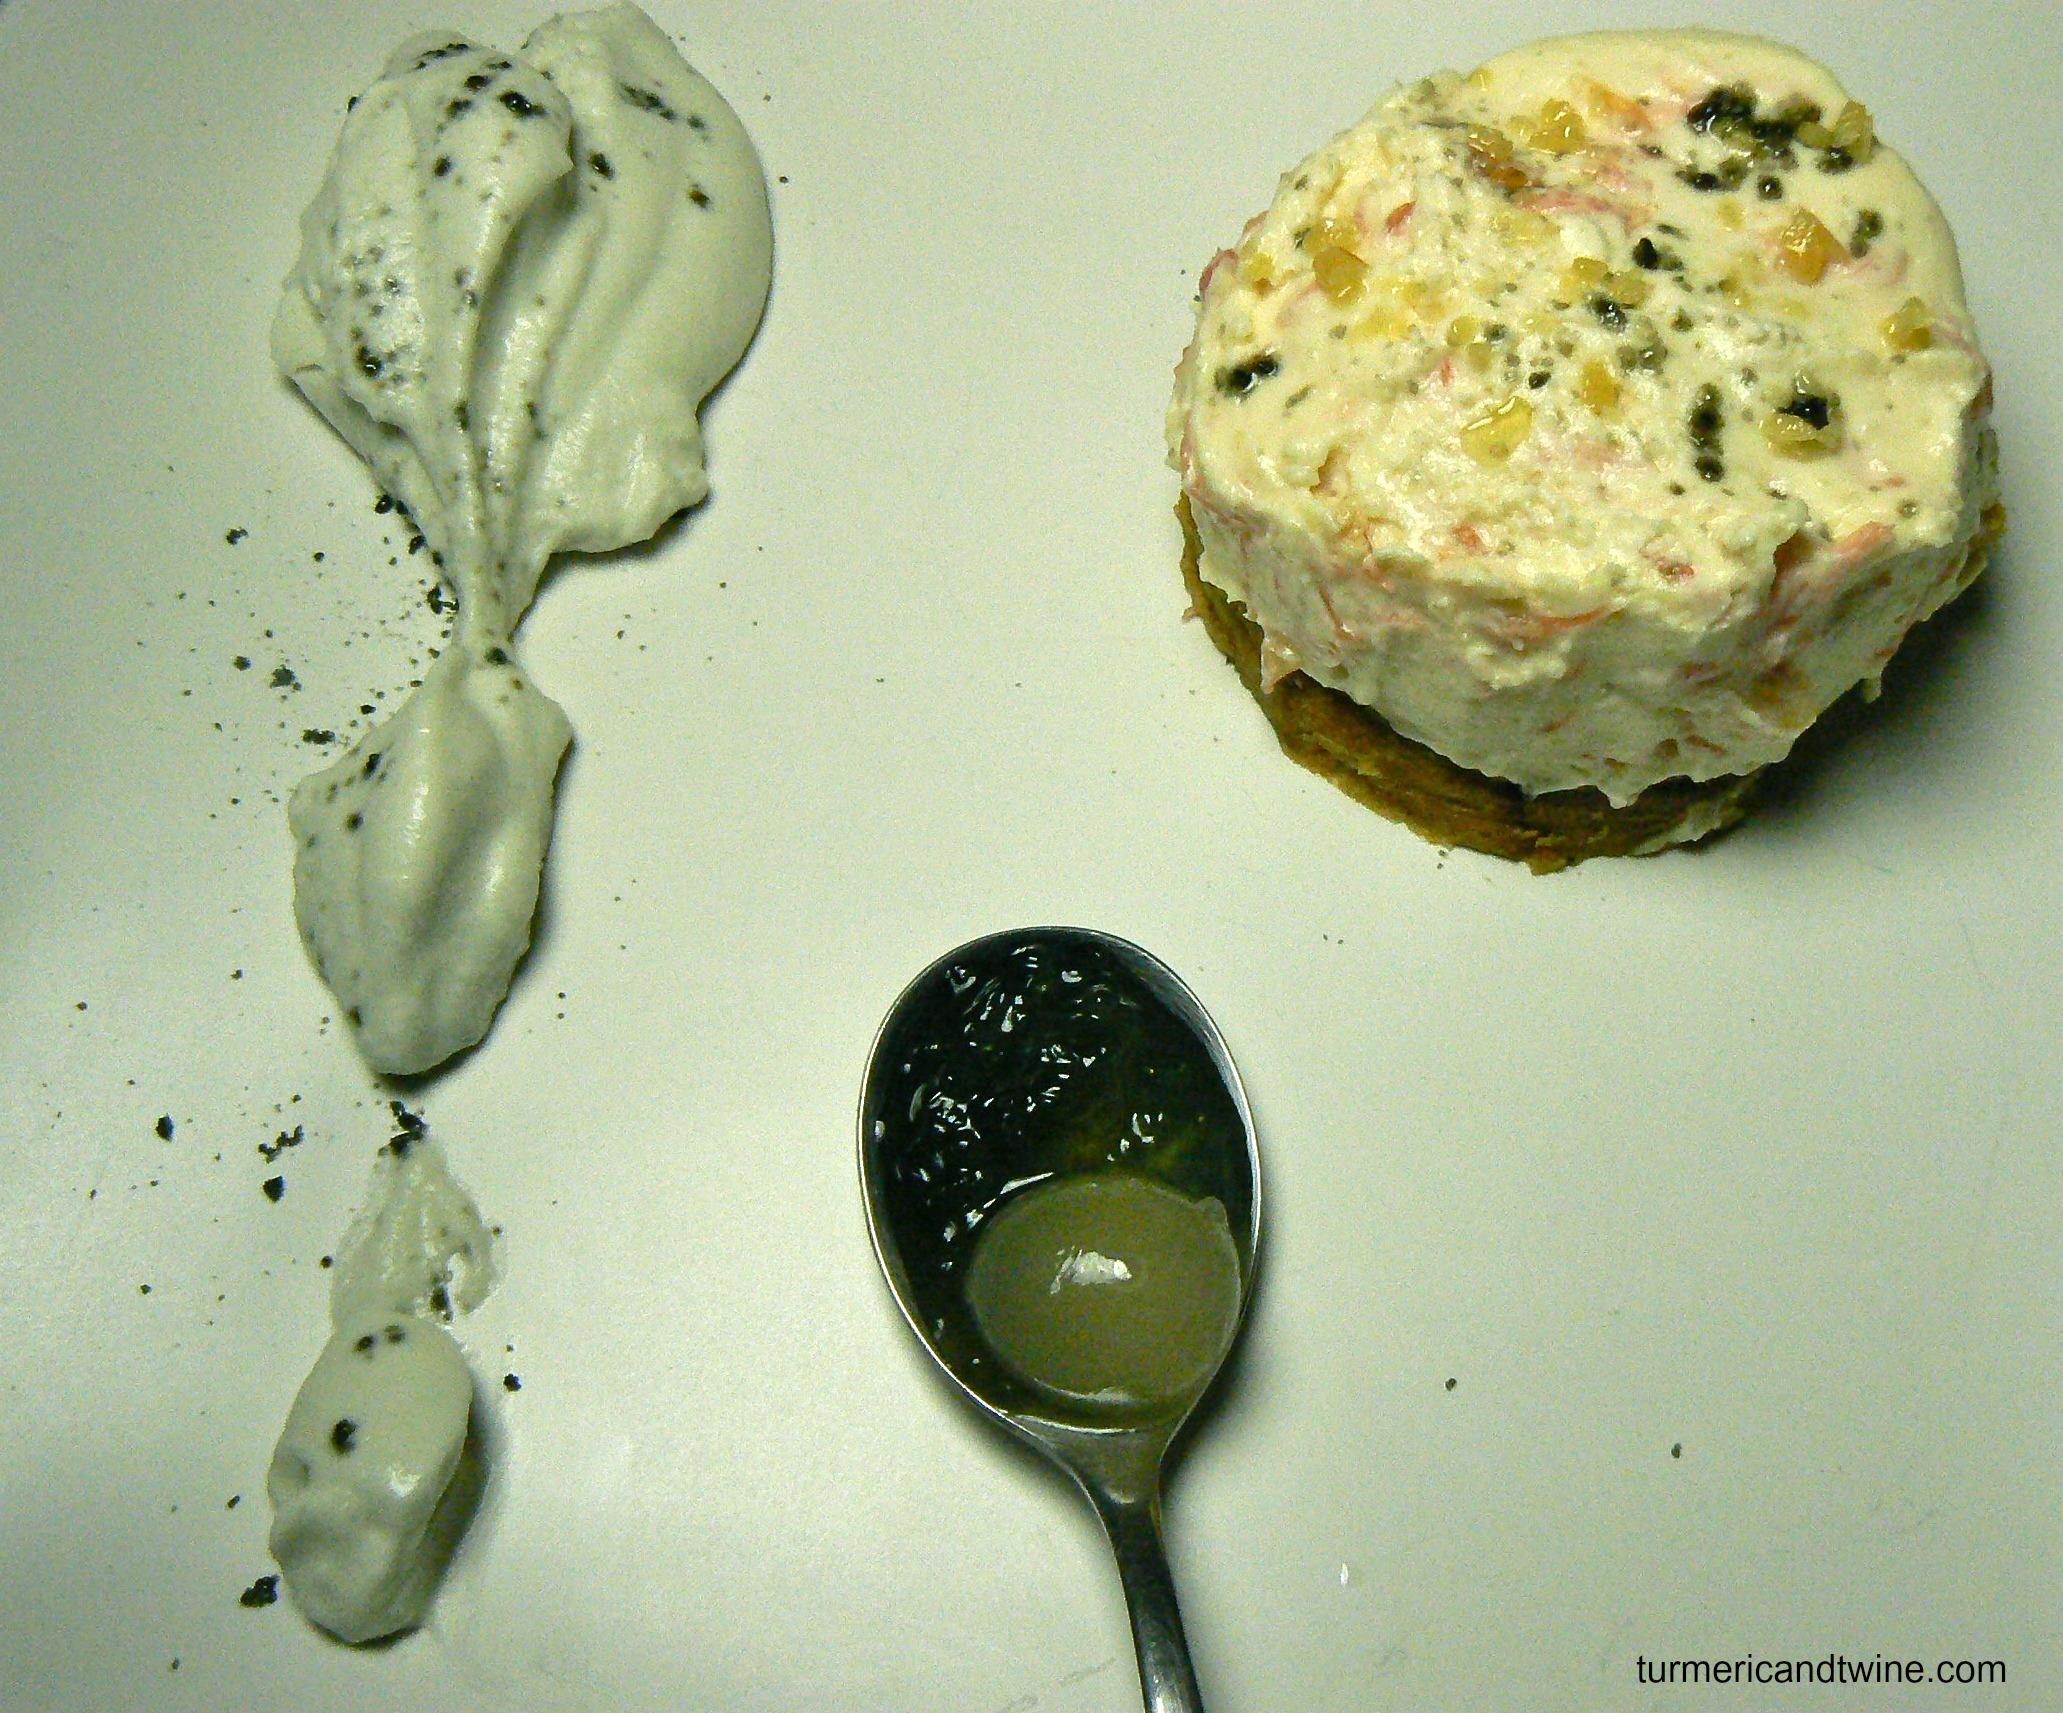
I added some licorice powder to some of the top layers, which, as you can see, caused the gelatin to bleed into other layers and set in less appealing forms. Still, they tasted great, were fun to make and successfully got the drinker closer to being drunk.
Grapefruit Jello Screwdrivers
Ingredients
8 ½ oz (250 ml) of vodka
2 tbsp caster sugar
1 ¼ cup grapefruit juice
2 tbsp cold water soluble gelatin
Directions
Mix 1 tbsp of sugar with 1 tbsp of gelatin and the vodka. Blend until dissolved. Divide evenly into as many cups as you like. This could be up to 20, depending on what size you plan on making your Jello cocktail. Refrigerate for 10 minutes.
Next, mix 1 tbsp of gelatin with 1 tbsp of sugar and the grapefruit juice. Blend until dissolved. Pour a juice layer on top of the vodka layer. Refrigerate for 10 minutes.
Repeat until you have 6 alternating layers of vodka and juice.
I’m slightly concerned about my post titles being a bit too long. I can admit that they’re all a mouth full… and somehow, they manage to keep growing. To me, this isn’t exactly a problem as I think naming a dish according to the ingredients it contains gives my readers a clear idea of what the post (and recipe) is about. I like to list the ingredients I feel are important to each dish, but since my recipe interests include things like flavour pairing and molecular gastronomy, I tend to think ALL of the ingredients are important. Woops. Predicament.
It’s also due to my own personal inability (or laziness) to come up with a catchy title. It’s clearly too challenging for me to plan a dish, make it, photograph it, write about it AND create a catchy title. That’s just taking it too far. Anyway, I personally like to see literal titles. Let the food speak for itself. Most people can look at the ingredients (if they’re relatively familiar with them) in a recipe and get a sense of whether or not they’ll like it. Right? The names and imagined flavours swirl around in your mind, forcing the idea of the dish into your mouth. I appreciate the honesty of a literal title… but again, there’s the whole length issue. What do you think? Let me know what sort of title catches your eye.
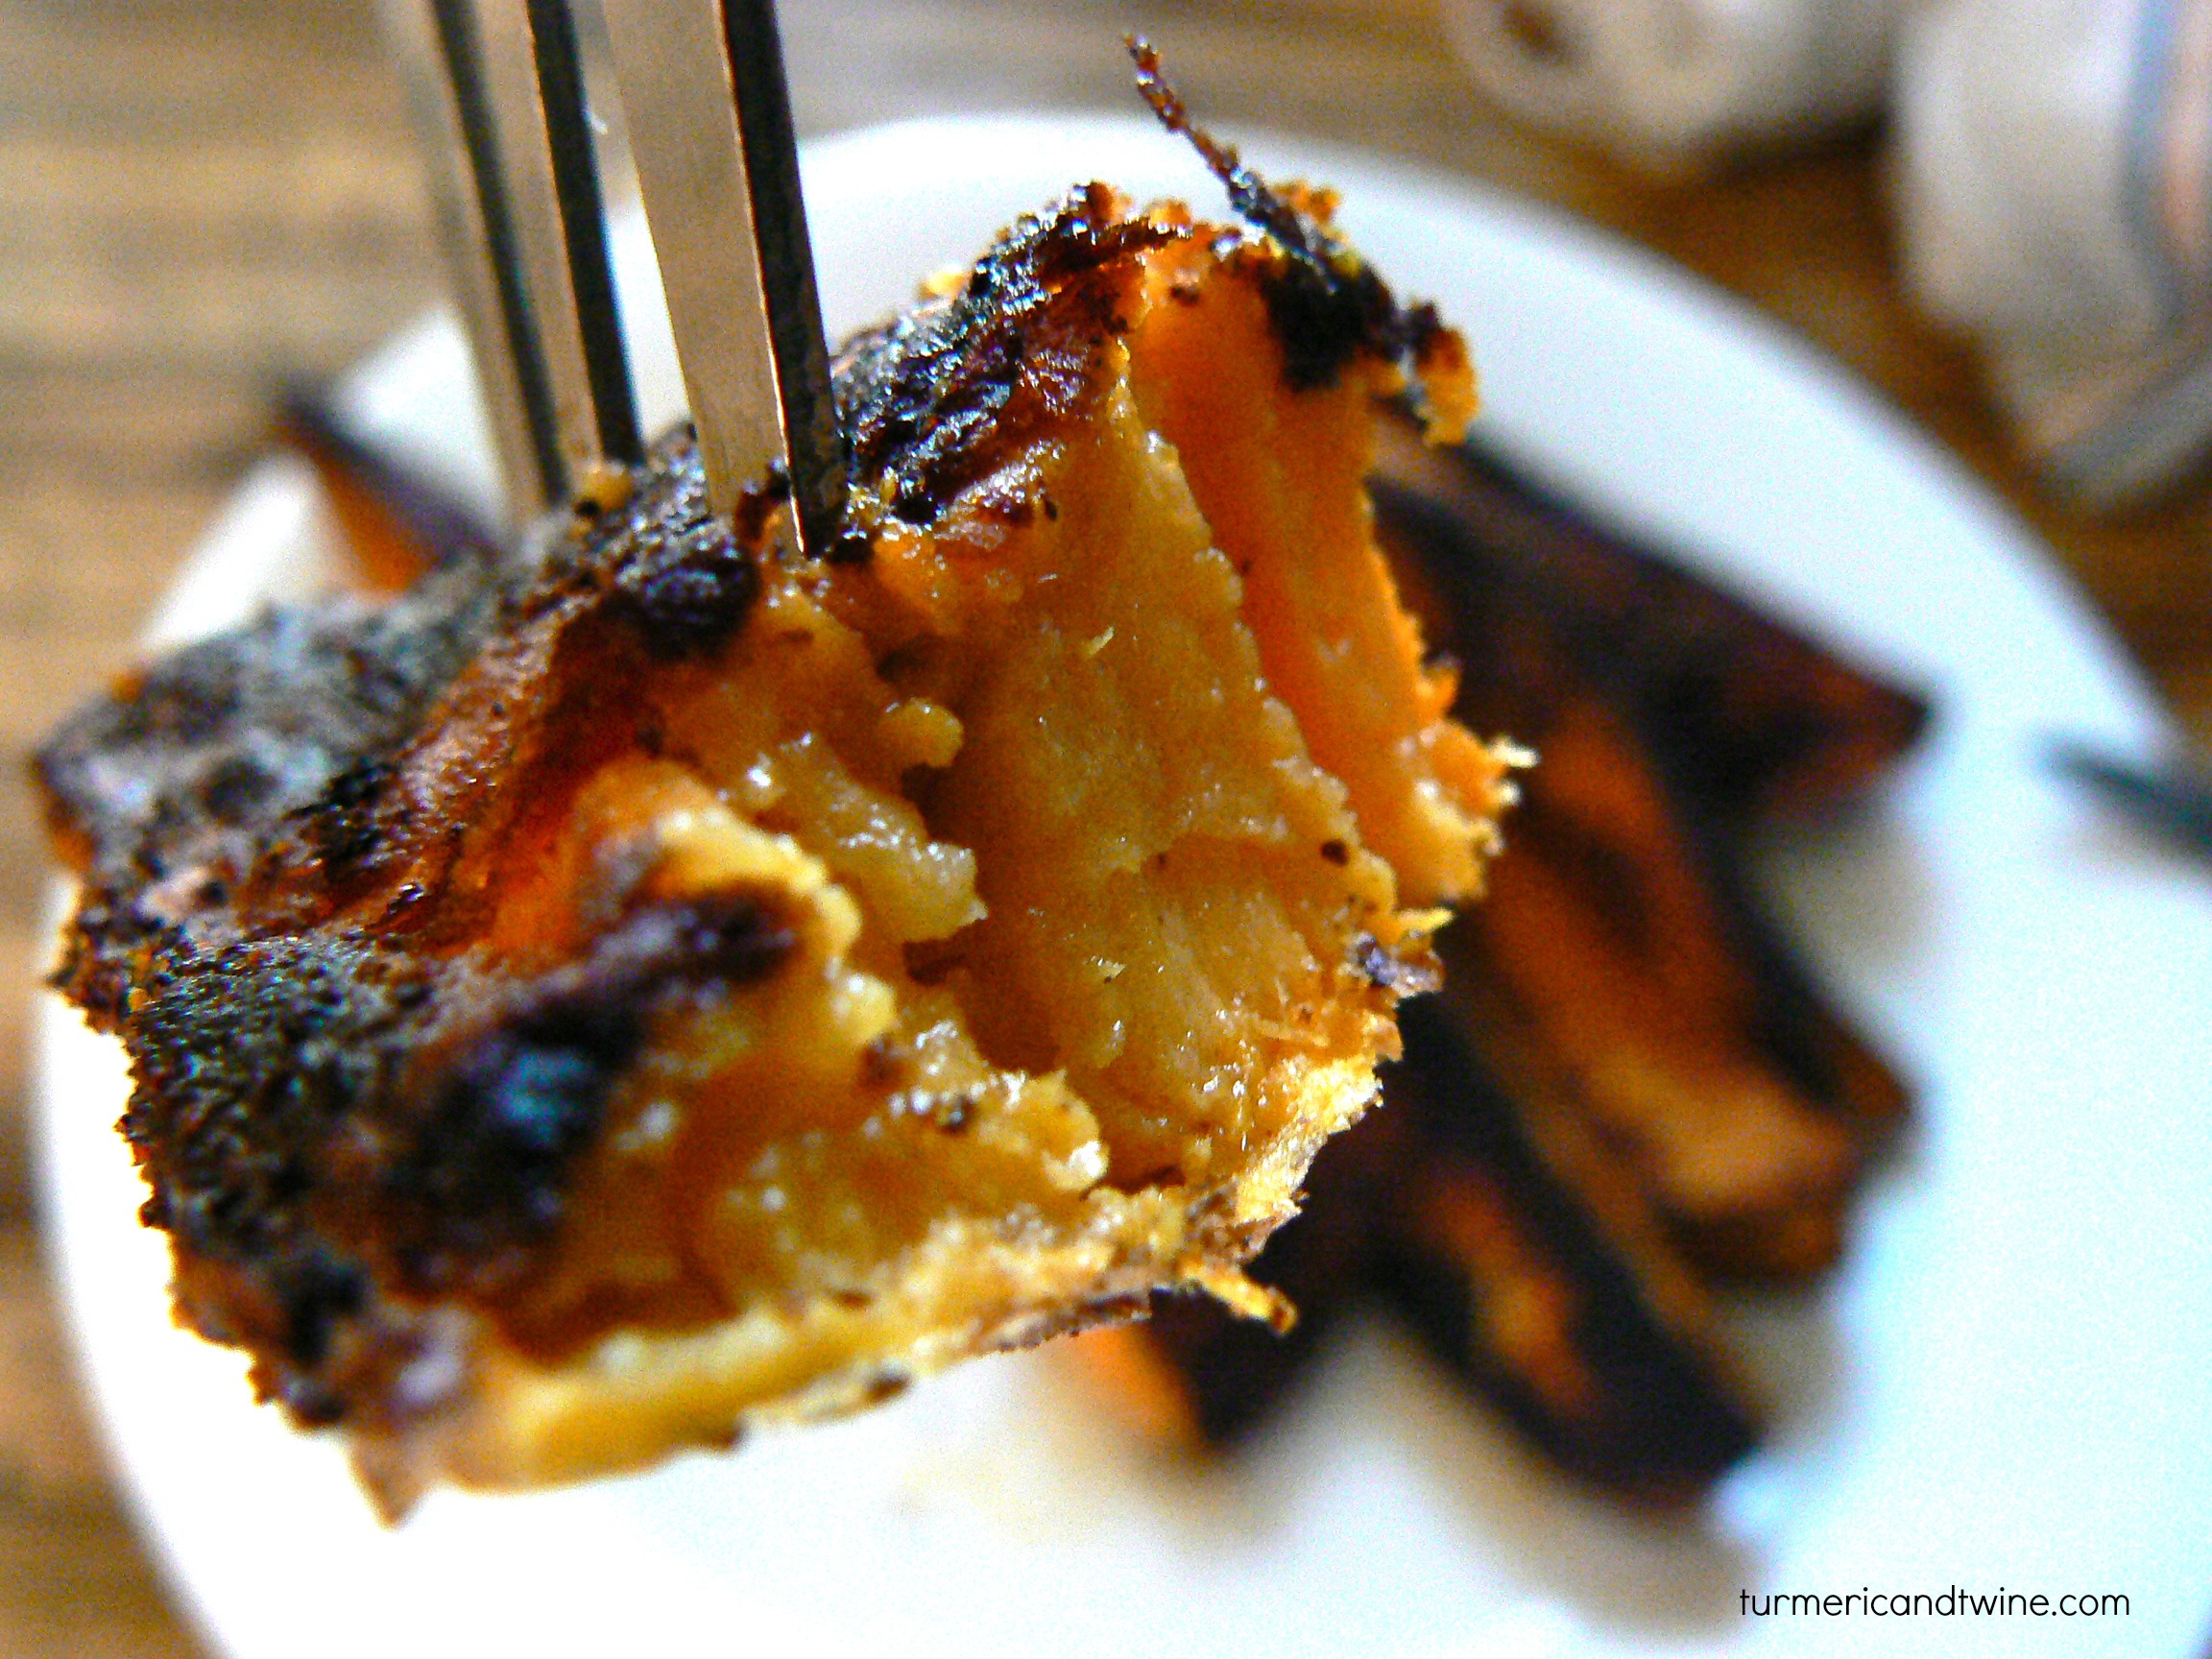
OK, so it turns out that this recipe is ridiculous. Utterly ridiculous in the best way. Nathan and Alex came to visit me some time ago. Just as passionate lovers never leave the bedroom, my foodie friends and I never left the kitchen over the three days they were around. Fevered moments of flavour creativity (some might say delirium) and collaboration were plentiful and virtuous food was abundant. The guys brought with them a gorgeous array of fresh farmer’s market produce. Most important of this haul was bacon. Locally butchered, farm fresh strips of fatty delight. It created a revolution in my home and became part of almost every meal.
While we played around with my molecular gastronomy kits, futzing with spheres and such, Nathan remembered once again that we had bacon. How he could’ve forgotten, I’m not sure. I certainly hadn’t stopped thinking about it. Luckily, he took that thought one step further and remembered the acorn squash he’d brought. It came to everyone’s attention that wrapping bacon around grilled acorn squash would be painfully good. I’m still in pain now. Oy vay.
First, we blanched our cut slices of squash in boiling water for 3 minutes (only 4 at a time so the water doesn’t cool).
Next, we grilled those beauties on a stove-top grill (pan frying is totally acceptable). Luckily, there was some bacon fat left on the grill which added extra flavour to the squash.
Now that our squash had those beautiful grill marks, we wrapped them (so hard) in bacon and baked them. Sadly, I must note that we had run out of bacon by that point, so not every piece of squash was wrapped.
I showed the boys how to make molecular balsamic caviar, which happily features in this dish.
Maple spheres are also featured. And just look at that little guy! Beautiful, isn’t it?
Of all the maple spheres we made (about 8) this one was the only sphere presentable enough for a photo. When making spheres, it is important that your ingredients have a certain level of calcium in them for the thin film to form properly. Apparently, maple syrup is lacking in the calcium department and the film did not form well. They kept sticking and breaking when I tried to move them. In the hopes of getting one or two out of it, I left some in the sodium alginate bath for a long time (about 15 minutes), which paid off. If I were to try making them again, I’d add some yogurt to the mixture to avoid the same problem.
Bacon Wrapped Acorn Squash with Balsamic Caviar and Maple Sphere
Ingredients
1 acorn squash- cleaned of seeds (with or without peel) and divided into 8-10 pieces
Strip bacon- lots
Balsamic caviar (video instructions below)
Maple sphere (video instructions below)
Water
Directions
Preheat your oven to 350 °F/ 180 °C/ Gas mark 4.
Boil a large pot of water. Place 3-4 pieces of squash in the water. Blanch them for 3 minutes then remove them from heat. Repeat until all pieces are blanched.
Grill or pan fry the squash on high heat until the surfaces are beautifully brown.
Place bacon wrapped squash in a casserole pan and bake for 25-30 minutes.
To the minor detriment of finding time to write posts, I have been focusing on finding a teaching job in South Korea for the past few weeks. It’s been a little slow going because I’m being very picky and haven’t actually applied to many positions. Luckily, as ESL teaching positions are quite plentiful, I can afford to be somewhat picky, but a large portion of me just wants it over with. Job searching gives me ulcers. Gah.
Good things come in threes.
Actually, this won’t be my first time out there. I will be returning to SoKo after a year away. I first left North America (as a dual citizen of the States and Canada, I claim North America as my home) in August 2008. My intention was to stay for a year, but it just ended up being too good an opportunity to leave then, so I stayed an extra 2 and a half years.
In that time, I made friends with people from all over the world, traveled to about 25 countries, paid off all of my school loans and ate a metric ton of kimchi. Maybe two. As a Seoulite, I always found plenty of things to do, see, eat and experience. Seoul, like any city, has its plusses and minuses.
#1 plus- the amount of people
#1 minus- the amount of people
I’ll let you ponder that.
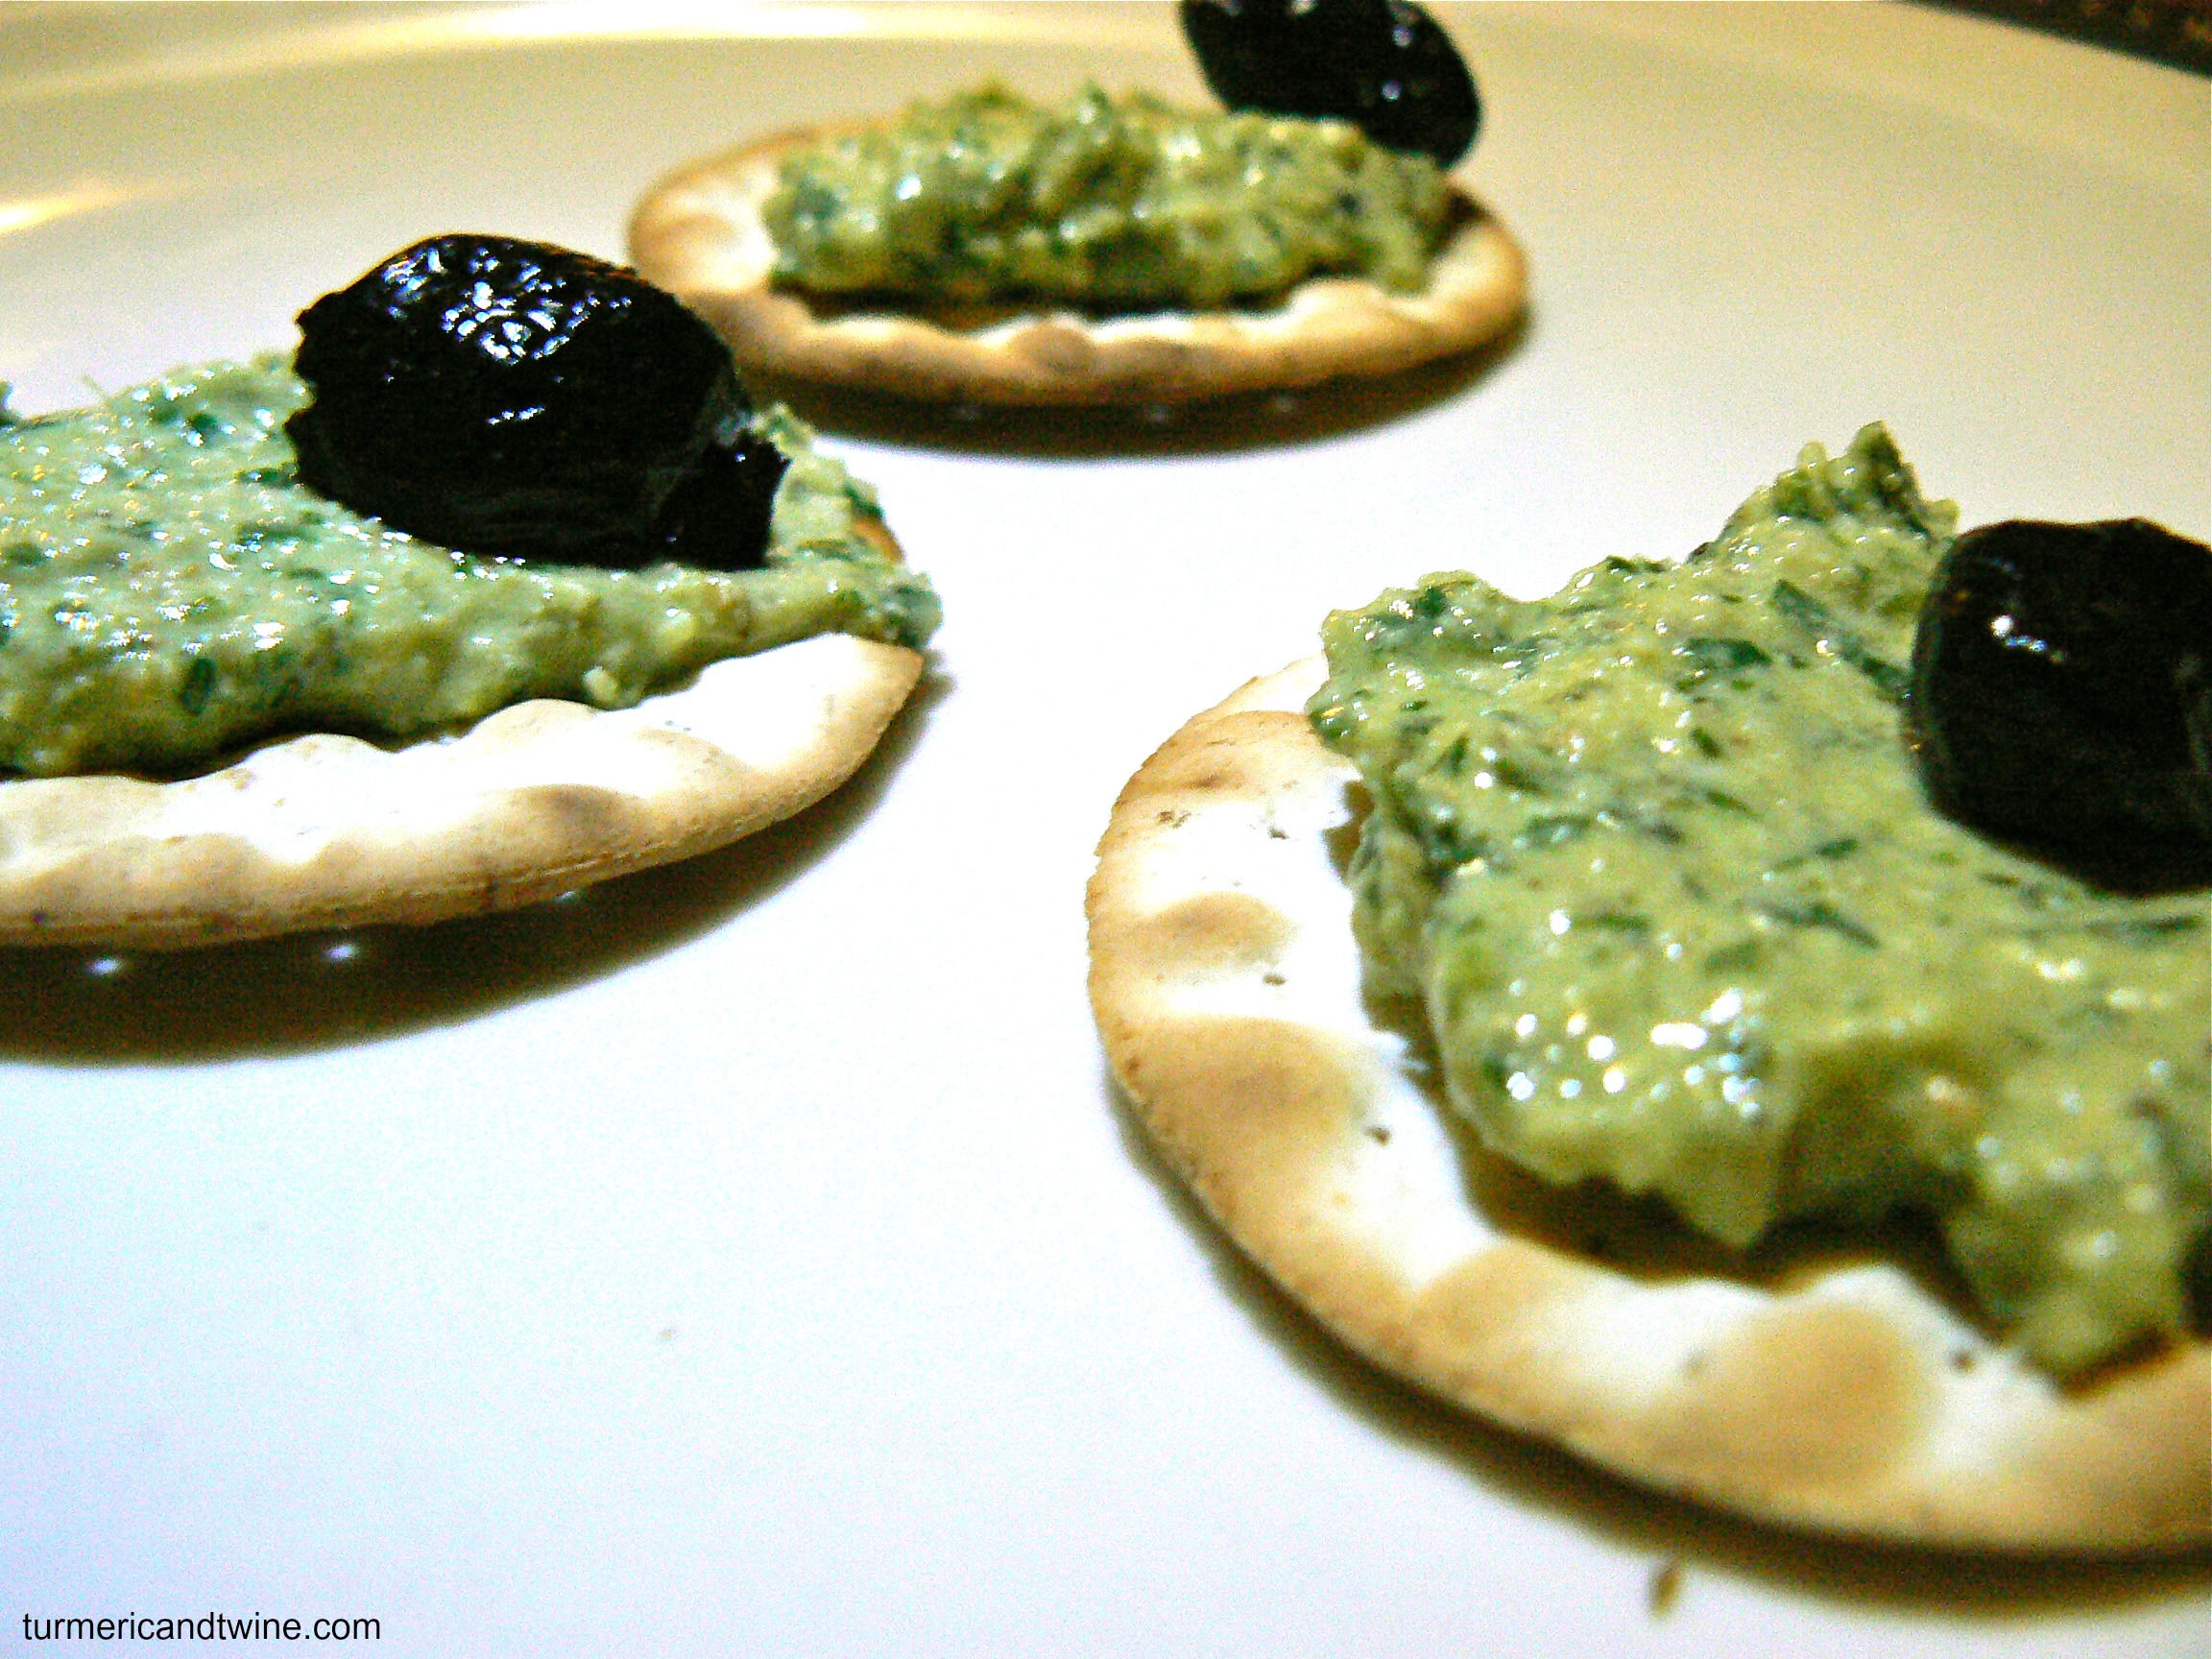
I look forward to experimenting with traditional Korean dishes (which is saying a lot- Korean food has such a wide array of strong flavours that experimentation could be extreme) as well as getting to know some more people in food circles upon my return to Seoul. I will keep you updated as things progress. Until then: Pesto!
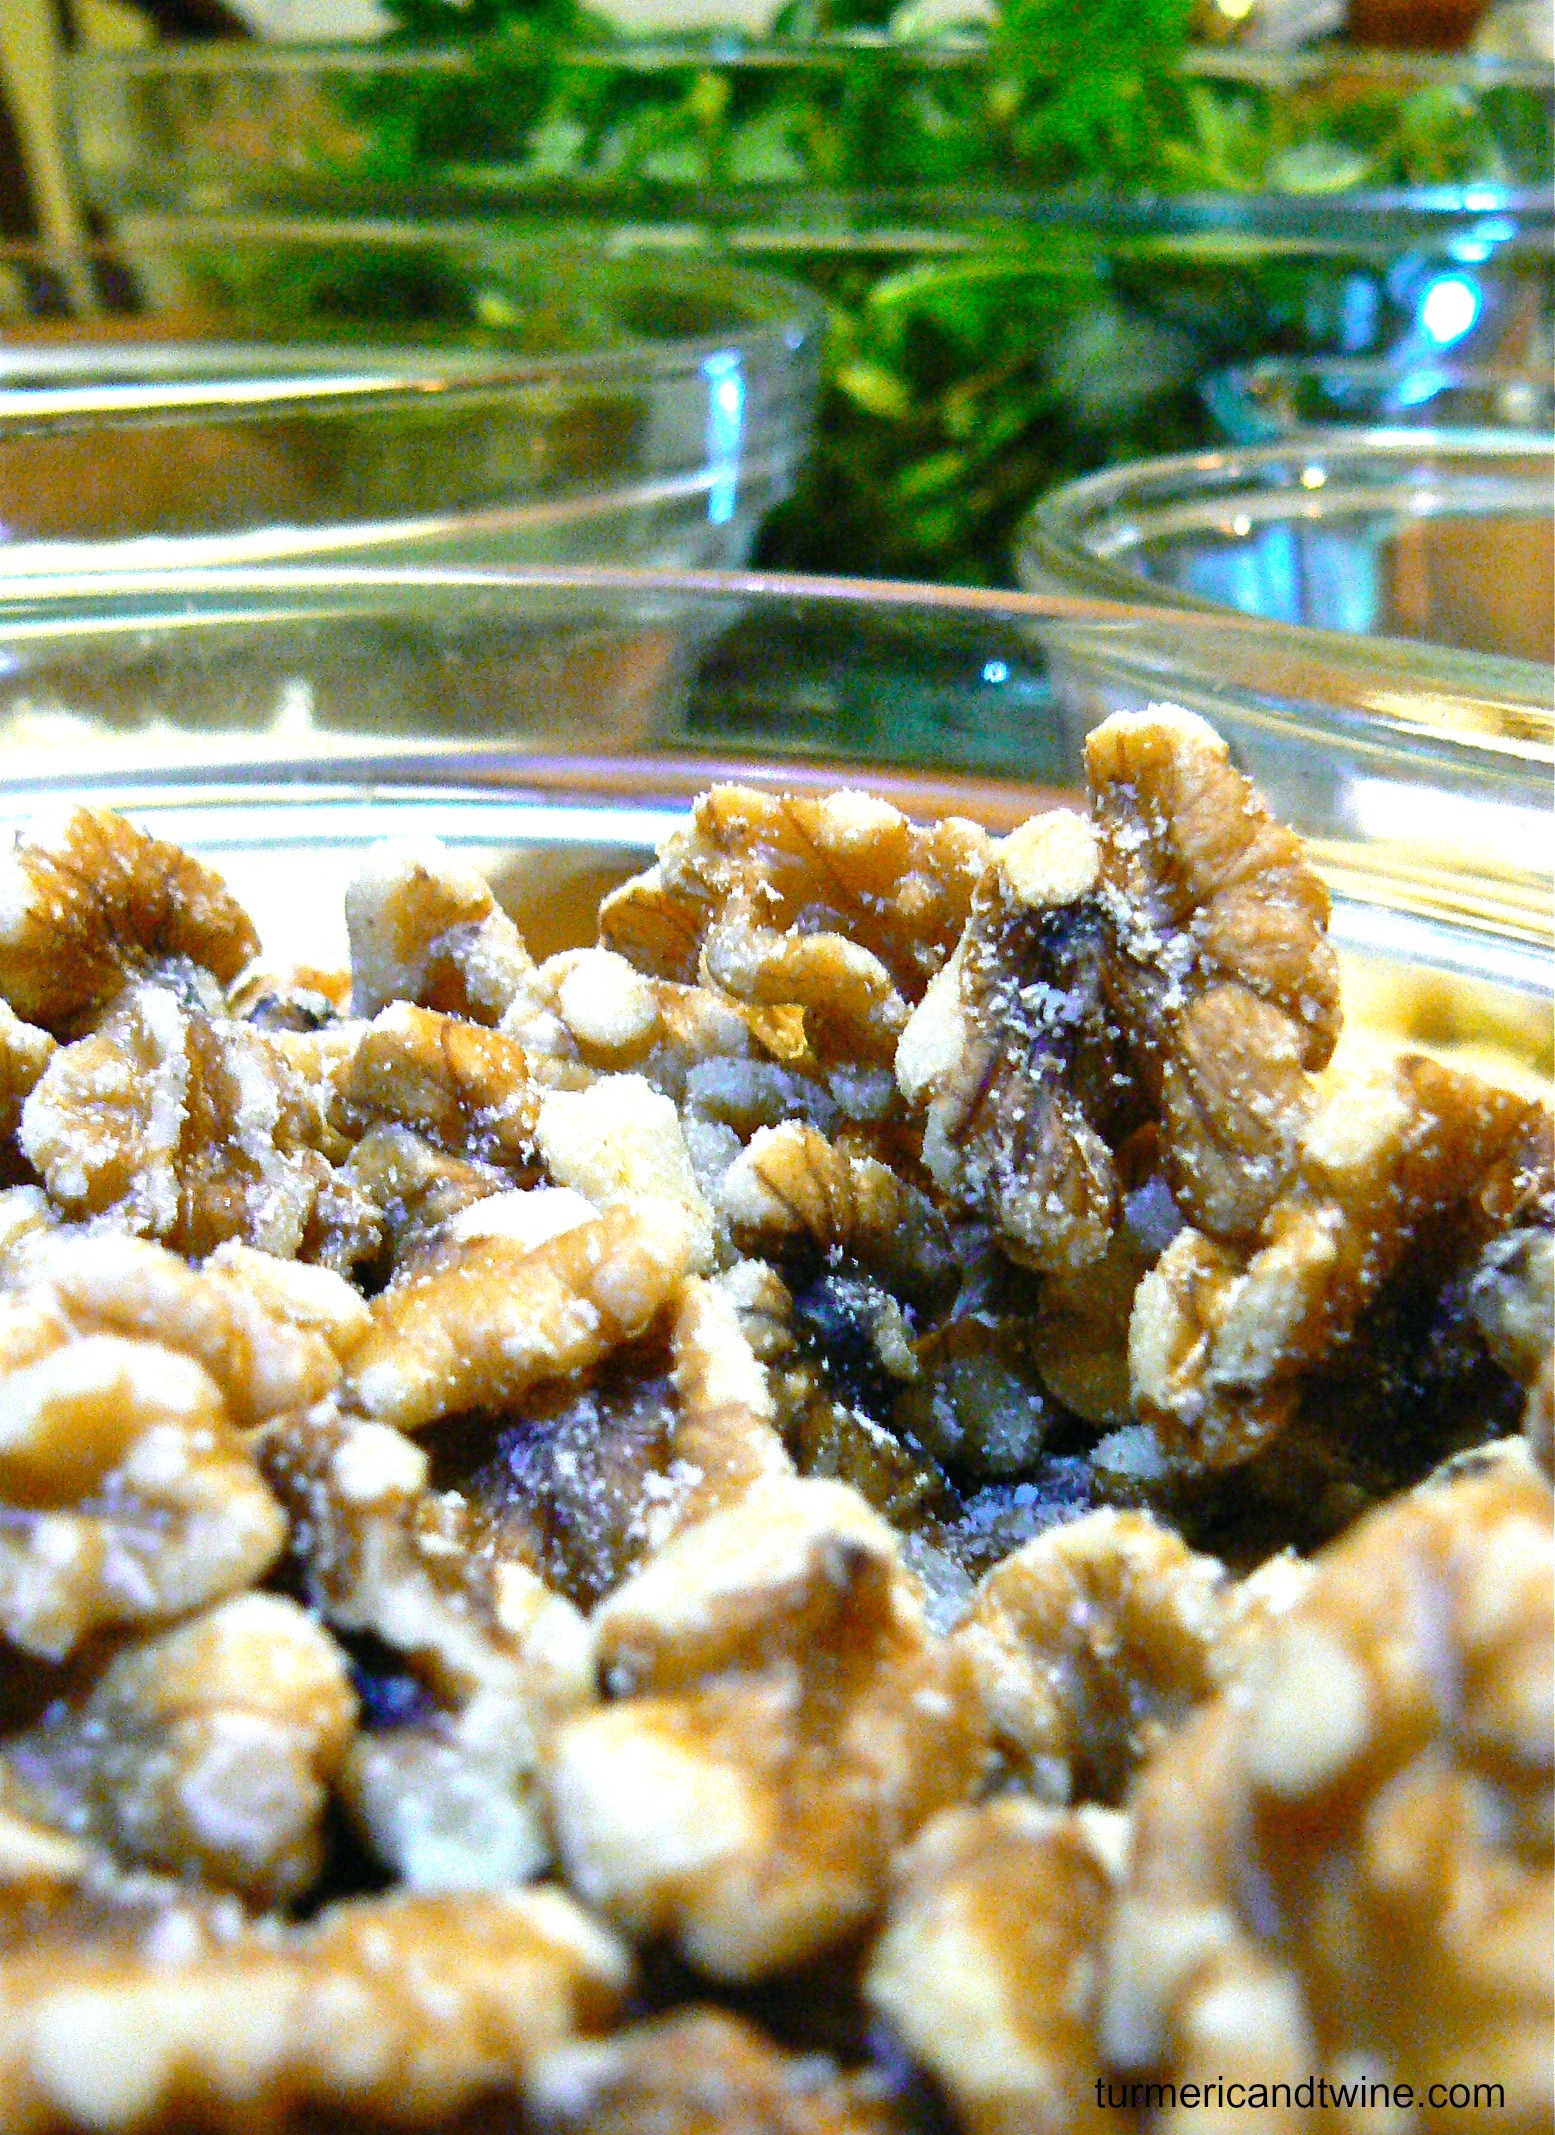
This summer and fall, herbs were ridiculously plentiful in mum’s garden. It was difficult to find ways to use them all. We were stuck with excessive amounts of (among other things) basil, parsley, cilantro, arugula and yellow wood sorrel.
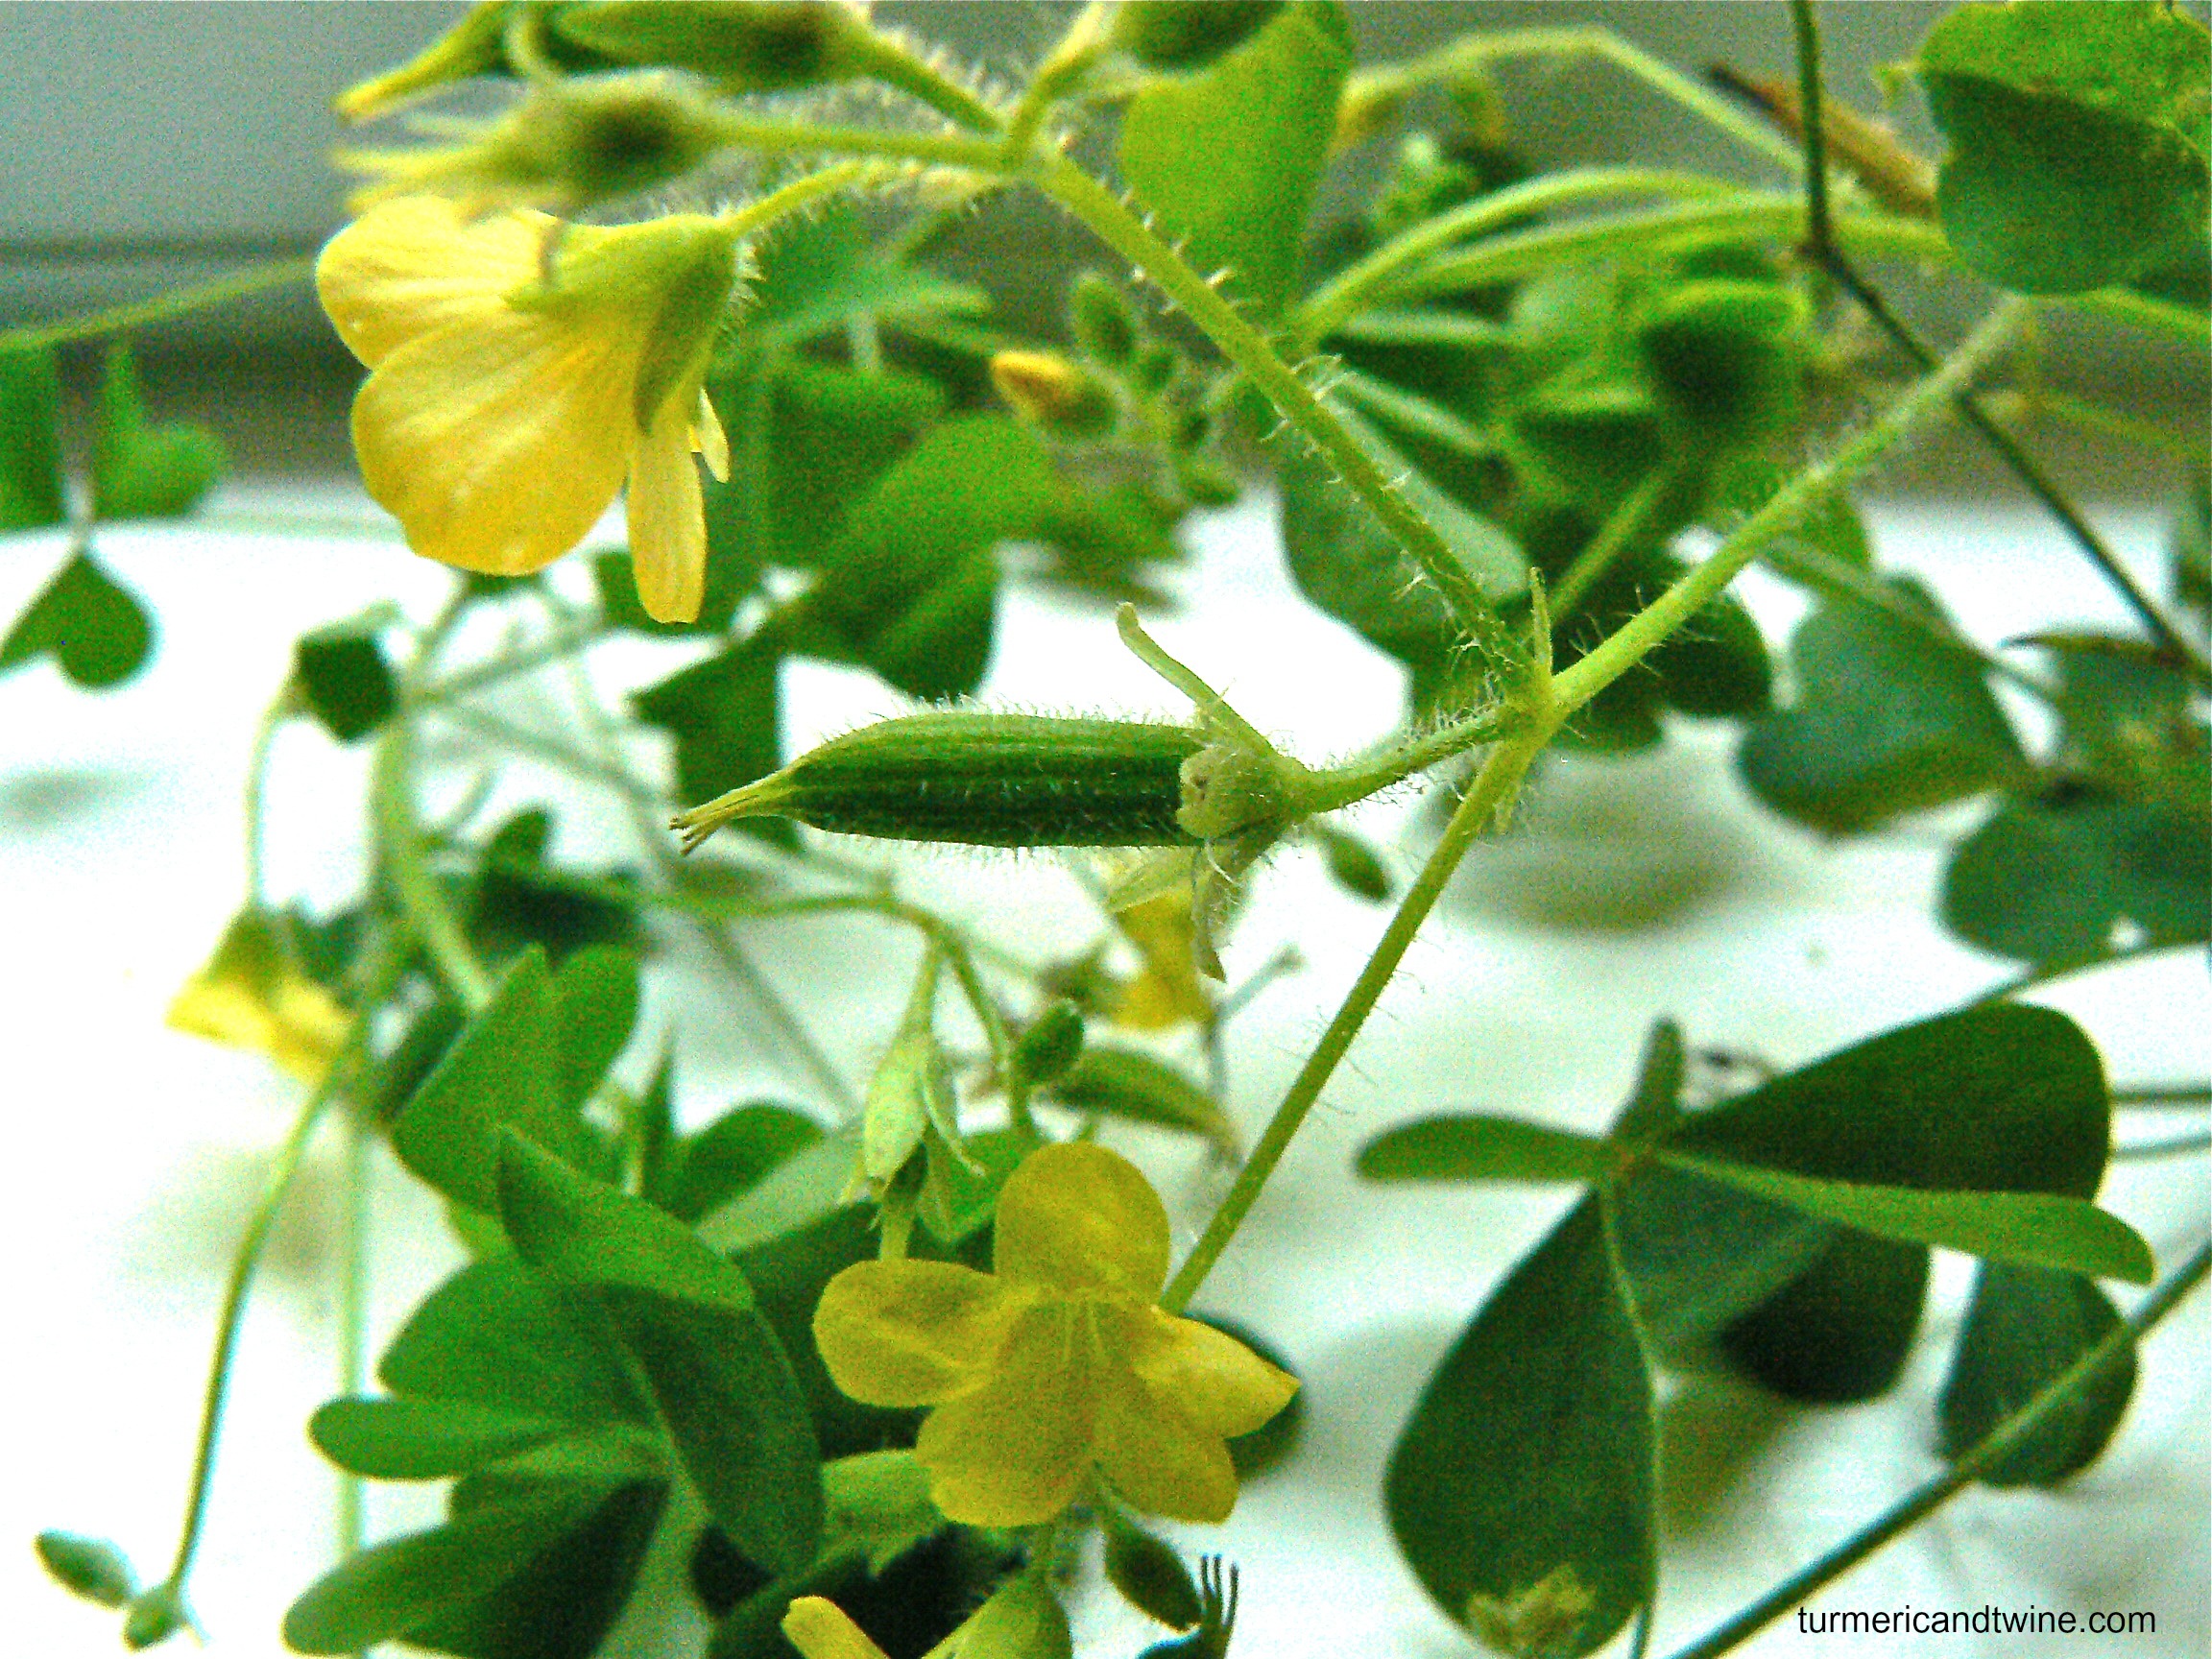
Oxalis stricta
Yellow wood sorrel is a delightful, clover sized plant that happens to be extremely and surprisingly sour. It’s kind of like eating a flat, dry and green lemon. Well… kind of. It grows everywhere and chances are it is growing in a green space near you. You most likely think of it as a weed, but I can assure you of its usefulness. It is wonderful as an extra salad green, gorgeous as a garnish and a delightful addition to anything needing tang. The entire plant is edible (although the stems get harder later in the season) and loaded with Vitamin C. It has some medicinal properties and will help treat skin rashes, swelling and inflammation. It can also be used as an orange/yellow dye. Thanks yellow wood sorrel for being so fabulous and helping to flavour my pesto to perfection!
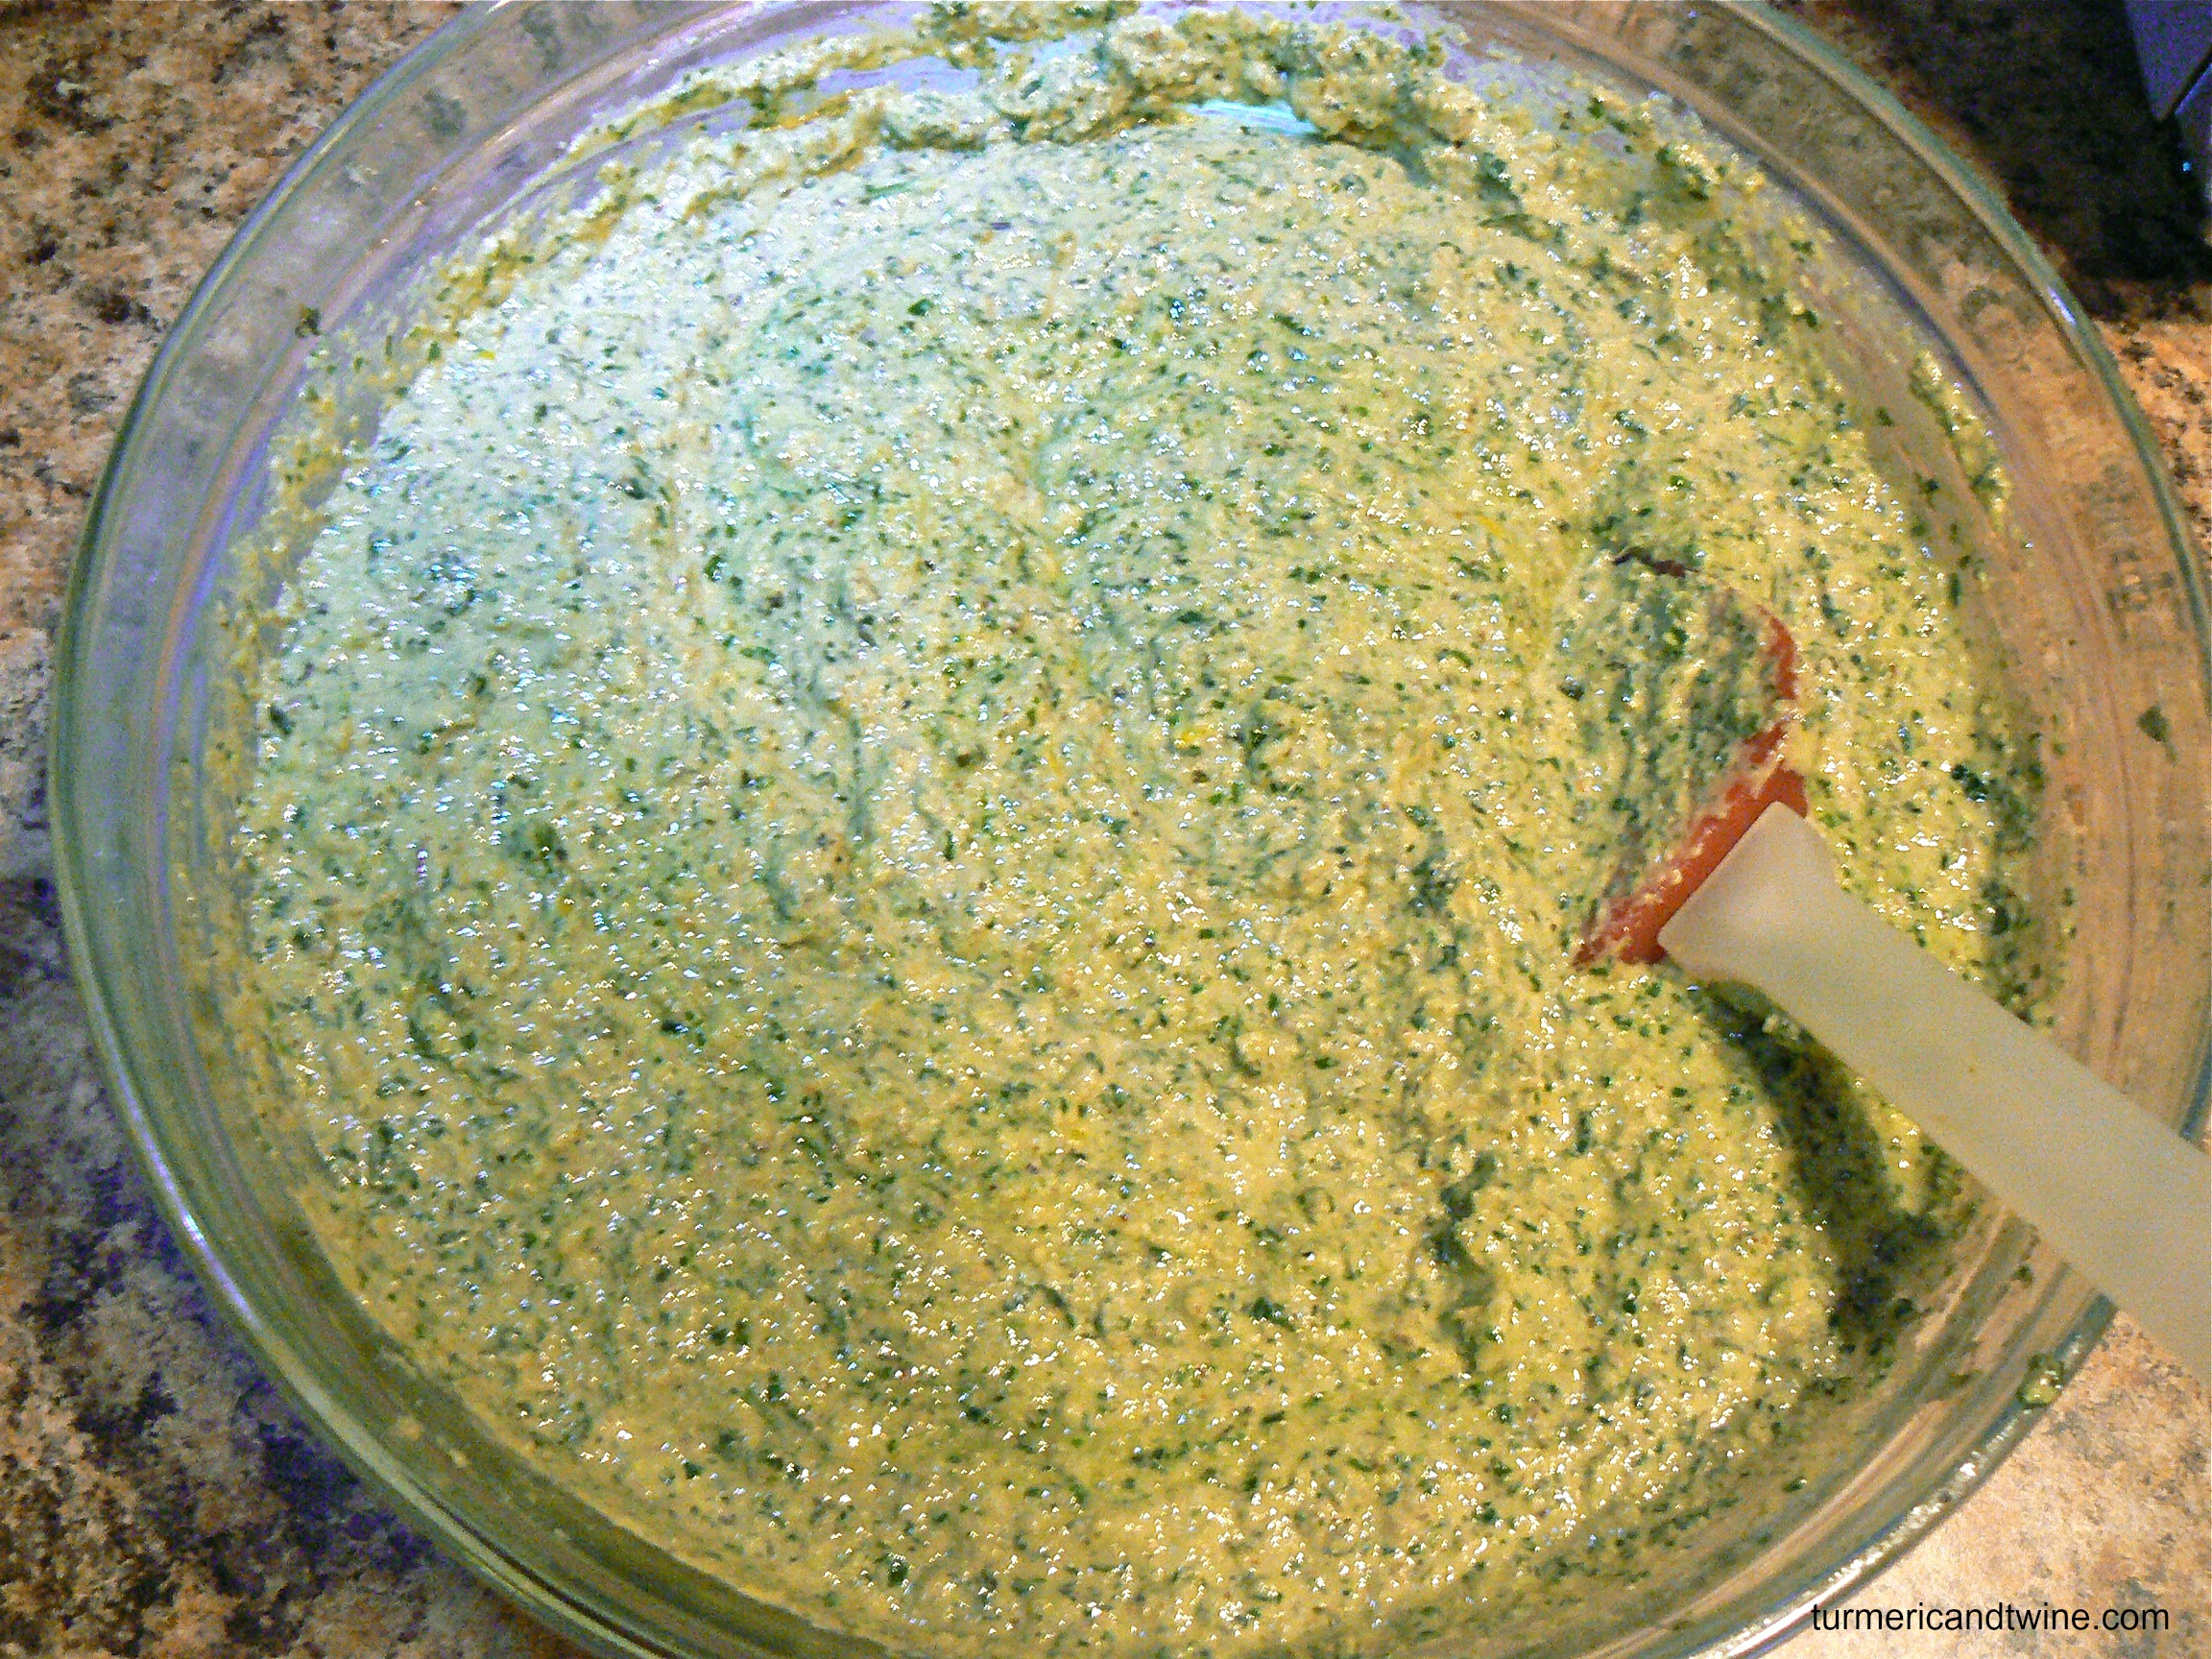
My recipe yielded a very large amount of pesto. Luckily, pesto freezes perfectly and months after making the stuff, I’ve still got containers full and it’s still gorgeous. It also makes wonderful gifts.
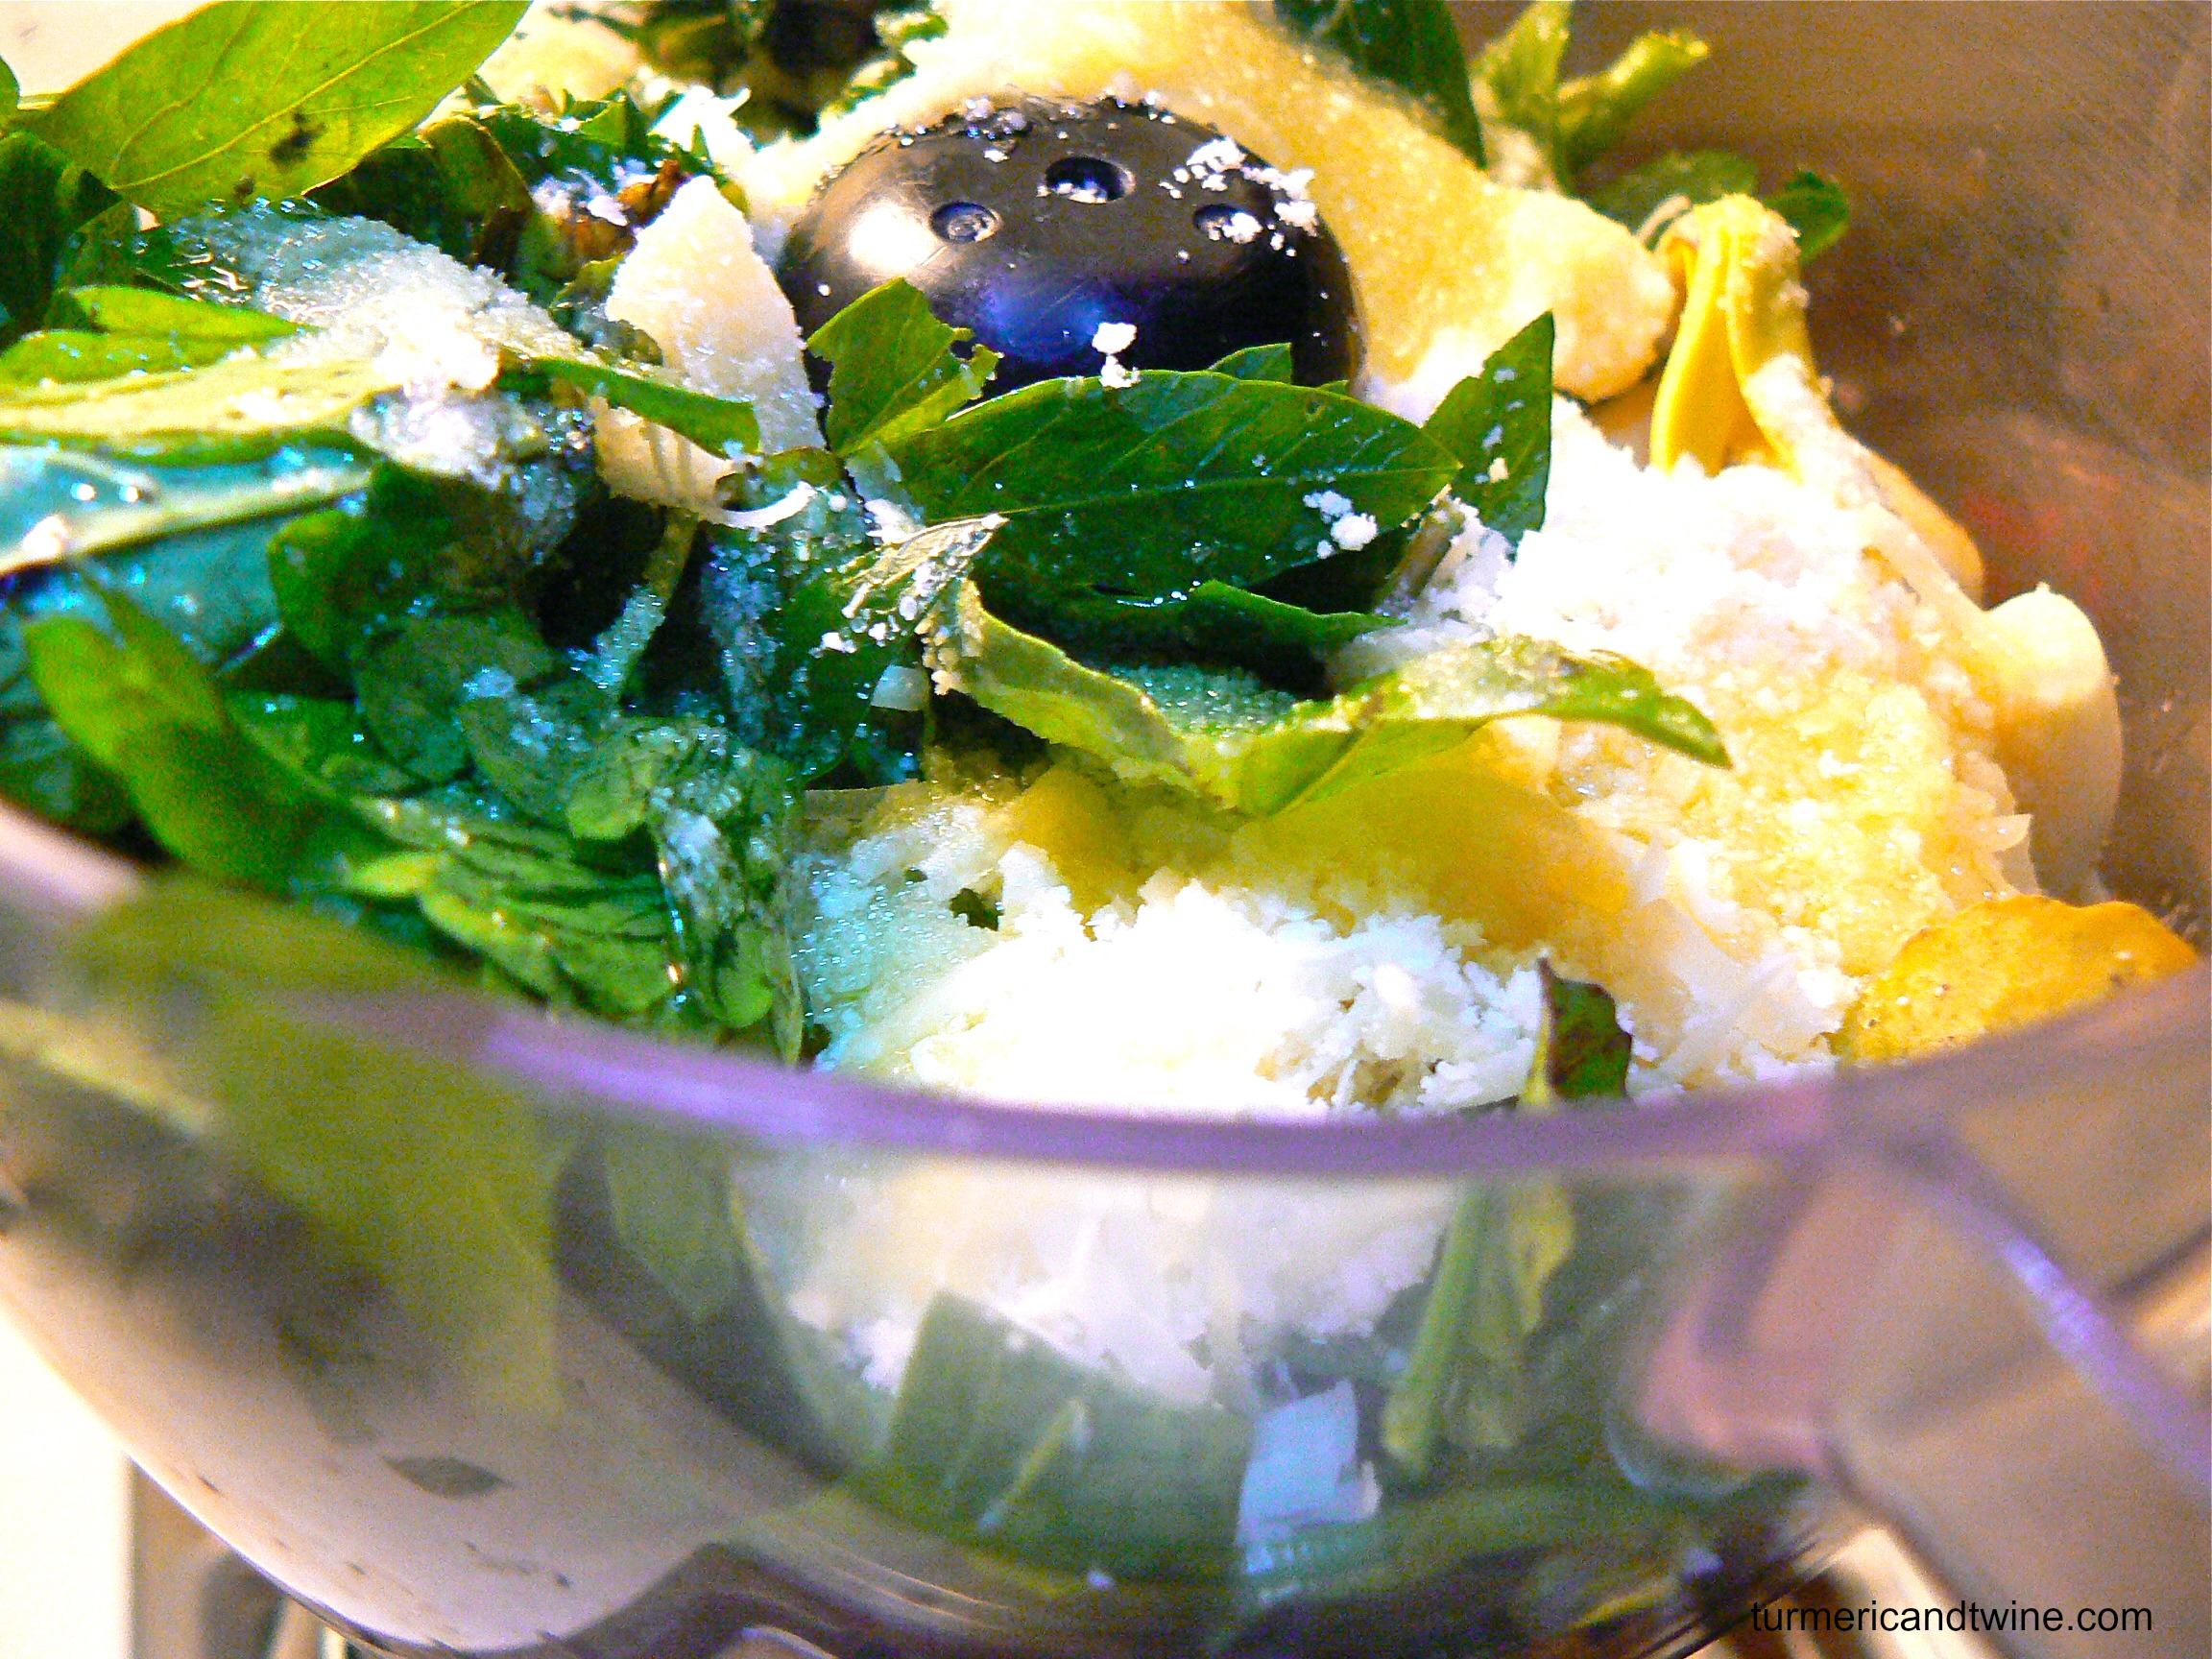
Using a food processor, blend herbs, nuts, garlic, salt and olive oil in small batches. Add small amounts of water for extra blending lubrication. Blend until beautifully smooth with bits of green.
Once the ingredients have finished blending, mix the parmesan into the rest until well incorporated.
Pesto can be frozen for many months and keeps well in the fridge.
Variations
Omit parmesan for a vegan version and add a touch more salt. Or use a salty hard vegan cheese (any suggestions?).
Roast garlic if you’re garlic sensitive, although I would never recommend omitting garlic entirely.
Last week, I celebrated my 33 and a third birthday. 33.33.I know it isn’t commonplace to celebrate a fraction of one’s birthday, but turning exactly one third of a century was too good to pass up without festivities. An old roommate and friend of mine from Montreal invited me to her 33 1/3rd birthday some years ago. It really struck me as a perfect event to celebrate; after all, three is a magic number.
Three. Past, present and future. Spirit, mind and body. Mother, father and child. Beginning, middle and end. The Three Furies, the rule of three, triangles, etc. 3 or 33 has appeared as important numbers in history, science, astronomy, sports, spirituality, nature, math and even geography. It symbolizes balance, clarity and wholeness. Threeness had overwhelmingly sold itself to me as something awesome. I was determined to do something great when I hit the big 33.33 and since my actual 33rd birthday was kind of a non-event, it was even more reason to party.
So, I did. My real birthday is on July 12th. I added a third of a year (4 months) to find that the precise date of my 33 1/3rd birthday was November 12th, 2012. In lieu of all the threeness, I decided that the theme of the party would be: (surprise!) 3’s! Here’s what I did:
Invite: I thought a party with a 3 theme could possibly be confusing and overwhelming for some of my guests, so I outlined the requests of the evening very simply in the hopes that my guests would interpret the theme in their own way. I asked everyone to dress up and bring food with 3 in mind. I told them that this was a very loose idea and could be interpreted in any way they like. It could be as simple as wearing three colours and bringing a 3-bean salad. I encouraged their creative ideas and humour to lead them more than what they thought I was expecting. It was all about fun.
Note: I wanted to celebrate on the exact date, which landed on a Monday. I asked my guests if they could manage coming on Monday or if they preferred Sunday. I tallied the votes before making the decision. Luckily, it worked out to be Monday. The official start time was 3:33pm, but I told everyone to come later.
Ideas: I encouraged my guests with a few ideas to pique their interest. Actually, I really just googled “things in threes” or “common threes” and loads of lists came up such as:
3 minute egg 3 Stooges 3 Cheers 3 Musketeers 3 piece suit 3 dimensional 3 ring notebook Small, medium and large On your mark, get set, go Hear no evil, speak no evil, see no evil Etc…
The list was pretty long. But effective!
Our Trio costume: Ready, Aim, Fire!
Another clever costume: Third eye
Some of the dishes we ended up with were Shepard’s pie (3 layers), dip (also 3 layers), 3 different snacks, tri coloured soup, multi layered cocktails (details on those to come) and multi alcohol cocktails.
Food: My guests were most confused about food. I guided them with a few ideas like: 3 ingredients 3 layers 3 containers 3 colours 3 dishes
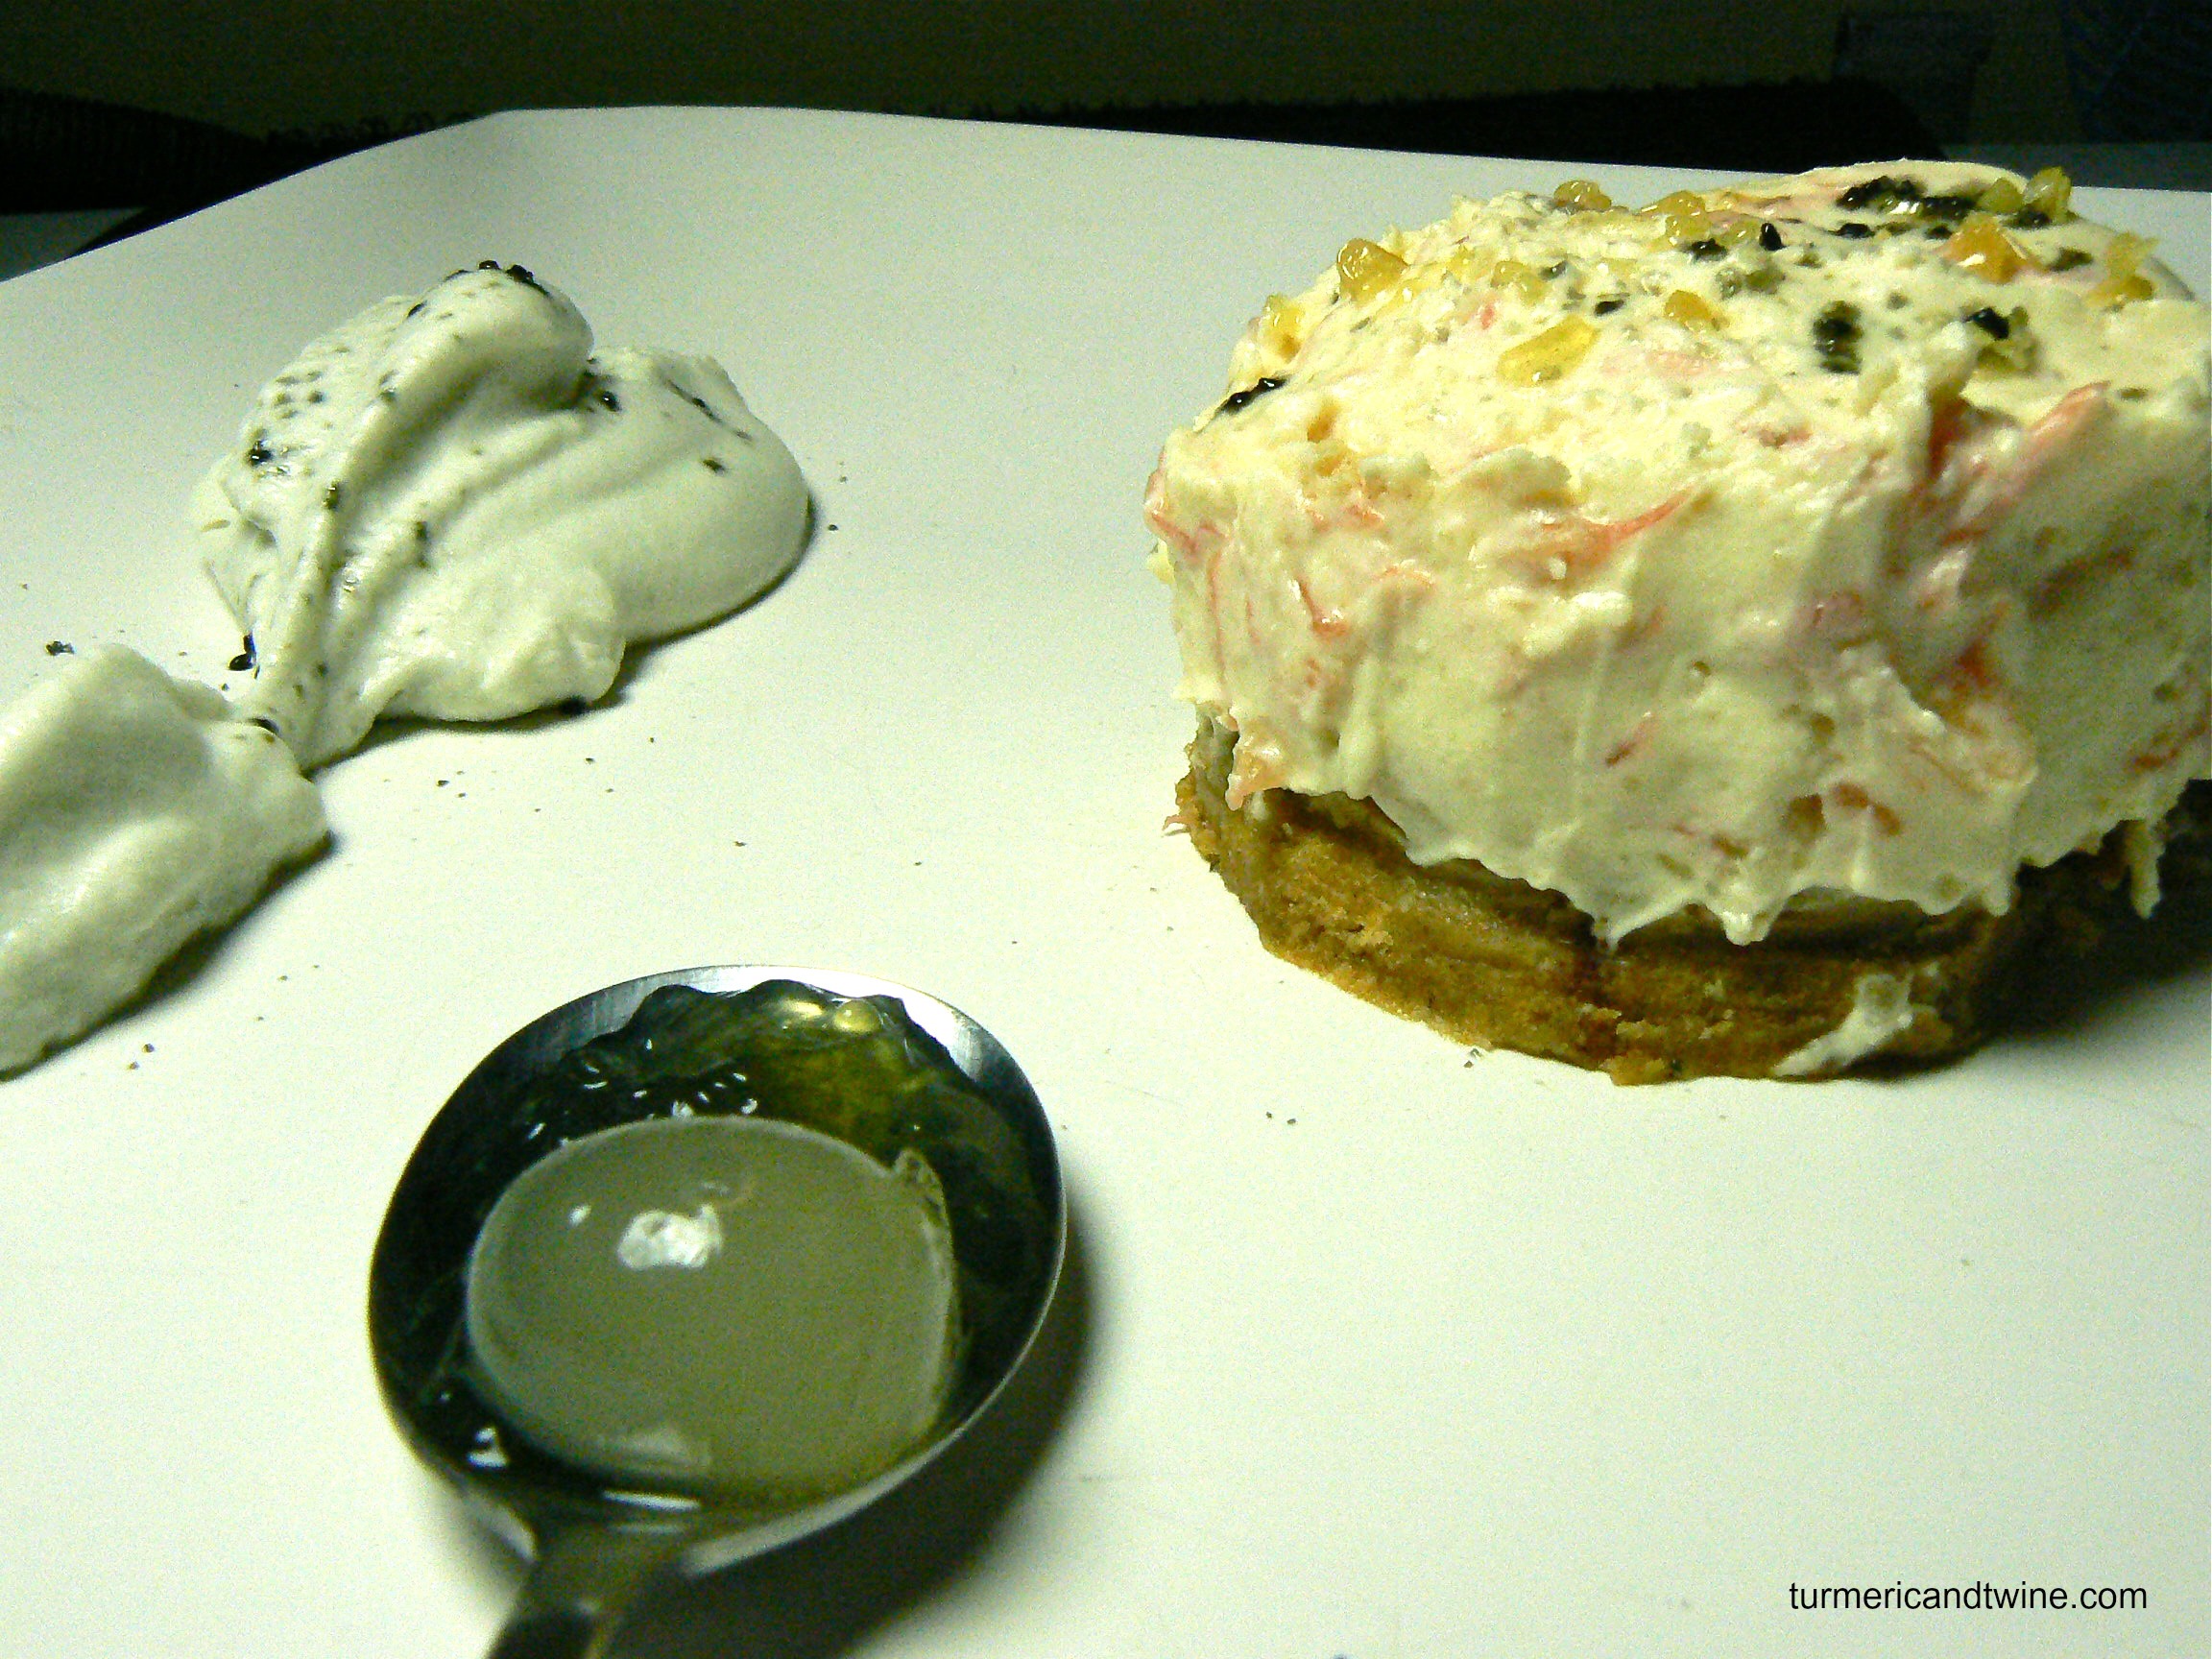
My main contribution to the food selection was the grapefruit cheesecake with lemon licorice and vodka cream (with the crust it qualifies as 3 layers). Gorgeously balanced in flavour and decadently rich.
Grapefruit Cheesecake with Lemon Licorice and Vodka Cream
Ingredients
Crust
2 cups crushed graham crackers
2 tsp grated grapefruit zest
½ cup melted butter
1 ½ tsp cinnamon
Filling
2 grapefruits
3 eggs
1 ¼ cup sugar
1/8 tsp salt
4 tbsp agar agar (powdered)
¼ cup water
1 pound (16 oz) of softened cream cheese
1 ¼ tbsp lemon juice
2 tsp grated grapefruit zest
1 tsp grated lemon zest
2/3 cup whipping cream
Cream
2 cups icing sugar
3 tbsp licorice powder (NOTE: I used hard candies I had brought back from Iceland and powdered them in the food processor. You could experiment with various different licorice candies to see which ones crush and/or melt well).
2/3 cups vodka
½ tsp lemon extract
3 cups heavy cream
Directions
Cheesecake
Mix crust ingredients until evenly combined. Press the crust to the bottom of the pan you will be keeping your cheesecake in (about 9 inches).
Peel the grapefruits and separate segments into small pieces. Drain the juice for the filling.
Combine agar agar and water in a pot and heat on high. Stirring constantly, allow the mixture to boil and remove from heat. Separate 2 eggs. Combine the yolks and remaining whole egg, sugar, salt and 1 tbsp of the juice in a double boiler. Stir regularly. Remove from heat when thickened. Combine this mixture with the agar agar in a bowl.
Beat the cream cheese with the remaining grapefruit juice (½ cup) and lemon juice/rinds. Combine with the egg mixture. Lightly whip heavy cream. Beat egg whites until they form soft peaks. Gently fold the cream and egg whites into the cheese mixture.
Pour this on top of the crust and chill for several hours.
Cream
Mix licorice powder, sugar, lemon extract and vodka in a bowl. Stir until well combined and smooth.
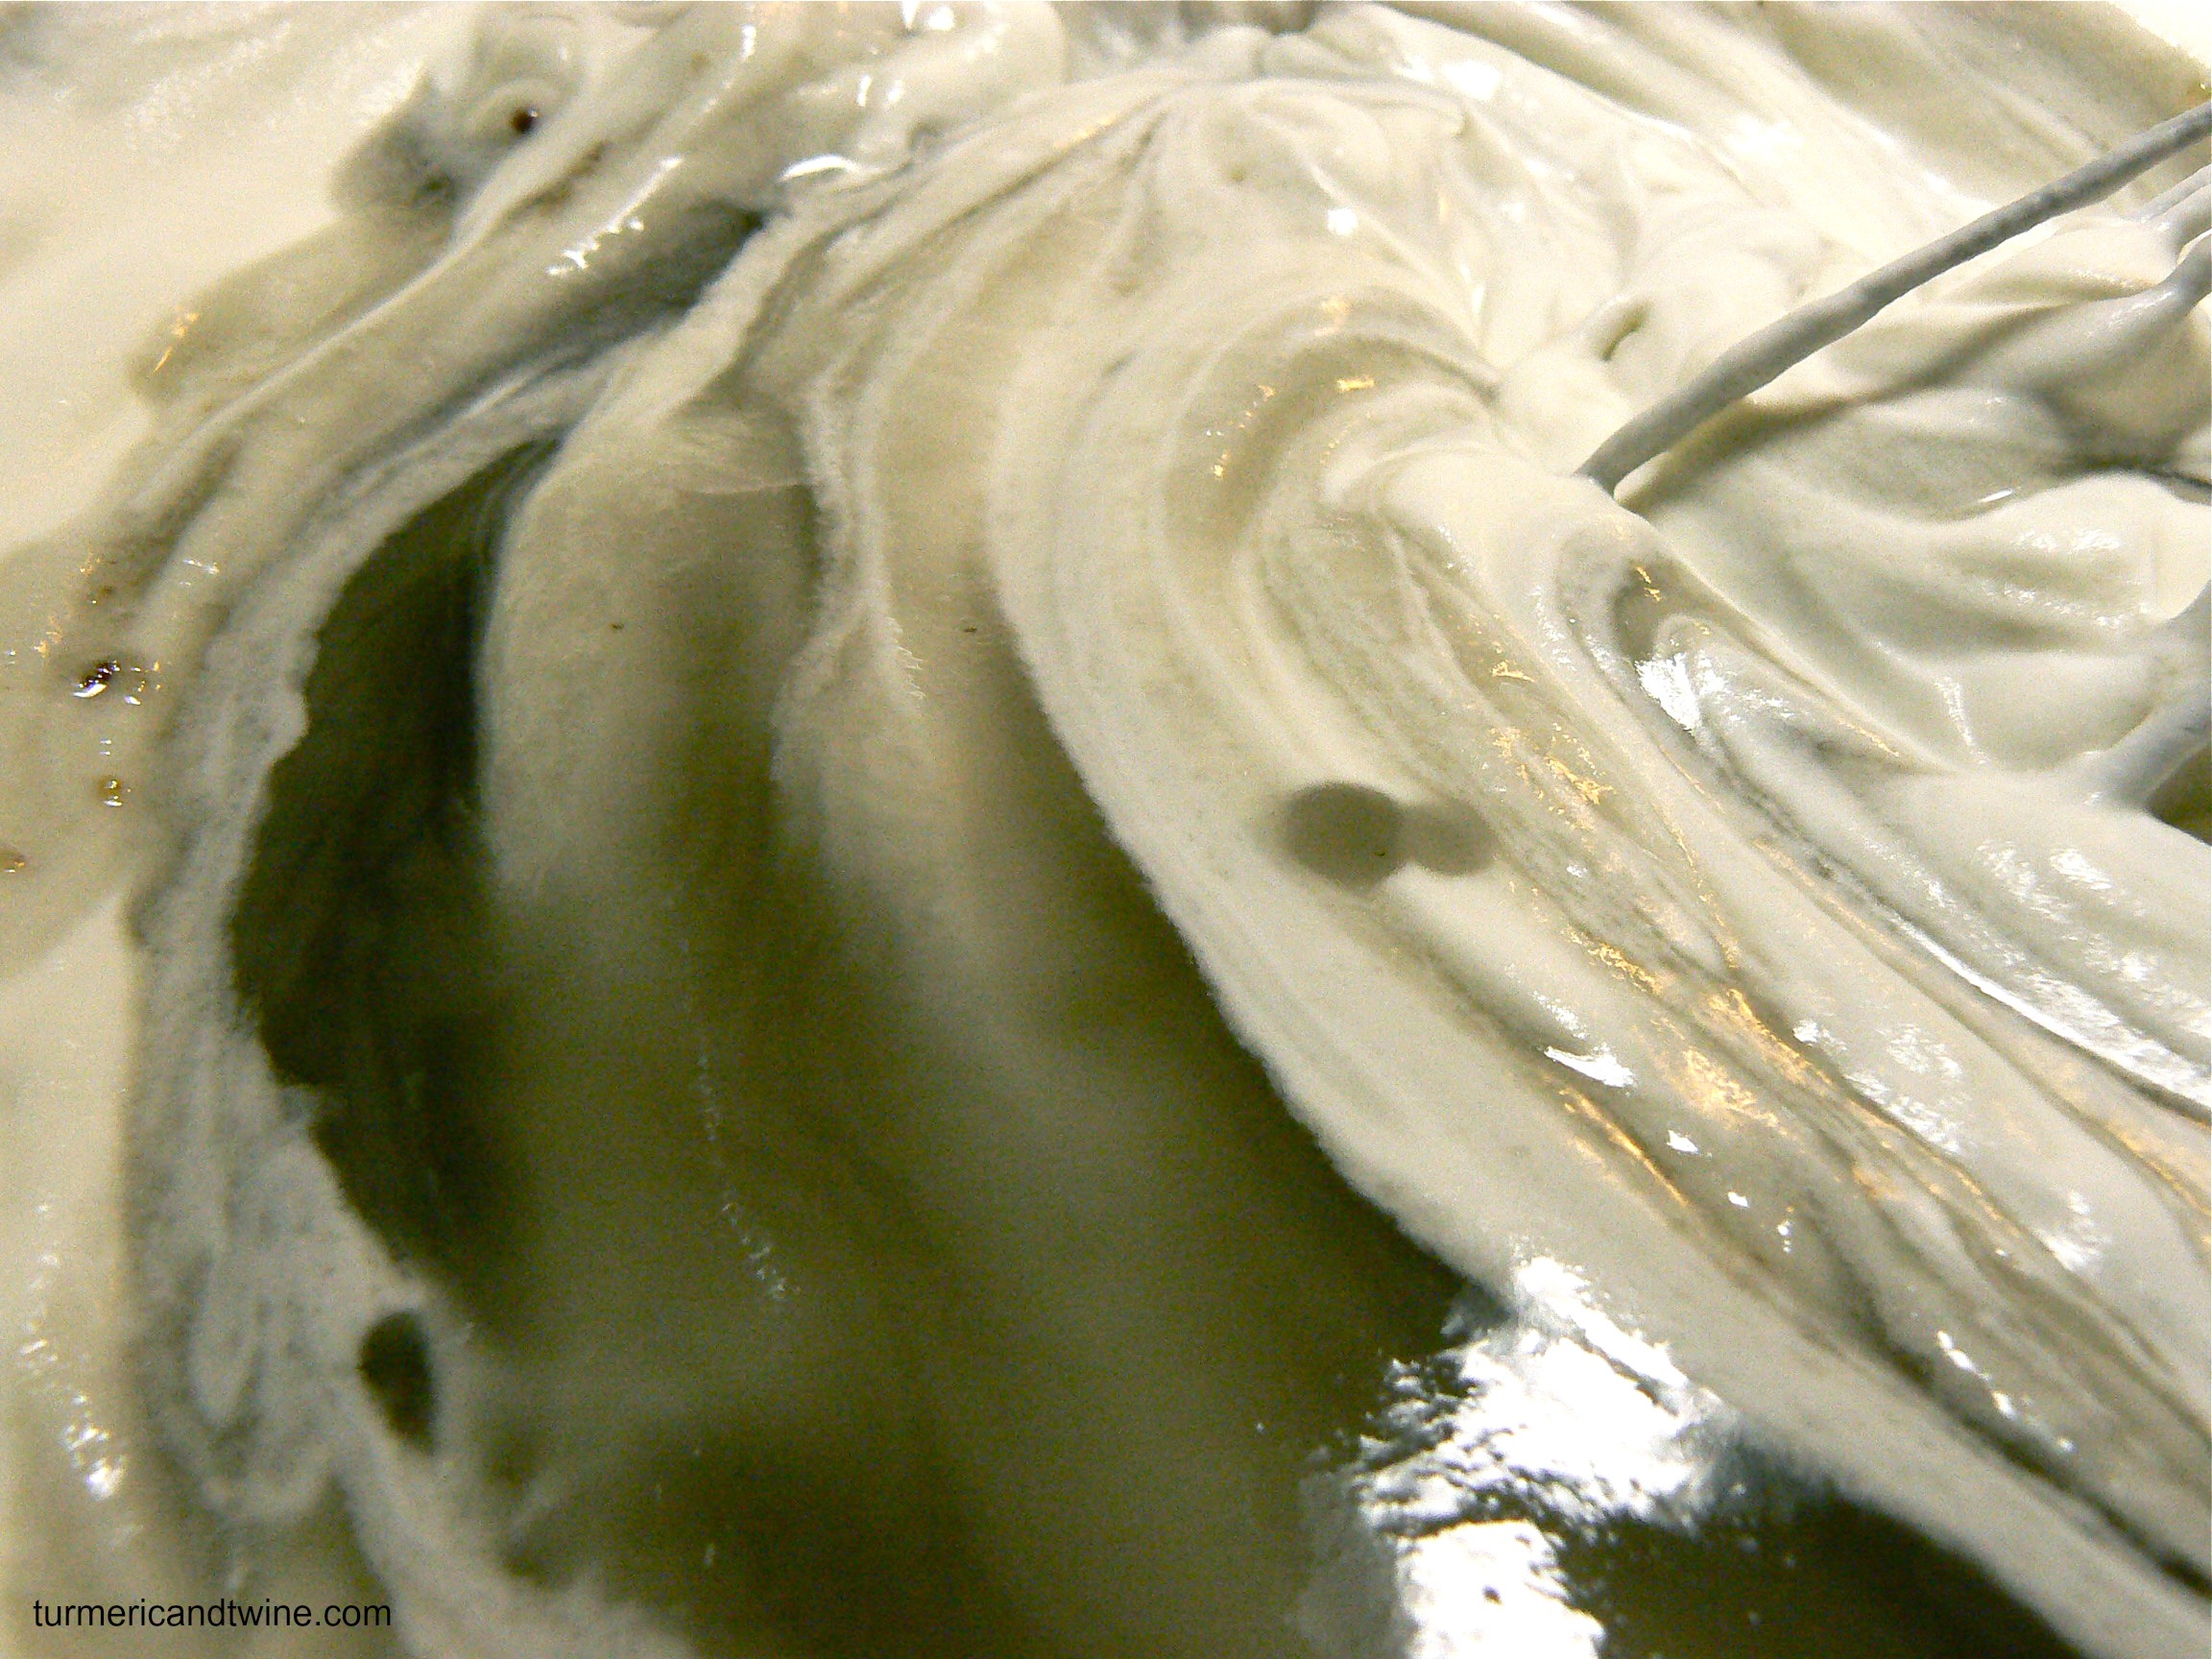
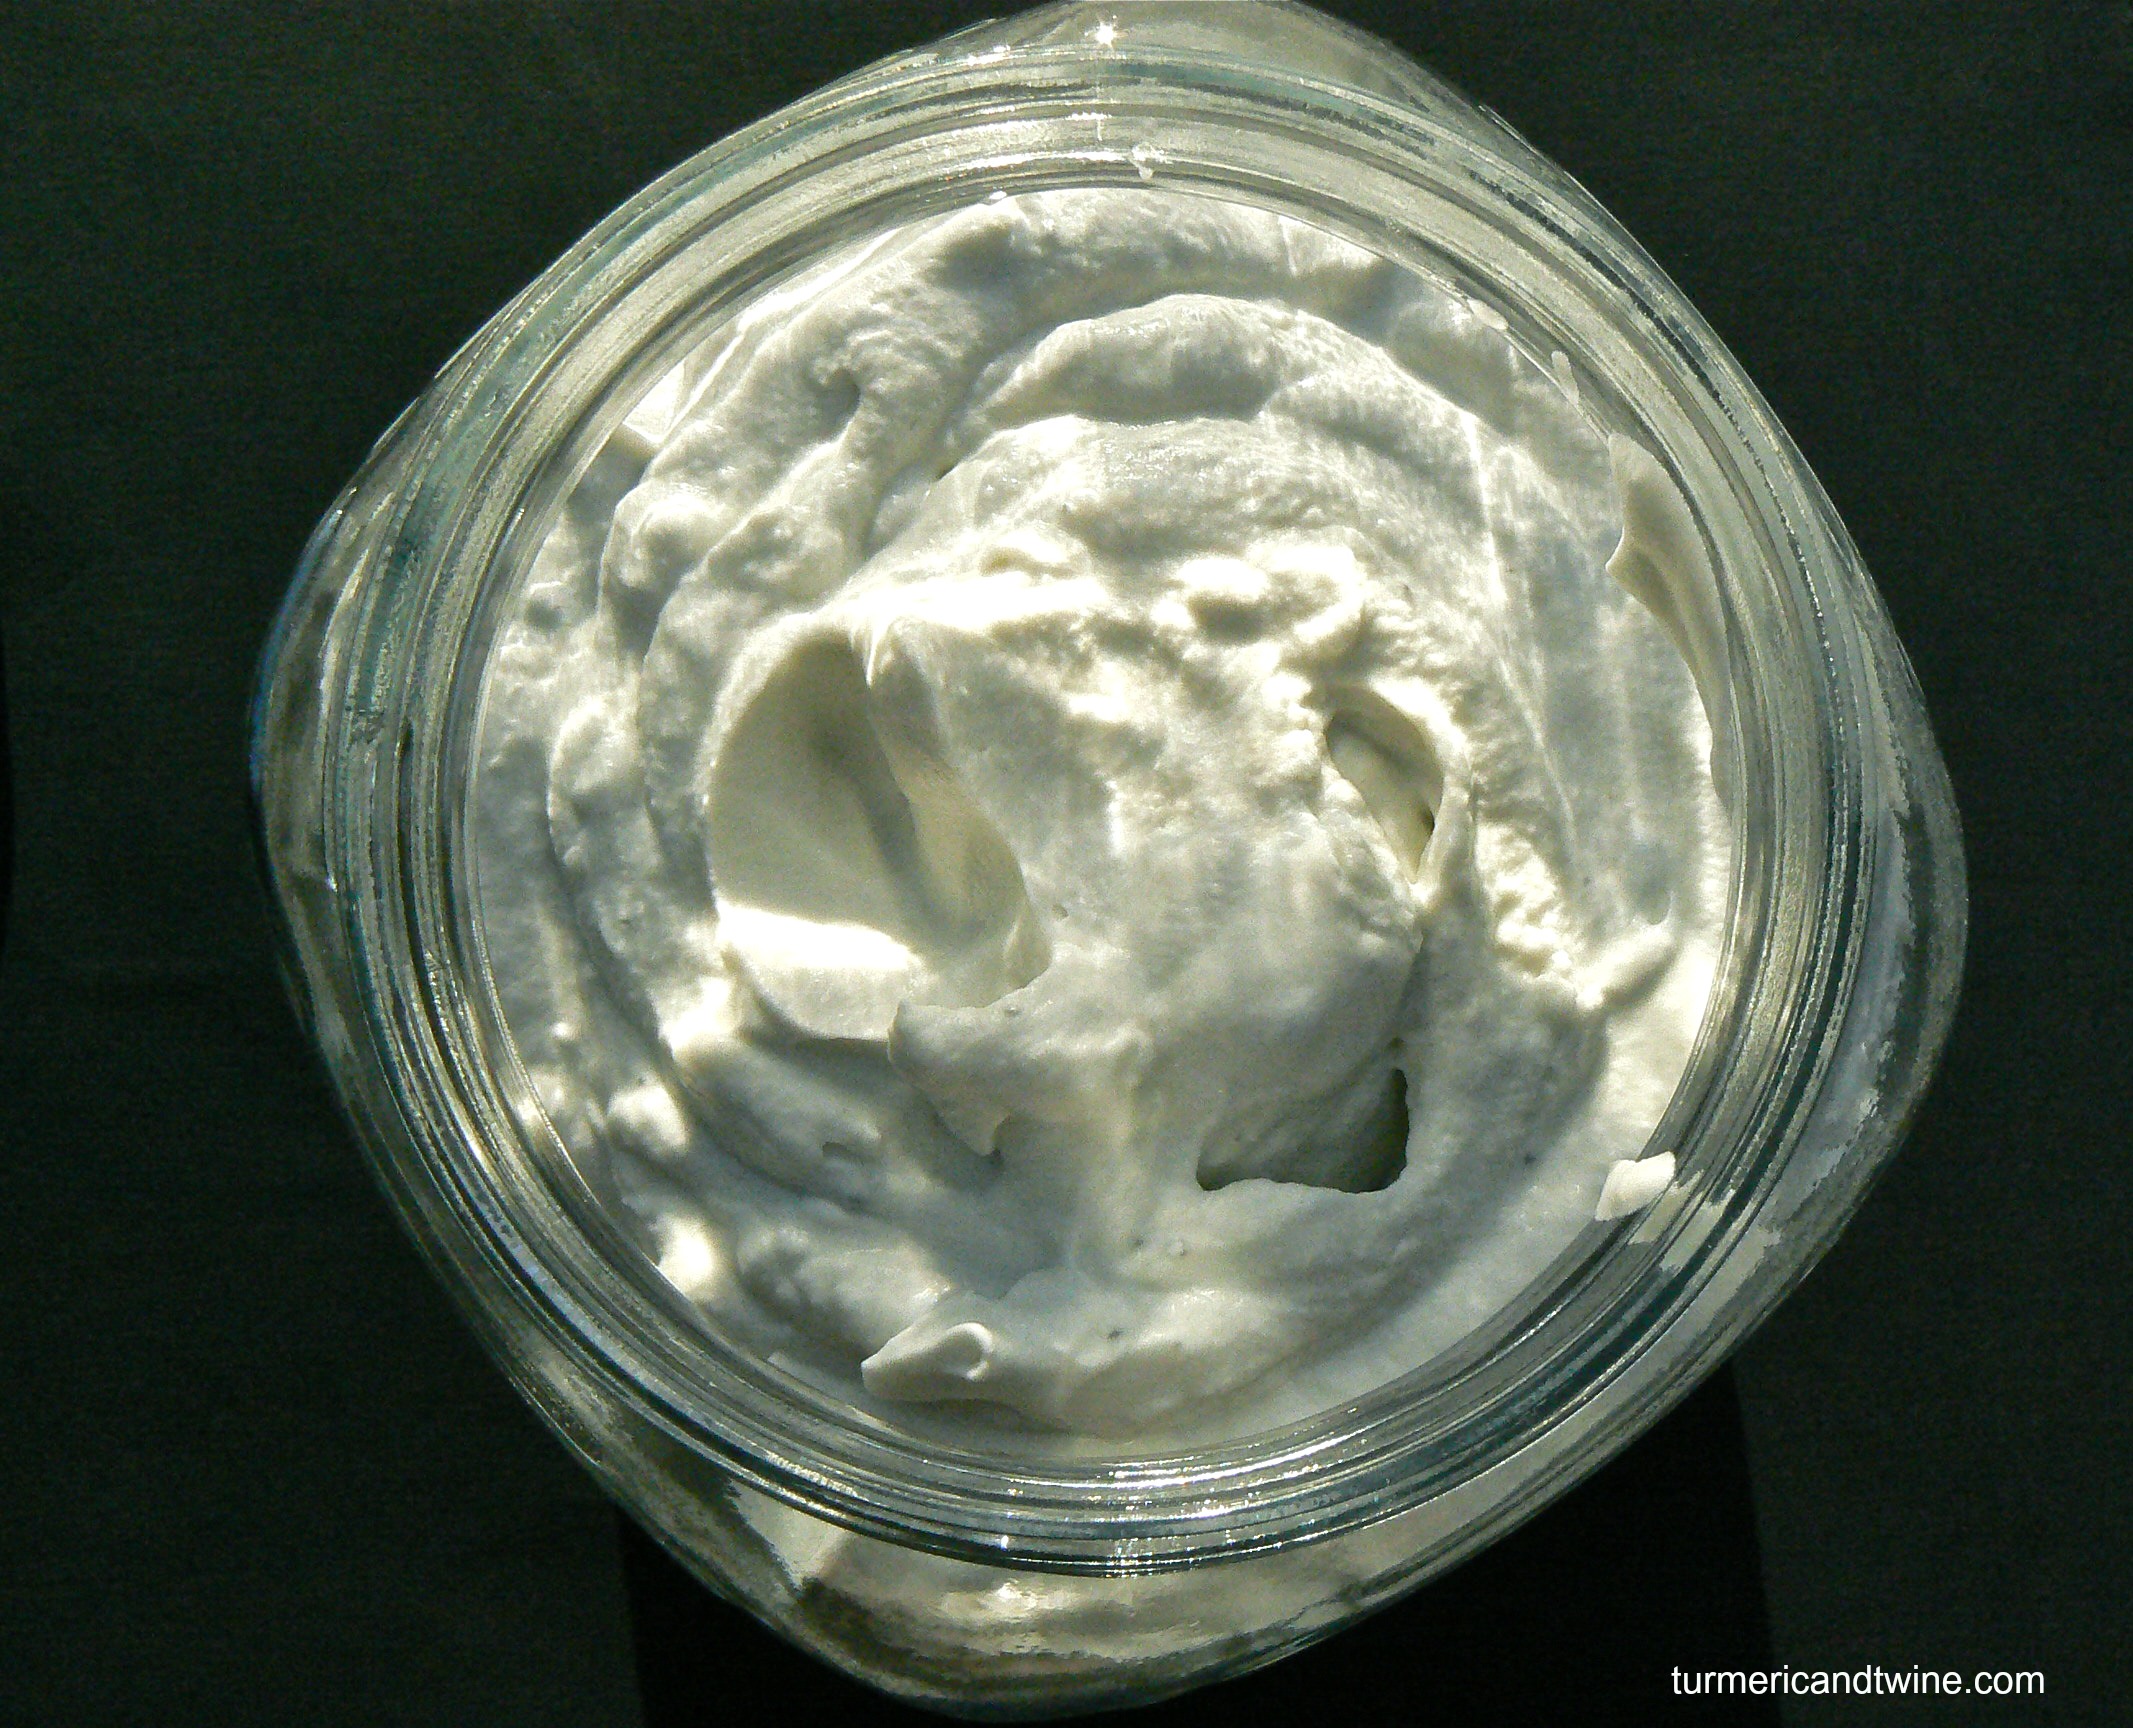
Whip heavy cream with a whisk or an electric mixer until stiff and forms soft peaks.
Gently fold licorice mixture into the cream until well mixed.
Firstly, I’d like to thank everyone for their wonderful support and comments in response to my previous post. It means a lot. Every bit.
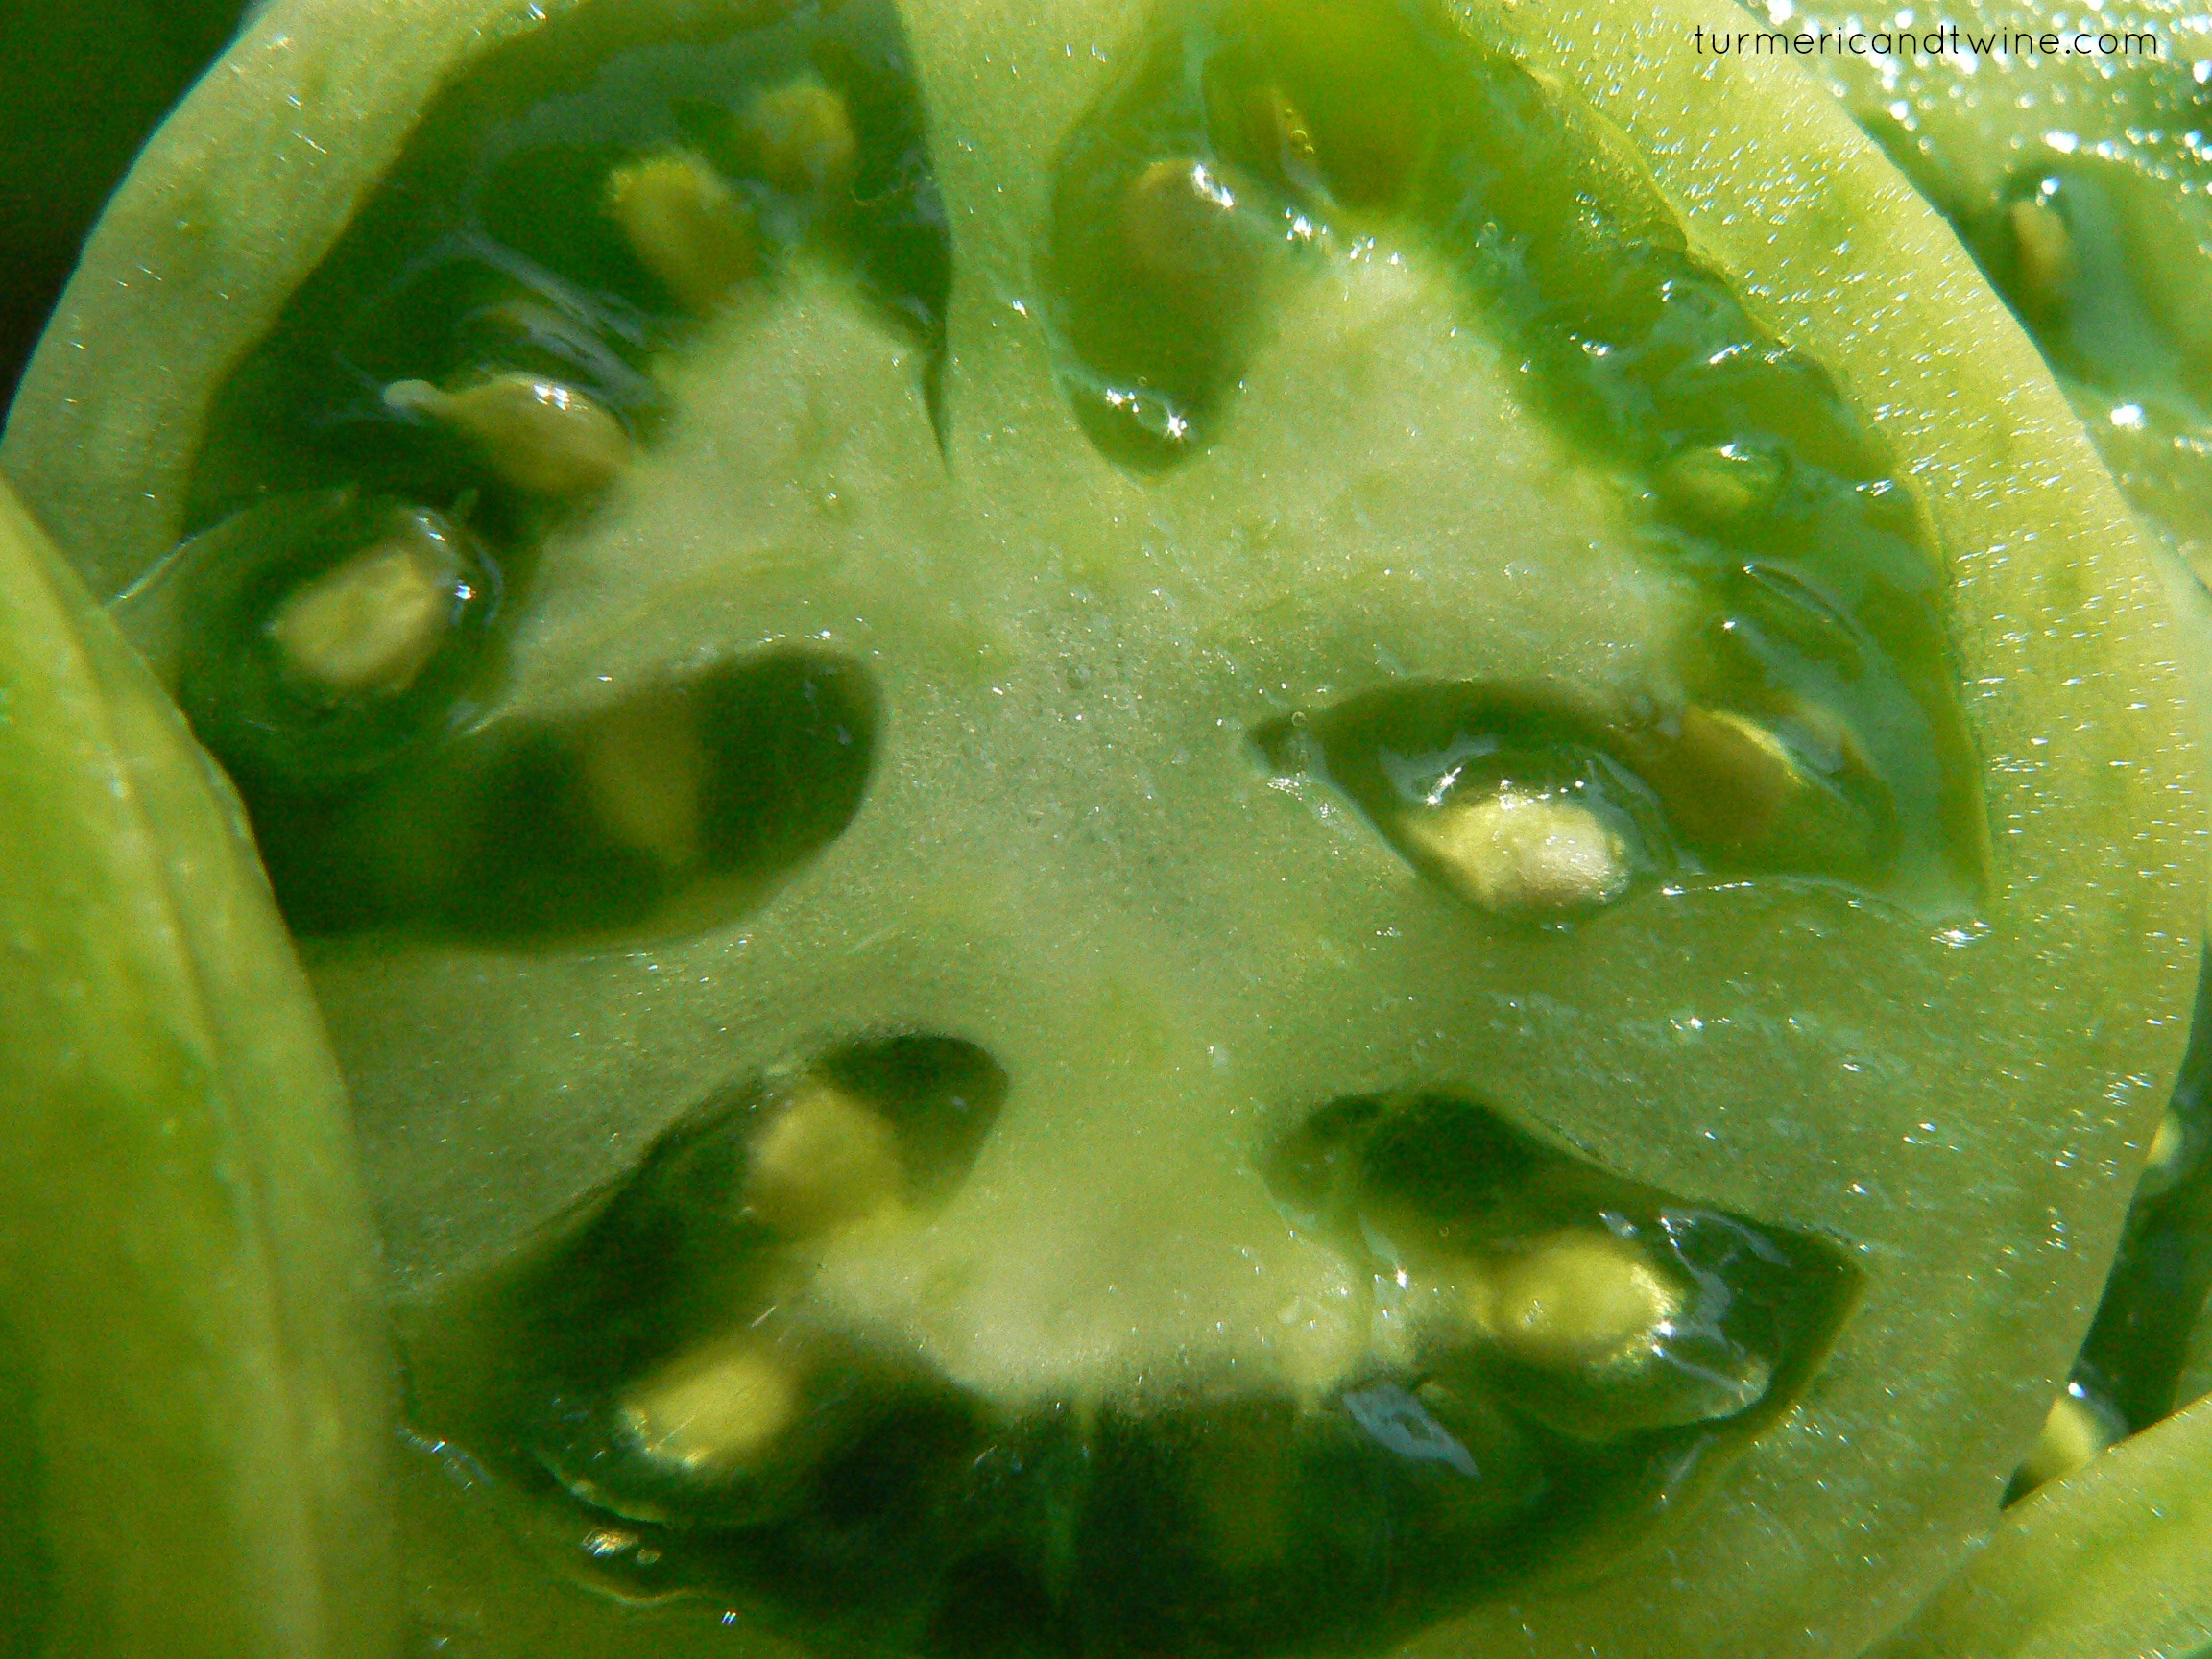
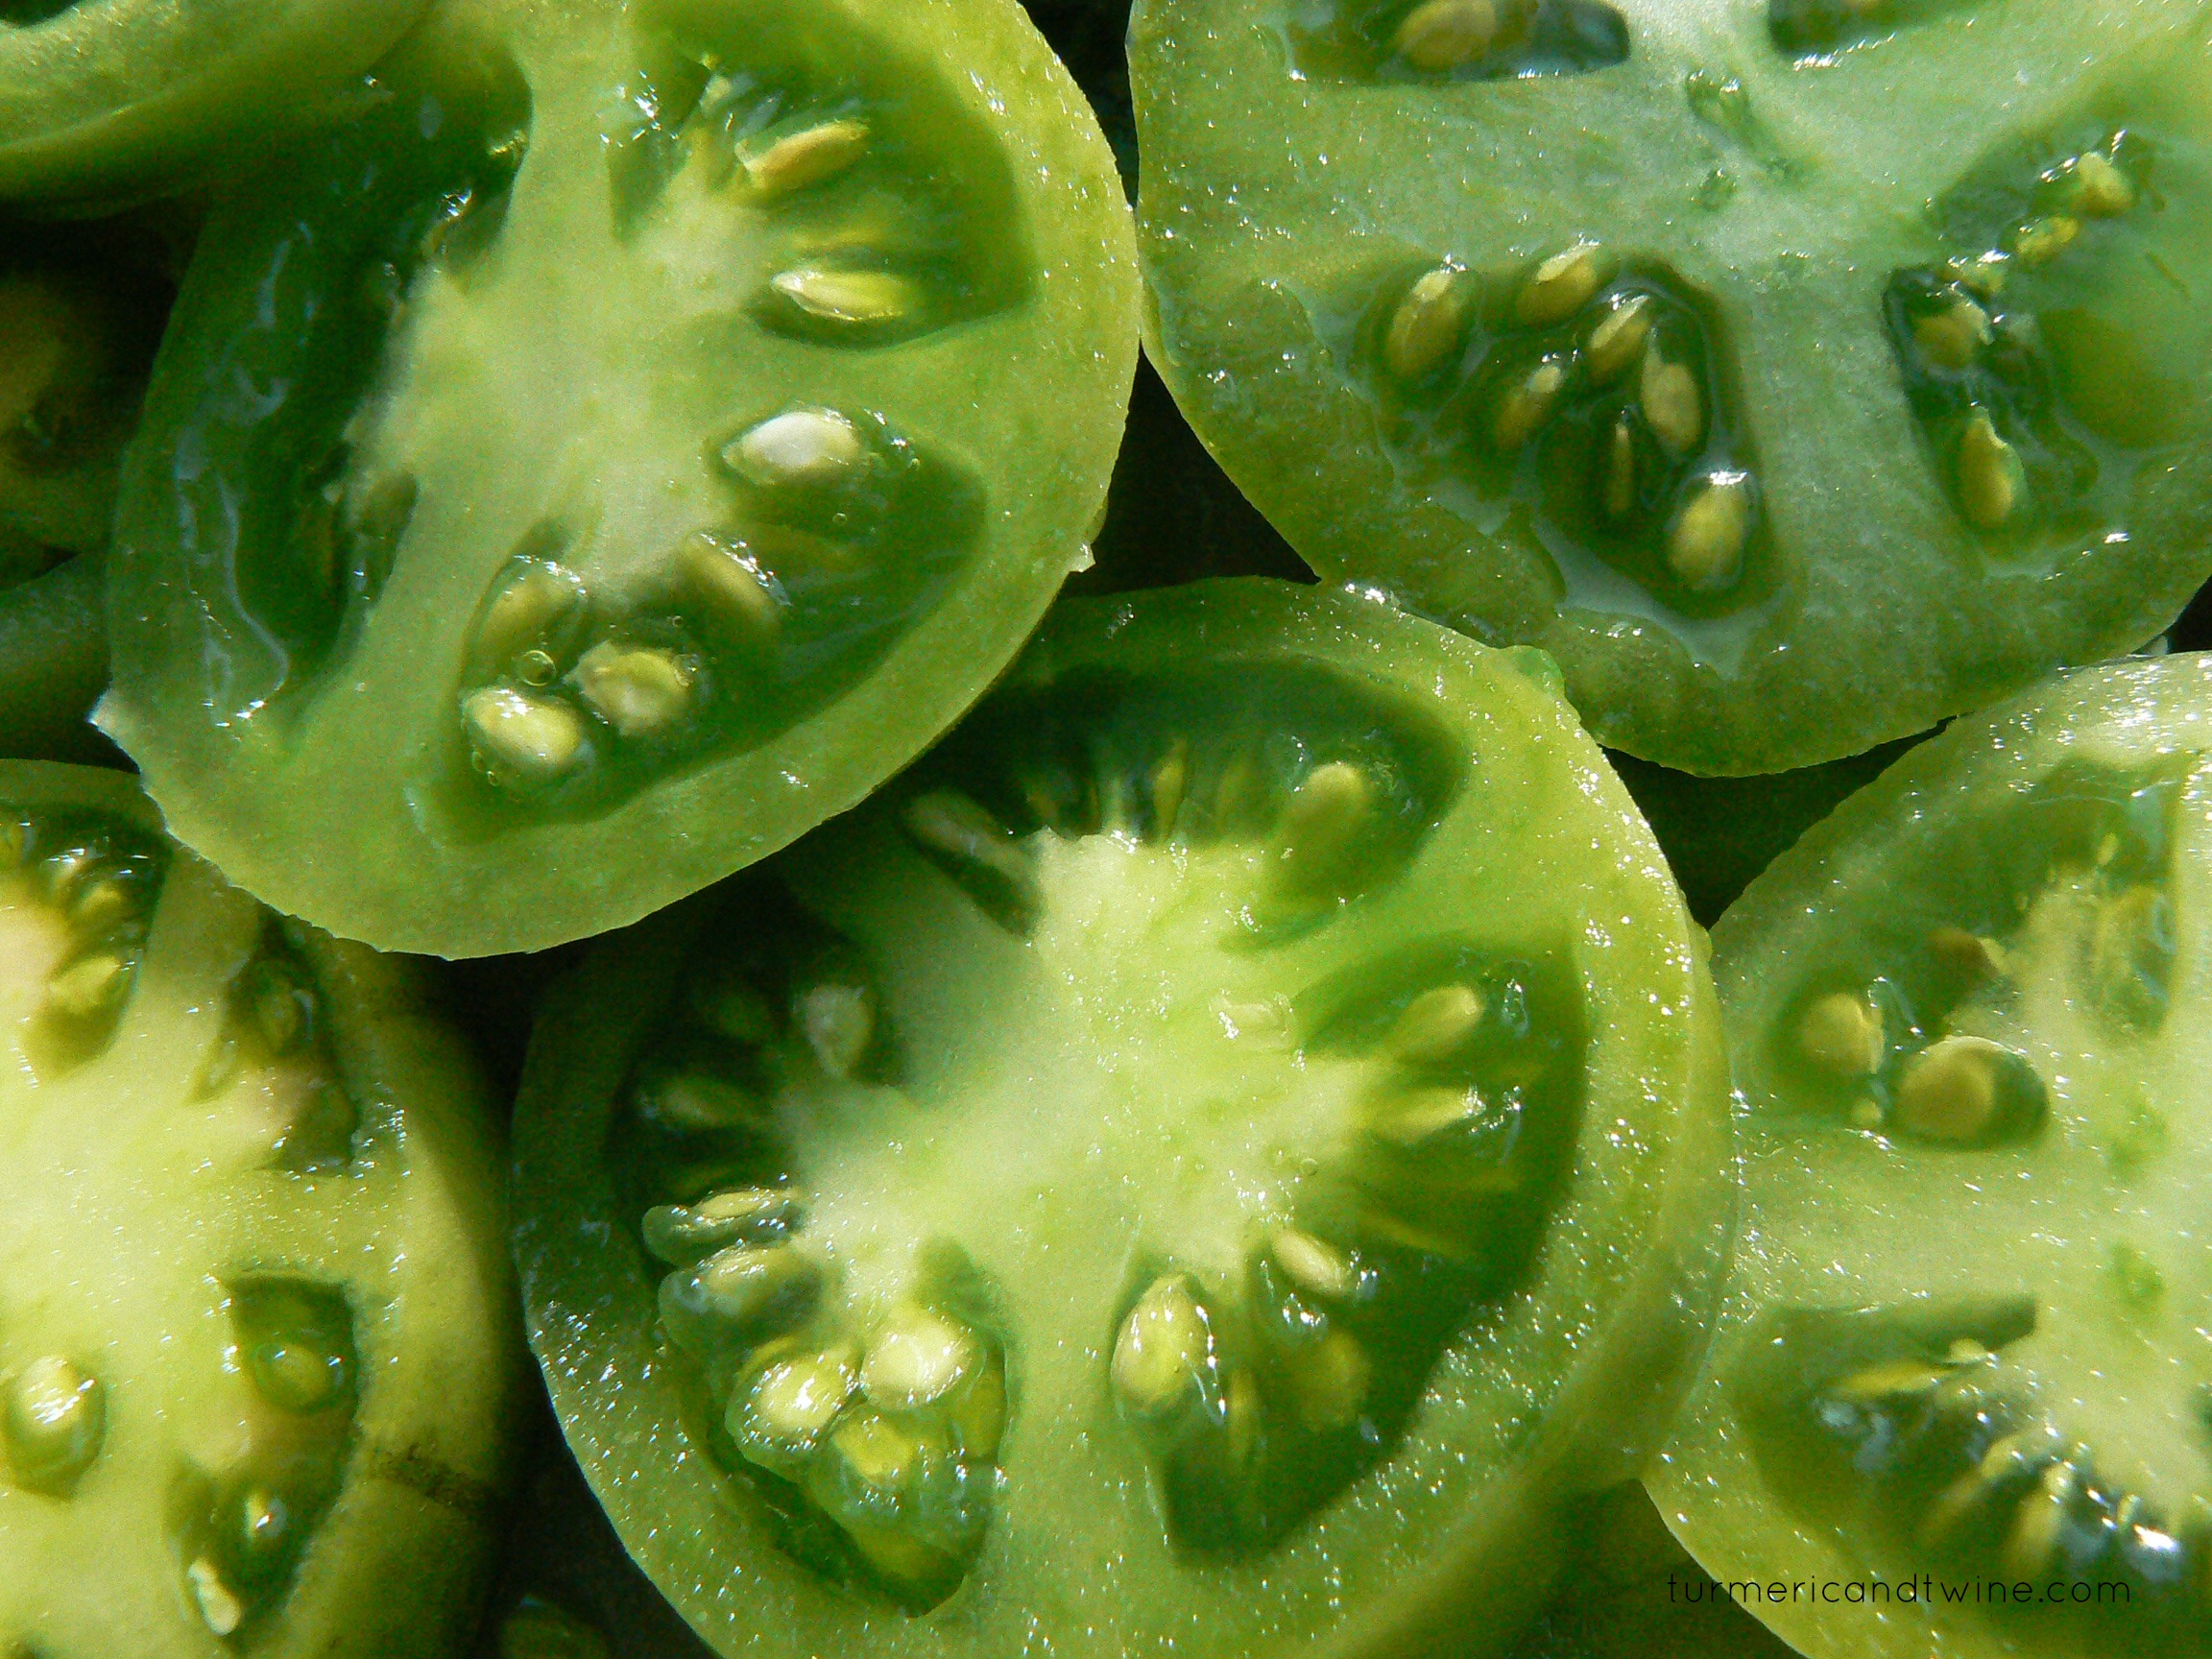
Fall came quickly this year. We had many unripe tomatoes in our garden when the first frost arrived, and we had to find a way to make something interesting out of them. It seemed my only real option (in my opinion) was to give fried green tomatoes a go. I’d never made them and it just made sense.
Southern dishes are always such a curious undertaking. Rich, fatty, flavourful and full of character, dishes such as red-velvet cake, deep fried chicken, fatback collard greens and pecan pie are typical staples of southern cuisine.
As a Yank, I live vicariously through my Southern friends and the feeling they get about their comfort foods. Wikipedia told me that the most notable influences of Southern cuisine come from the English, Scottish, Irish, German, French, Native American and African American traditions. I enjoy taking moments to step back and savor the history of this melting pot cuisine before diving into my own version. Here are my fried green tomatoes.
Tangy Fried Green Tomatoes
Ingredients
6-7 medium sized firm, green tomatoes
1 cup of cornmeal
½ cup all-purpose flour
2 tsp salt
1 tsp garlic powder
½ tsp cayenne pepper
½ tsp paprika
1 tsp dried basil
1 tsp black pepper
2 eggs
¼ cup milk or buttermilk
1 lemon
Cooking oil
Directions
Slice tomatoes into ½ inch slices. I do not recommend using end pieces as they don’t hold the cornmeal mixture very well, so be sure to make each slice flat on both sides.
In a small bowl, mix the eggs, milk and lemon juice as well as some of the zest.
Combine all the dry seasoning, flour and cornmeal into a container with a top (or one that is deep enough so you can shake the contents without making a mess).
Heat a skillet or frying pan in medium high heat. Add enough oil to grease the pan with a (not too) generous layer. Begin dipping slices of tomato one at a time into the egg mixture. Then drop them into the cornmeal mixture. Cover the container and shake for a few seconds. Your tomato should be thoroughly coated in cornmeal.
Place coated slices in the hot pan and fry until golden brown on each side. This could about 5 minutes per side depending on the heat your stove produces.
When cooked to your satisfaction, place the slices on paper towels in order to soak up some of the grease.
Dip in hot sauce and devour while hot.
Serves 4-6.
Phew! I made it this far without mentioning the movie!
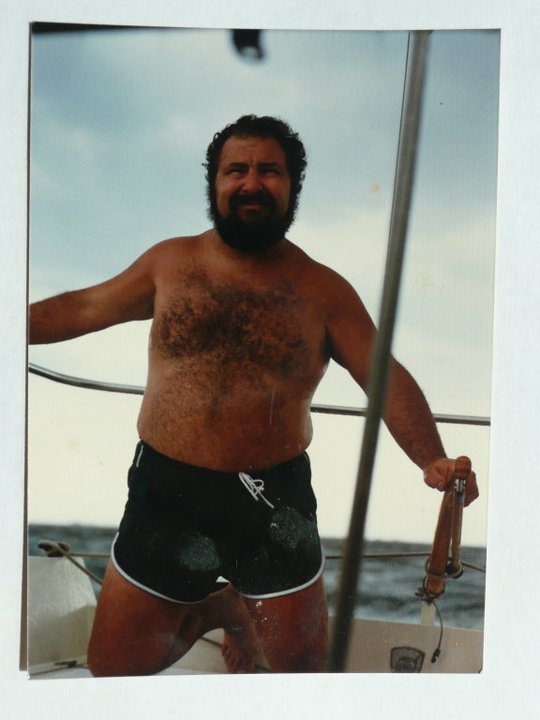
Today is my father’s birthday. He would be 68. Were he alive, we’d probably celebrate by preparing him breakfast in bed, going to see a movie and taking him out to dinner. If he had it his way, we’d all go sailing (the rest of the family would probably protest the temperature, being November and all). In the spring of 2010, my parents moved back to the Abode after nearly 30 years away. They had plans to build a house on the land they had bought, but after a few days, it was clear that dream wouldn’t be possible.
Sid the Sailor. On a boat, dad was at his best.
My father, Sid Smallen; handyman extraordinaire, Sufi mystic, master woodworker and all around awesome guy, was struck on his back by a falling tree and paralyzed from the chest down. He sustained many other internal injuries, and after being helicoptered to the ER, we weren’t sure he would make it. For 10 months, he lived through one crisis after another; heart attack, appendicitis he couldn’t feel, not being able to eat, having to relearn how to breathe without aid, kidney failure, bedsores and at times not being able to talk due to the placement of his tracheotomy. He was moved to a rehabilitation hospital, and over those 10 months, he was never strong enough to leave it. Sometimes he was so filled with drive and energy that he was rockin’ his rehab exercises, sometimes infection and fatigue made it too difficult for him to lift his head. Finally, after being in a septic coma for 2 weeks, my father passed away peacefully, surrounded by loved ones and so much love on April 24th, 2011.
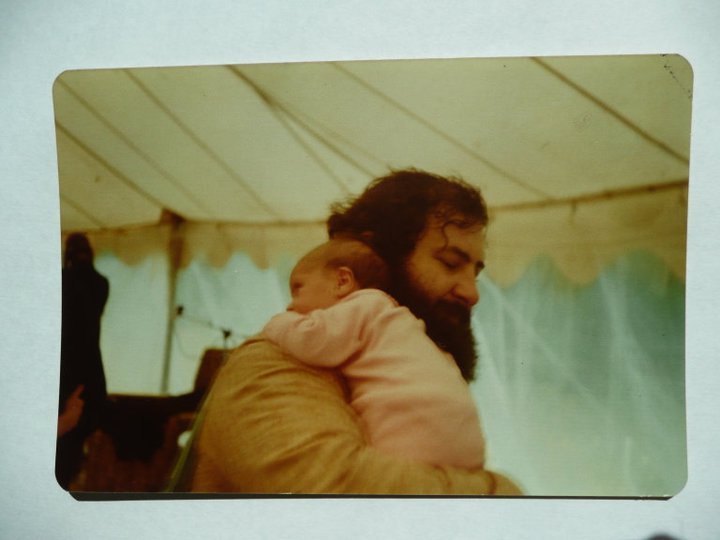
Before the accident and as far back as I can remember, my dad was always doing something. He was an excellent tinkerer and could pretty much make whatever he put his mind to. He made most of the furniture in my mum’s home and built a house-sized, 3-story addition to a previous house we lived in. I don’t think he was capable of going a single day without thinking about power tools. He had a good mind for math and science and was also able to apply his creativity in design to his work. I have so much admiration for my father for his strength. He fought so hard when the going was really tough.
Dad opening presents: X-mas 2011
I wish to dedicate this post to my dad. Being my first post on molecular gastronomy, which is the science of cooking (started and cultivated by food tinkerers worldwide) I felt the scientific exploration behind MG accurately captures just the sort of tinkering he’d really appreciate.
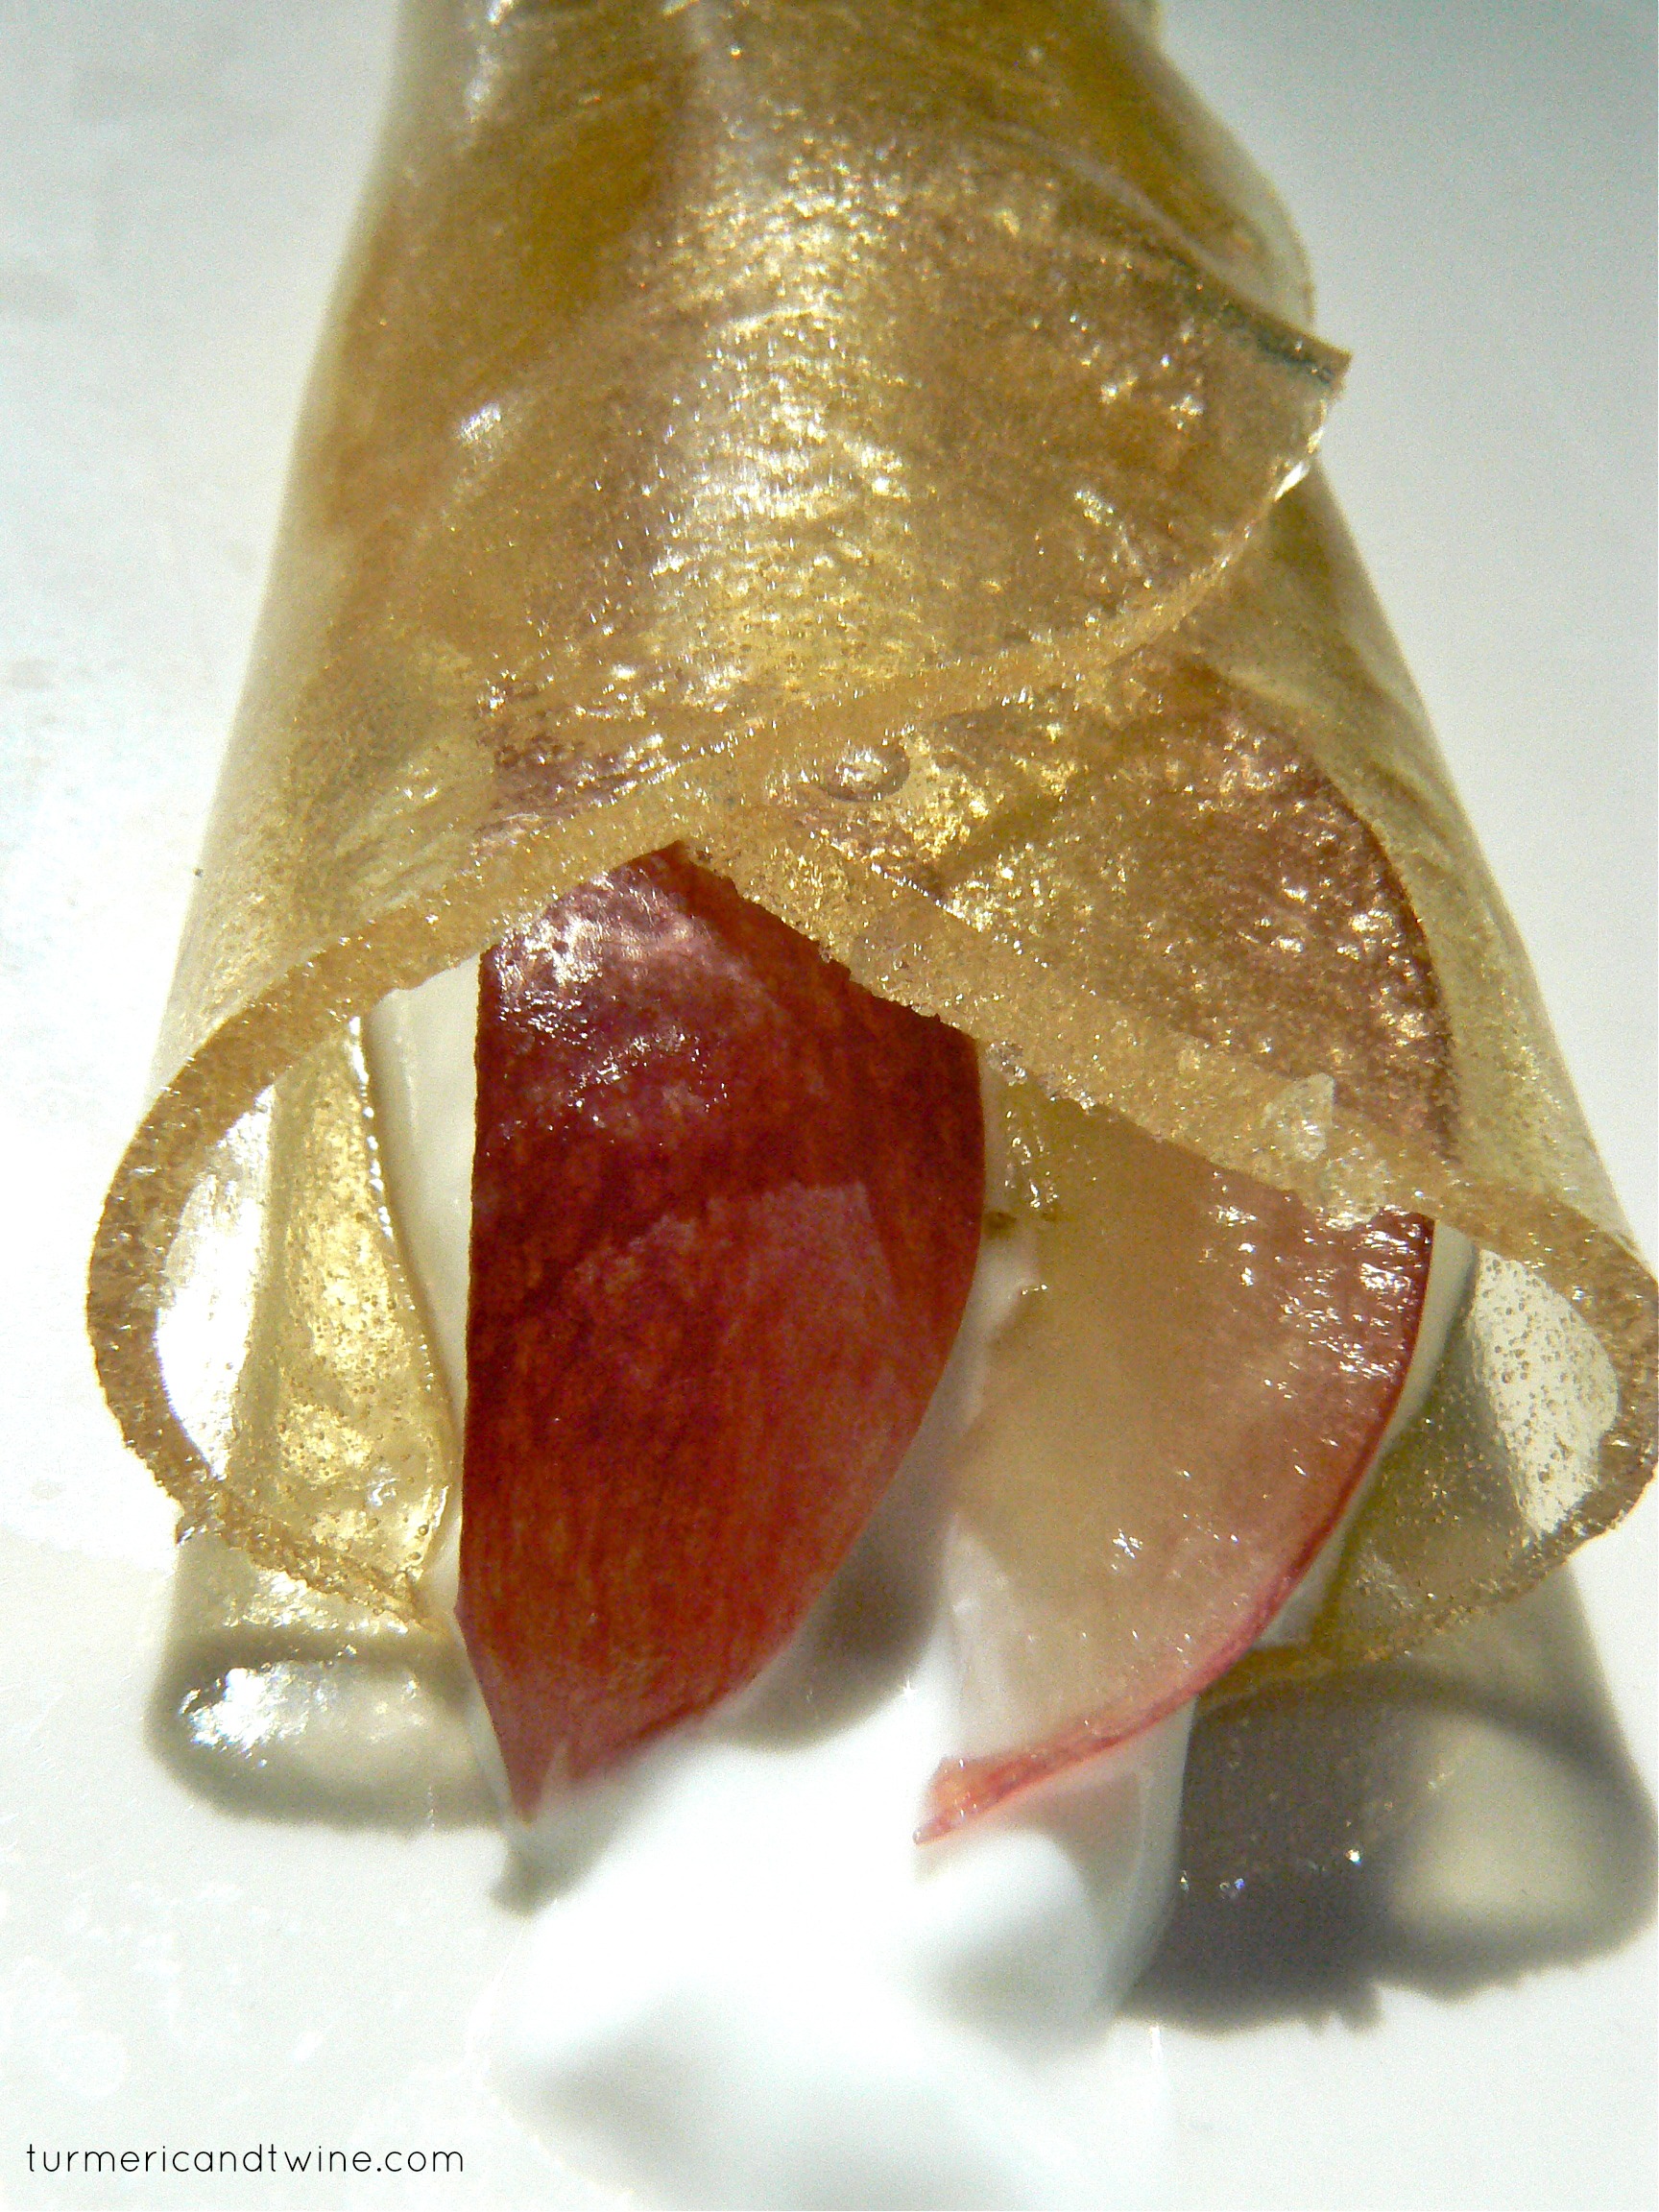
Since buying my molecular gastronomy kits, I’ve responded by either sitting around for hours watching the neat instructional videos and springing into molecular gastronomical action in my kitchen or glaring at the kits in overwhelmed disbelief of the possibilities they possess. In the beginning, I needed to take it slow, so I started with a honey wrap or sheet.
Many of the gelification techniques in molecular gastronomy use agar agar, which is a gelatinous substance derived from algae and activated when boiled. It has been popular in the vegan/vegetarian movements as a gelatin substitute. It is tasteless, odorless, colourless and very easy to use. It can be ordered online and found at most health food stores.
Here is an instructional video demonstrating how to make a similar sort of sheet out of rum.
Honey Wrap
Ingredients
1/3 cup water
½ cup honey
½ tsp powdered agar agar
Directions
Place all ingredients in a small pot.
Stirring constantly, bring ingredients to a boil.
Pour contents on plates or in bowls so they make a thin layer. Spread the liquid around on the surface but make sure they’re not too thin as their strength could be compromised. I’d suggest varying the thickness on each surface so you can understand what works best.
Place honey wraps in the fridge for 15-20 minutes. If they aren’t perfectly solid, give your wraps more time to cool.
Cut out a circle shape about the size of your hand from the middle of your wrap. Carefully pull the circle off the surface.
Place yogurt and/or fruit inside your wrap and enjoy.
Like most North Americans, I love Halloween. The history, the nostalgia and the excitement all jump-start us into Do-It-Yourself action to where we can’t help ourselves but to dress-up and party. It’s a very special annual event and I try to pay my respects by putting effort into costumes, candies and parties.
Having spent my previous three Halloweens in the massive metropolis of Seoul, this year’s quaint Berkshire retreat center Halloween just didn’t get my heart pounding. Though Korea doesn’t traditionally celebrate Halloween, the large ex-pat community (composed mostly of English teachers) and a general love of partying have made certain areas of Seoul a fountain of pure Halloween joy. A few Seoul neighborhoods, such as Itaewon and Hongdae, have become foreigner hot spots, so there is an endless stream of bars, people watching, parties and costume contests.
My Halloween this year was very, uh, … quiet. Many of the people I was surrounded by didn’t dress up or acknowledge that a special occasion was occurring. I, on the other hand, was possessed by the idea of a homemade DIY Halloween and fully allowed the spirit to blow through me like a hurricane (speaking of Sandy, we were extremely lucky in the NY Berkshires. We had very few power outages and little damage. A few weak trees were loosened and are threatening to fall, but haven’t yet. Hopefully, they will be removed soon. Other than that, it was just a very windy storm).
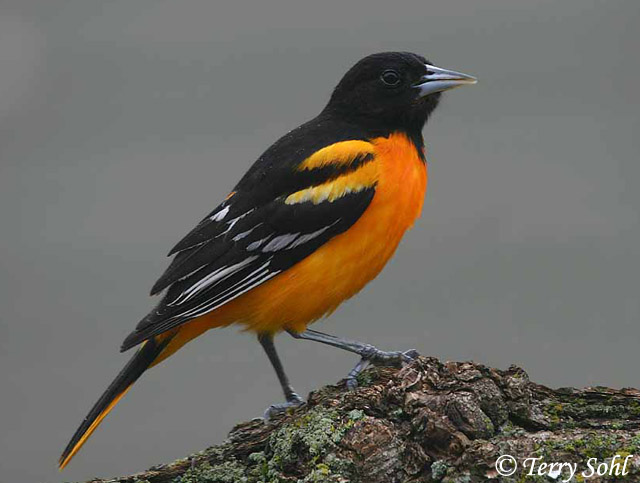
My costume this year was of an Oriole. I was inspired to make this for two main reasons:
1) I’ve had a ridiculous bright red-orange gown for years and have always wanted to alter it into something I’d actually wear.
2) I found this fun, easy and fabulous DIY wing tutorial that made me want to be a bird of some kind. A quick Google search of what birds fit my colour criteria told me that an oriole made perfect sense. Voila!
And, for obvious reasons of delciousness and awesomeness, I had to make some spiced rum tootsie rolls, too. They’re very easy and extremely satisfying.
Homemade Spiced Rum Sea Salt Tootsie Rolls
Ingredients
½ cup cocoa powder
¼ cup honey
½ cup molasses
1 cup icing or confectioners sugar
2 cups nonfat milk powder
3 tbsp melted butter
2 tsp vanilla extract
4 tbsp spiced rum
A pinch of sea salt (coarse is preferable)
Directions
In a bowl, mix the cocoa, honey, molasses and vanilla together. Once smooth, add the butter, powdered sugar, salt and rum.
Using a spatula or wooden spoon, mix the milk powder into the mixture. Knead the tootsie mix with your hands, if you prefer. It should form a smooth looking lump when finished.
Let it rest and further merge into tootsie-ness for 20 minutes.
Using a knife or pizza-cutter cut the giant tootsie into strips. Then into one inch chunks. The chunks should be malleable and not sticky.
Cut some wax paper into pieces large enough to wrap your tootsie chunks in. Wrap them.
Bring them to a party and watch your friends devour them.


 .
.


