Last week, I celebrated my 33 and a third birthday. 33.33. I know it isn’t commonplace to celebrate a fraction of one’s birthday, but turning exactly one third of a century was too good to pass up without festivities. An old roommate and friend of mine from Montreal invited me to her 33 1/3rd birthday some years ago. It really struck me as a perfect event to celebrate; after all, three is a magic number.
 Three. Past, present and future. Spirit, mind and body. Mother, father and child. Beginning, middle and end. The Three Furies, the rule of three, triangles, etc. 3 or 33 has appeared as important numbers in history, science, astronomy, sports, spirituality, nature, math and even geography. It symbolizes balance, clarity and wholeness. Threeness had overwhelmingly sold itself to me as something awesome. I was determined to do something great when I hit the big 33.33 and since my actual 33rd birthday was kind of a non-event, it was even more reason to party.
 So, I did. My real birthday is on July 12th. I added a third of a year (4 months) to find that the precise date of my 33 1/3rd birthday was November 12th, 2012. In lieu of all the threeness, I decided that the theme of the party would be: (surprise!) 3’s! Here’s what I did:
Invite: I thought a party with a 3 theme could possibly be confusing and overwhelming for some of my guests, so I outlined the requests of the evening very simply in the hopes that my guests would interpret the theme in their own way. I asked everyone to dress up and bring food with 3 in mind. I told them that this was a very loose idea and could be interpreted in any way they like. It could be as simple as wearing three colours and bringing a 3-bean salad. I encouraged their creative ideas and humour to lead them more than what they thought I was expecting. It was all about fun.
Note: I wanted to celebrate on the exact date, which landed on a Monday. I asked my guests if they could manage coming on Monday or if they preferred Sunday. I tallied the votes before making the decision. Luckily, it worked out to be Monday. The official start time was 3:33pm, but I told everyone to come later.
Ideas: I encouraged my guests with a few ideas to pique their interest. Actually, I really just googled “things in threes” or “common threes” and loads of lists came up such as:
3 minute egg
3 Stooges
3 Cheers
3 Musketeers
3 piece suit
3 dimensional
3 ring notebook
Small, medium and large
On your mark, get set, go
Hear no evil, speak no evil, see no evil
Etc…
The list was pretty long. But effective!

 Another clever costume: Third eye
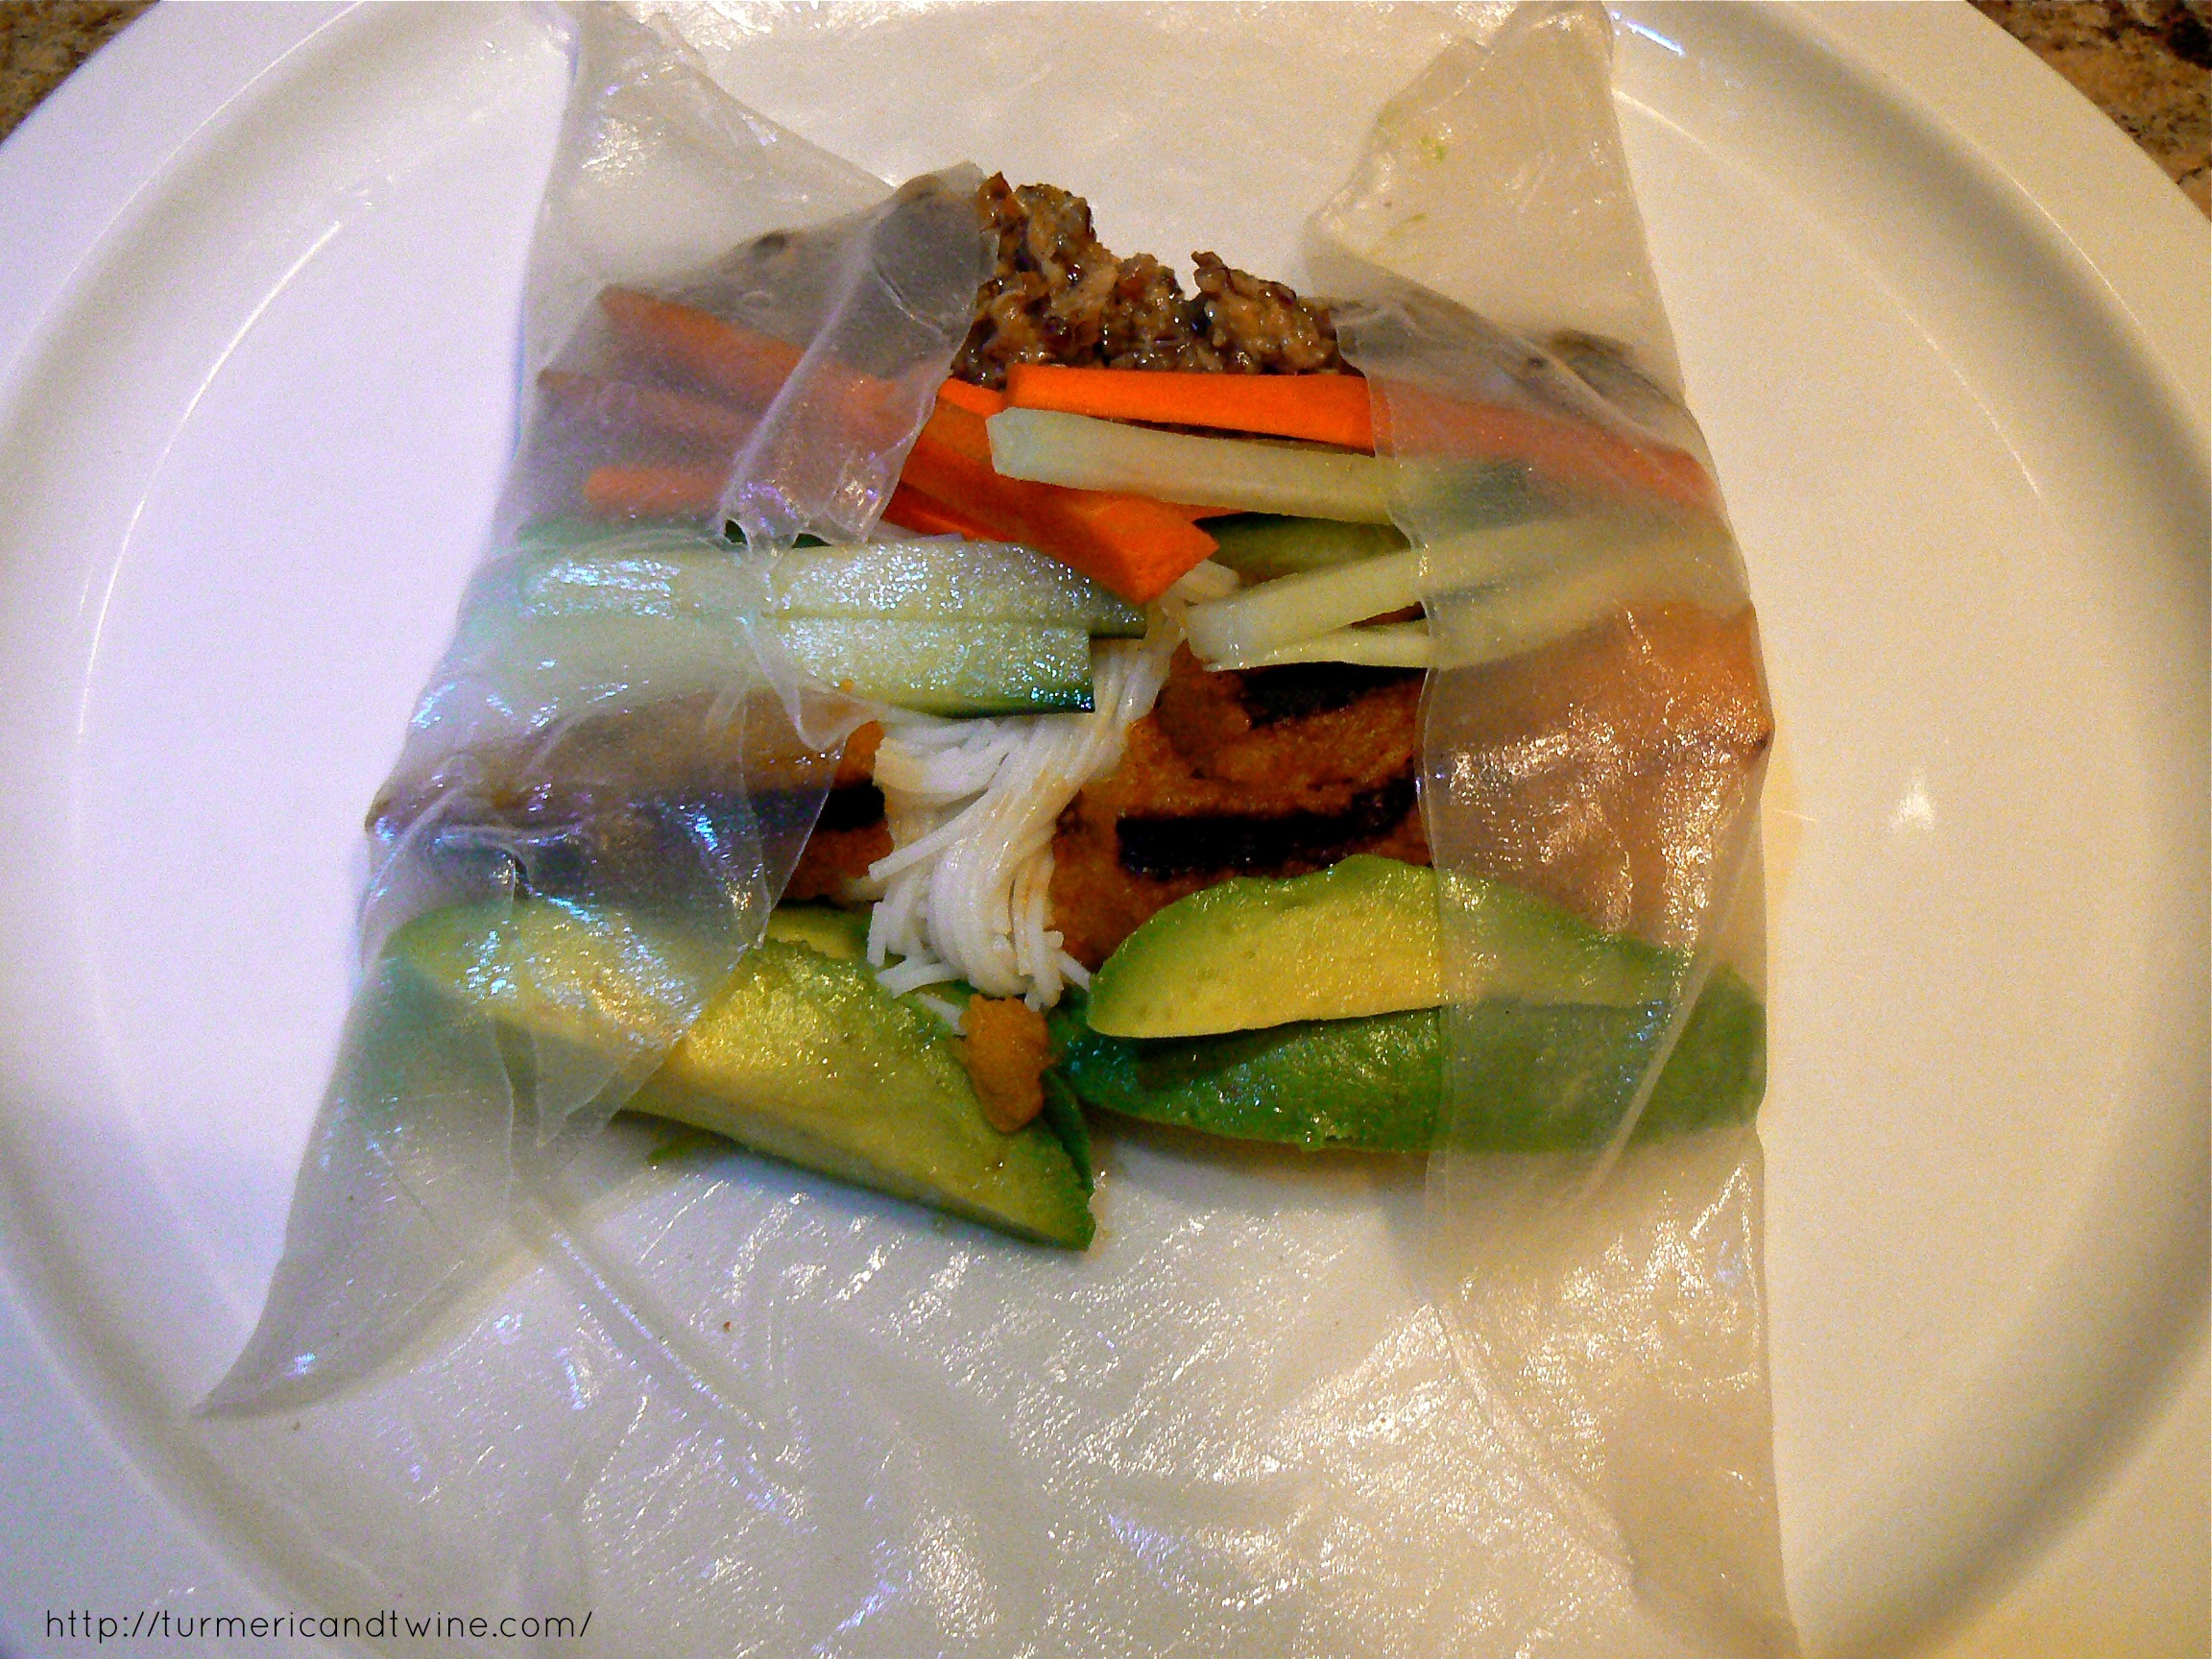
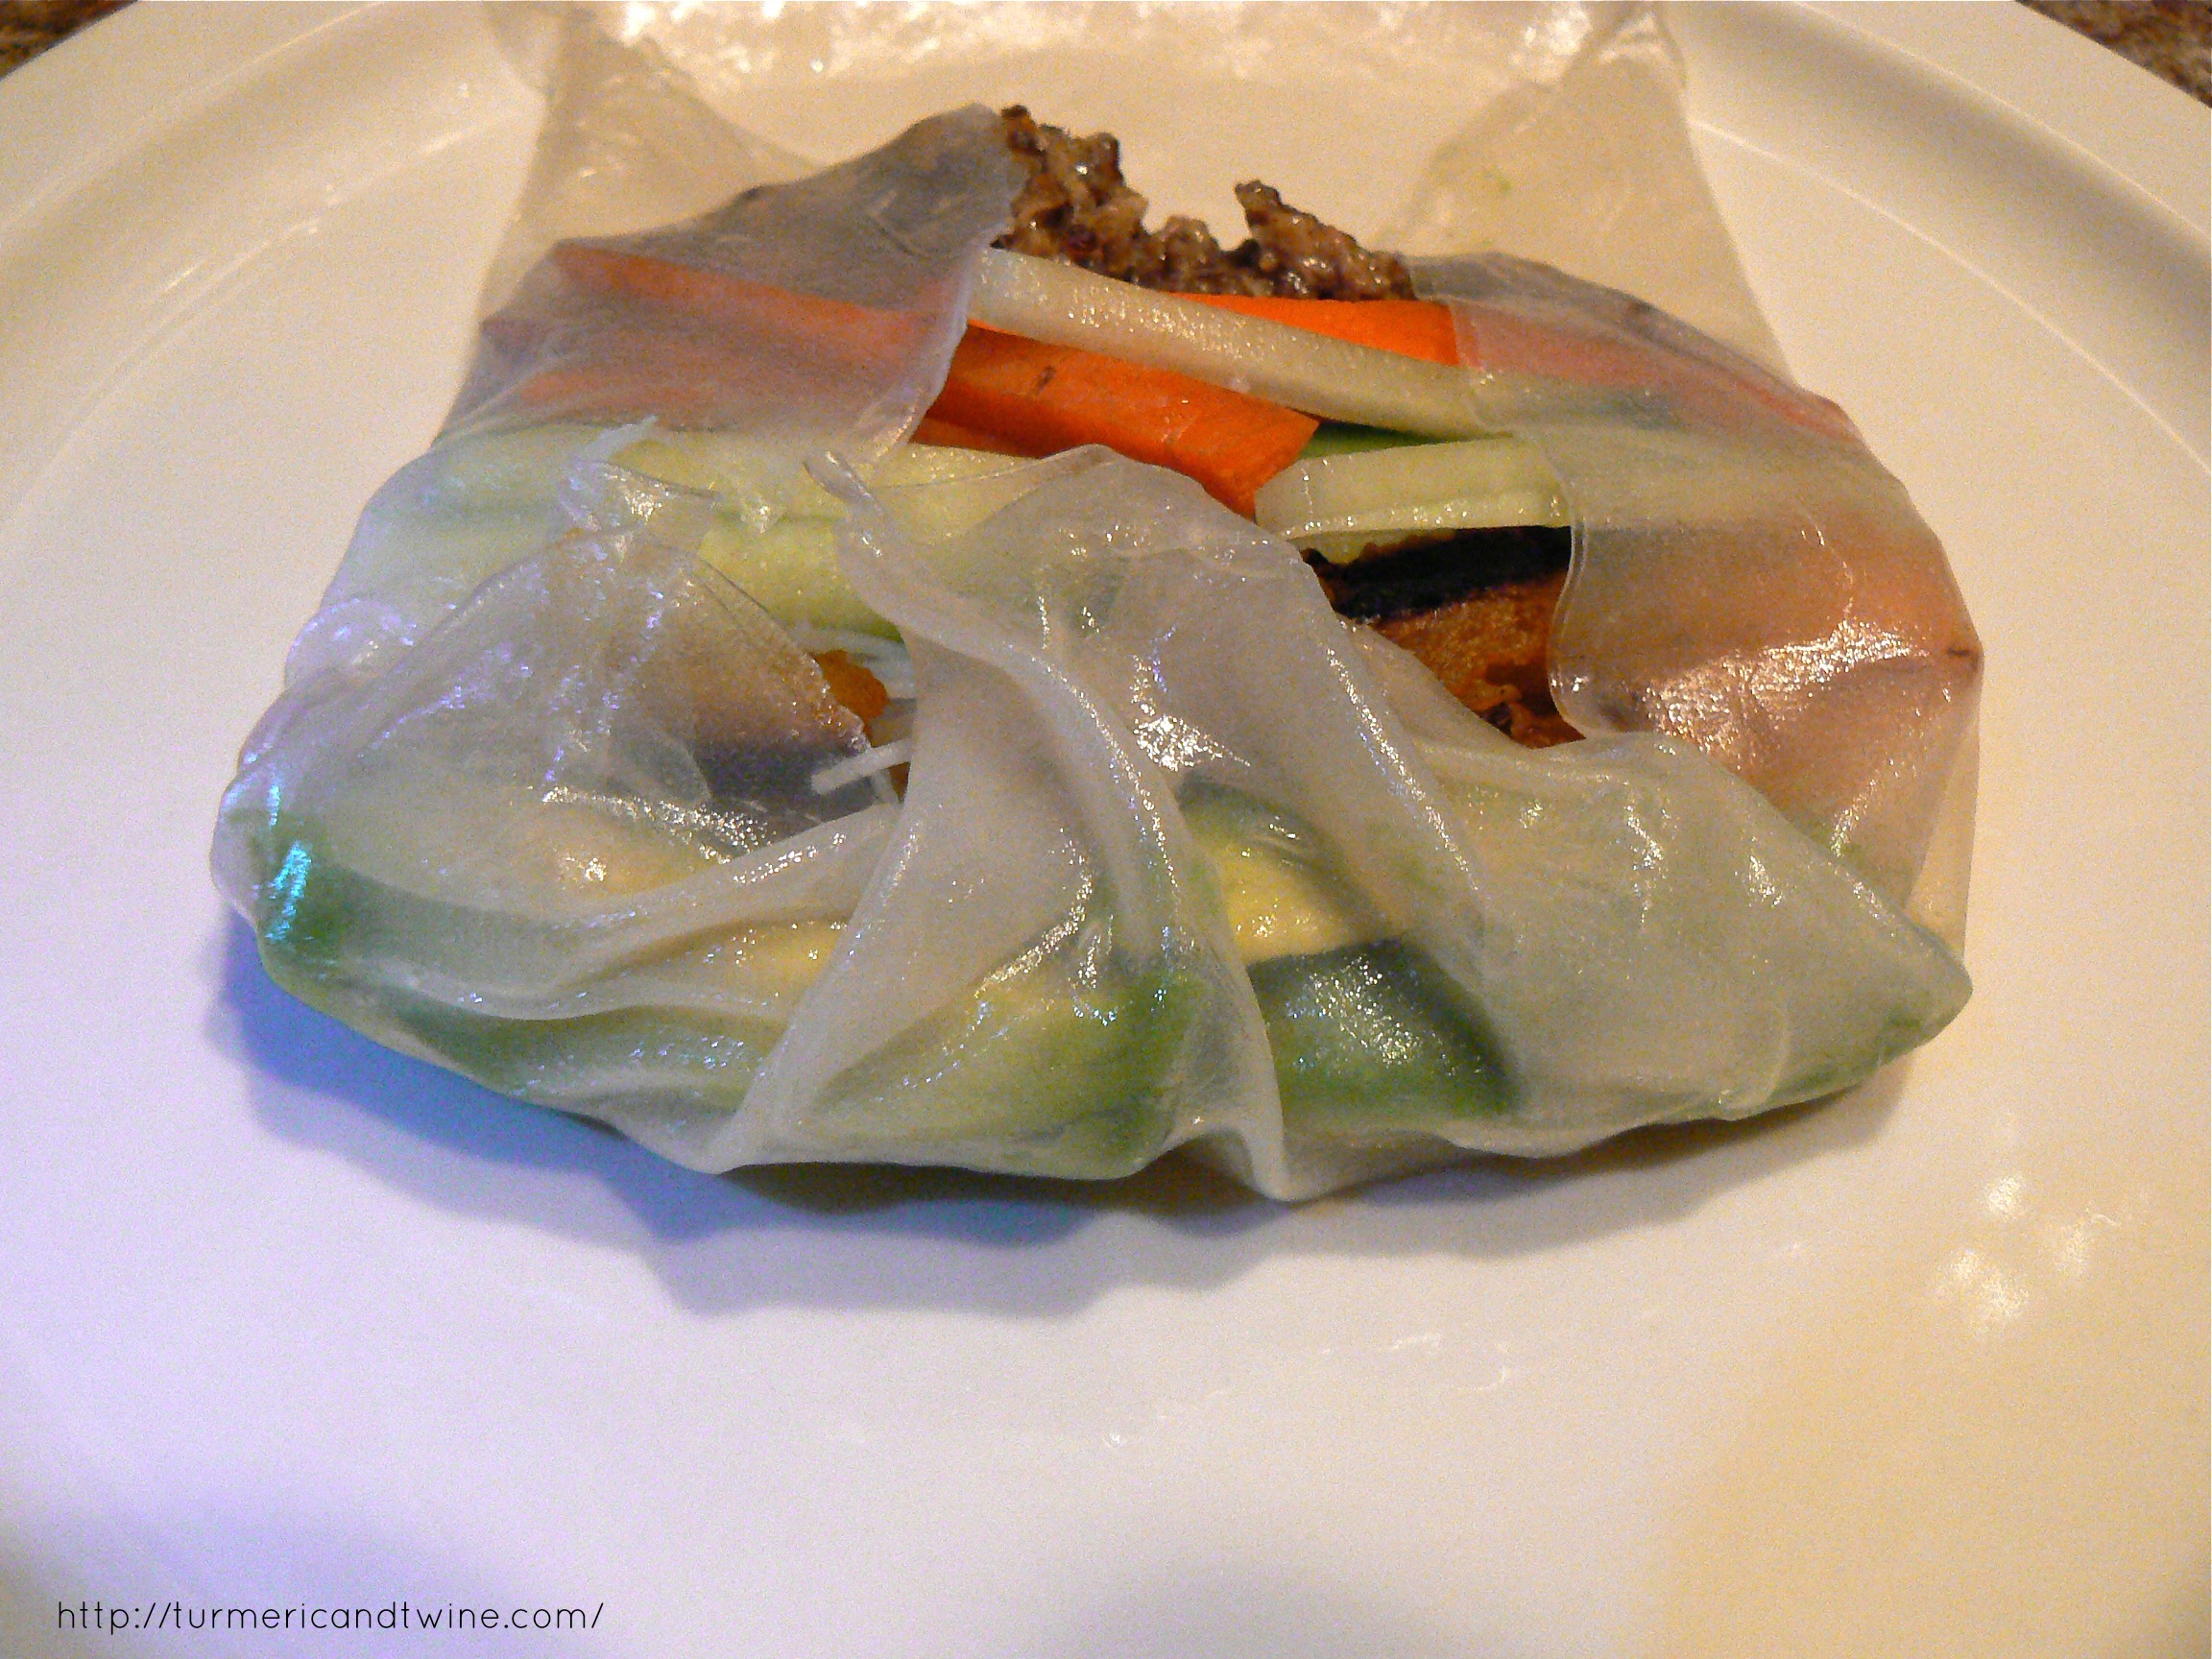
Some of the dishes we ended up with were Shepard’s pie (3 layers), dip (also 3 layers), 3 different snacks, tri coloured soup, multi layered cocktails (details on those to come) and multi alcohol cocktails.
Food: My guests were most confused about food. I guided them with a few ideas like:
3 ingredients
3 layers
3 containers
3 colours
3 dishes
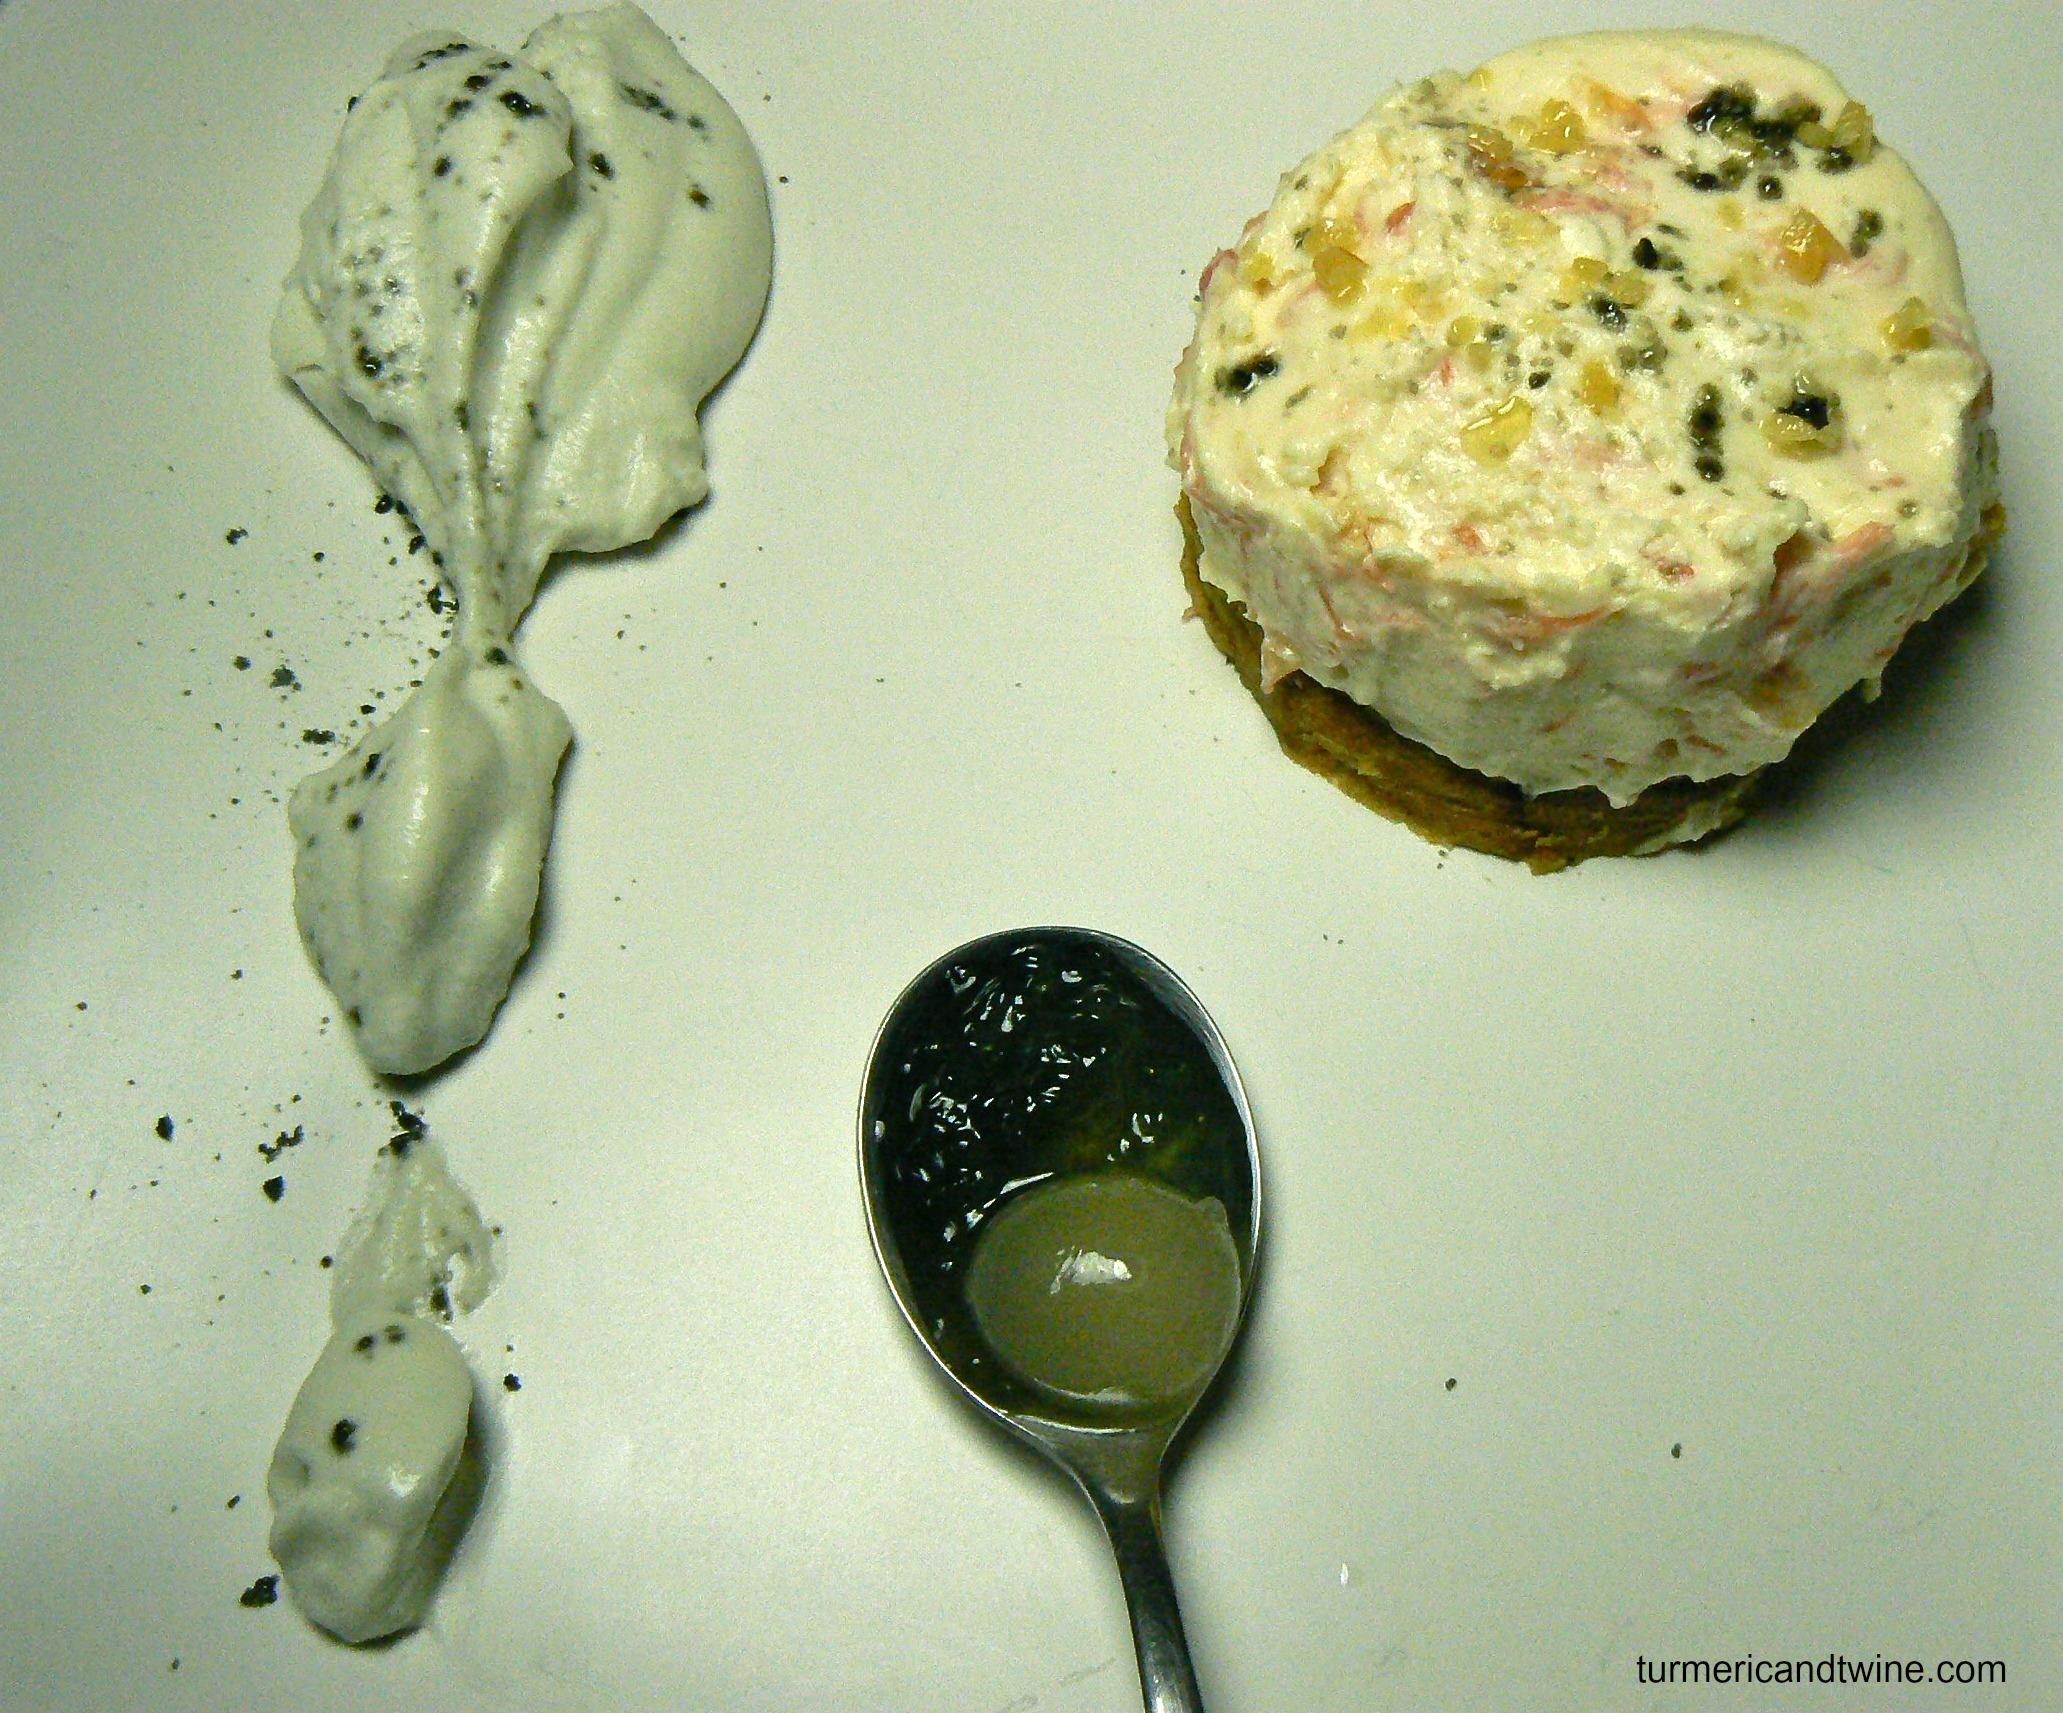
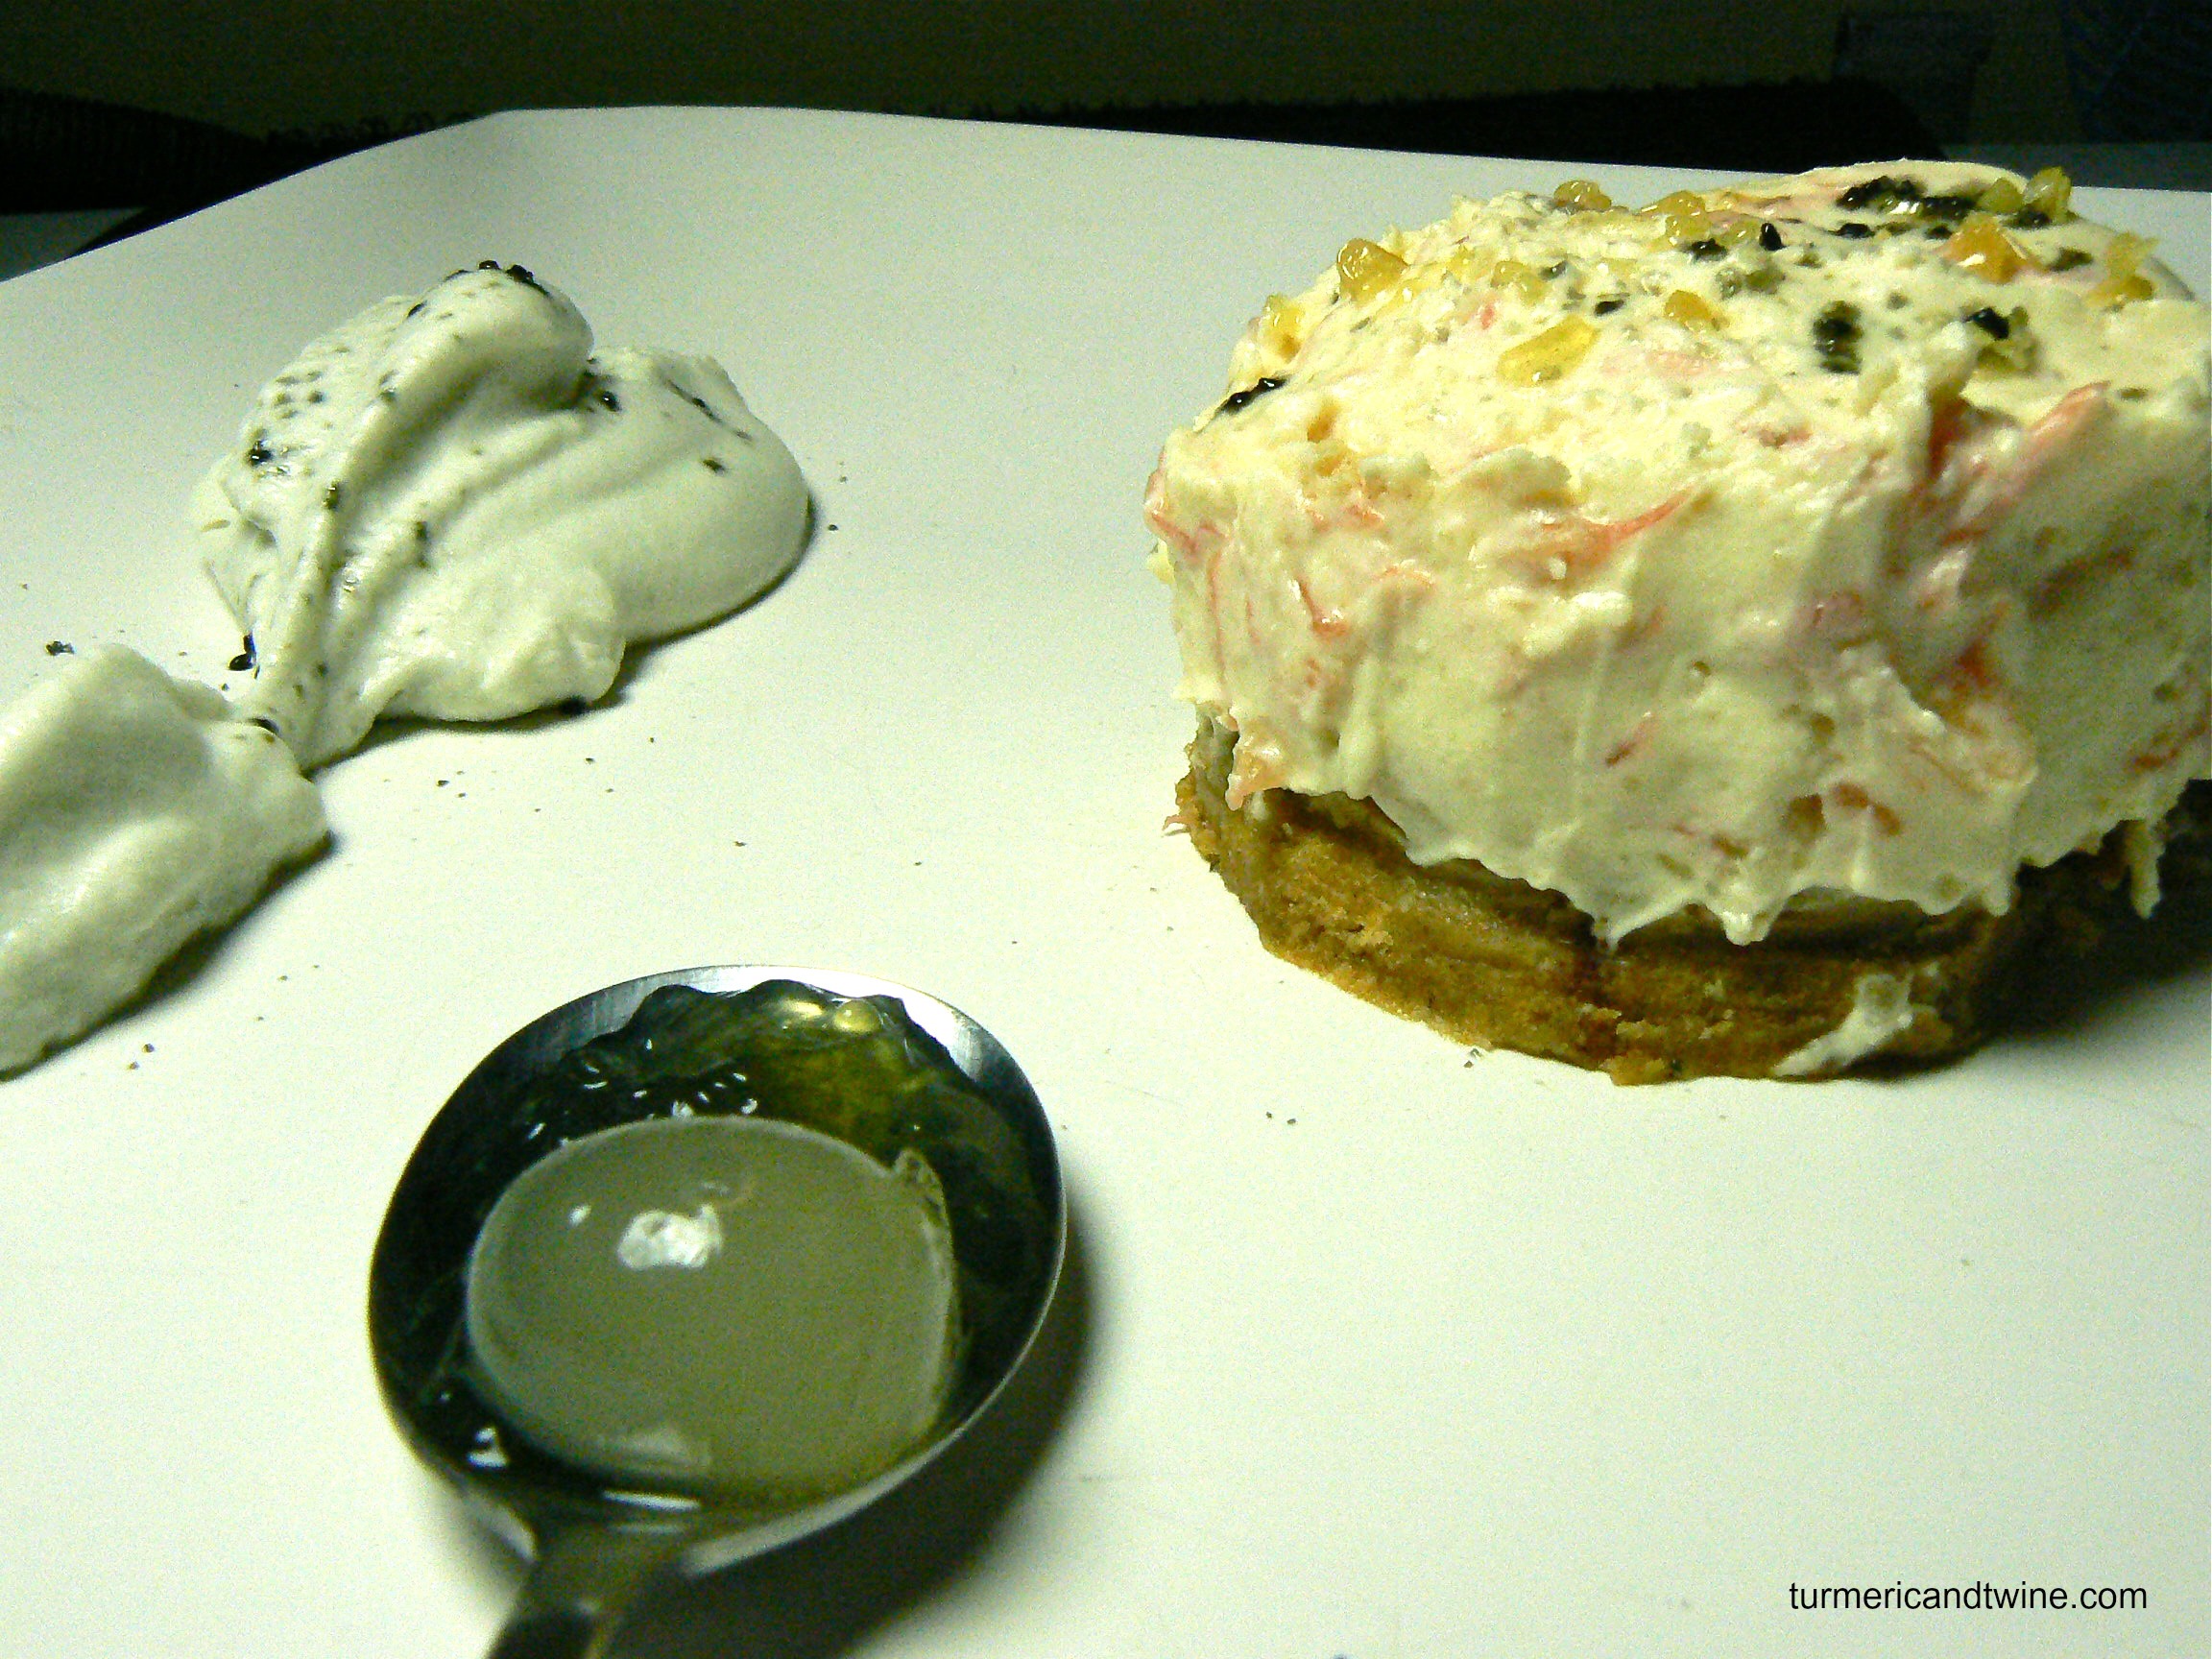
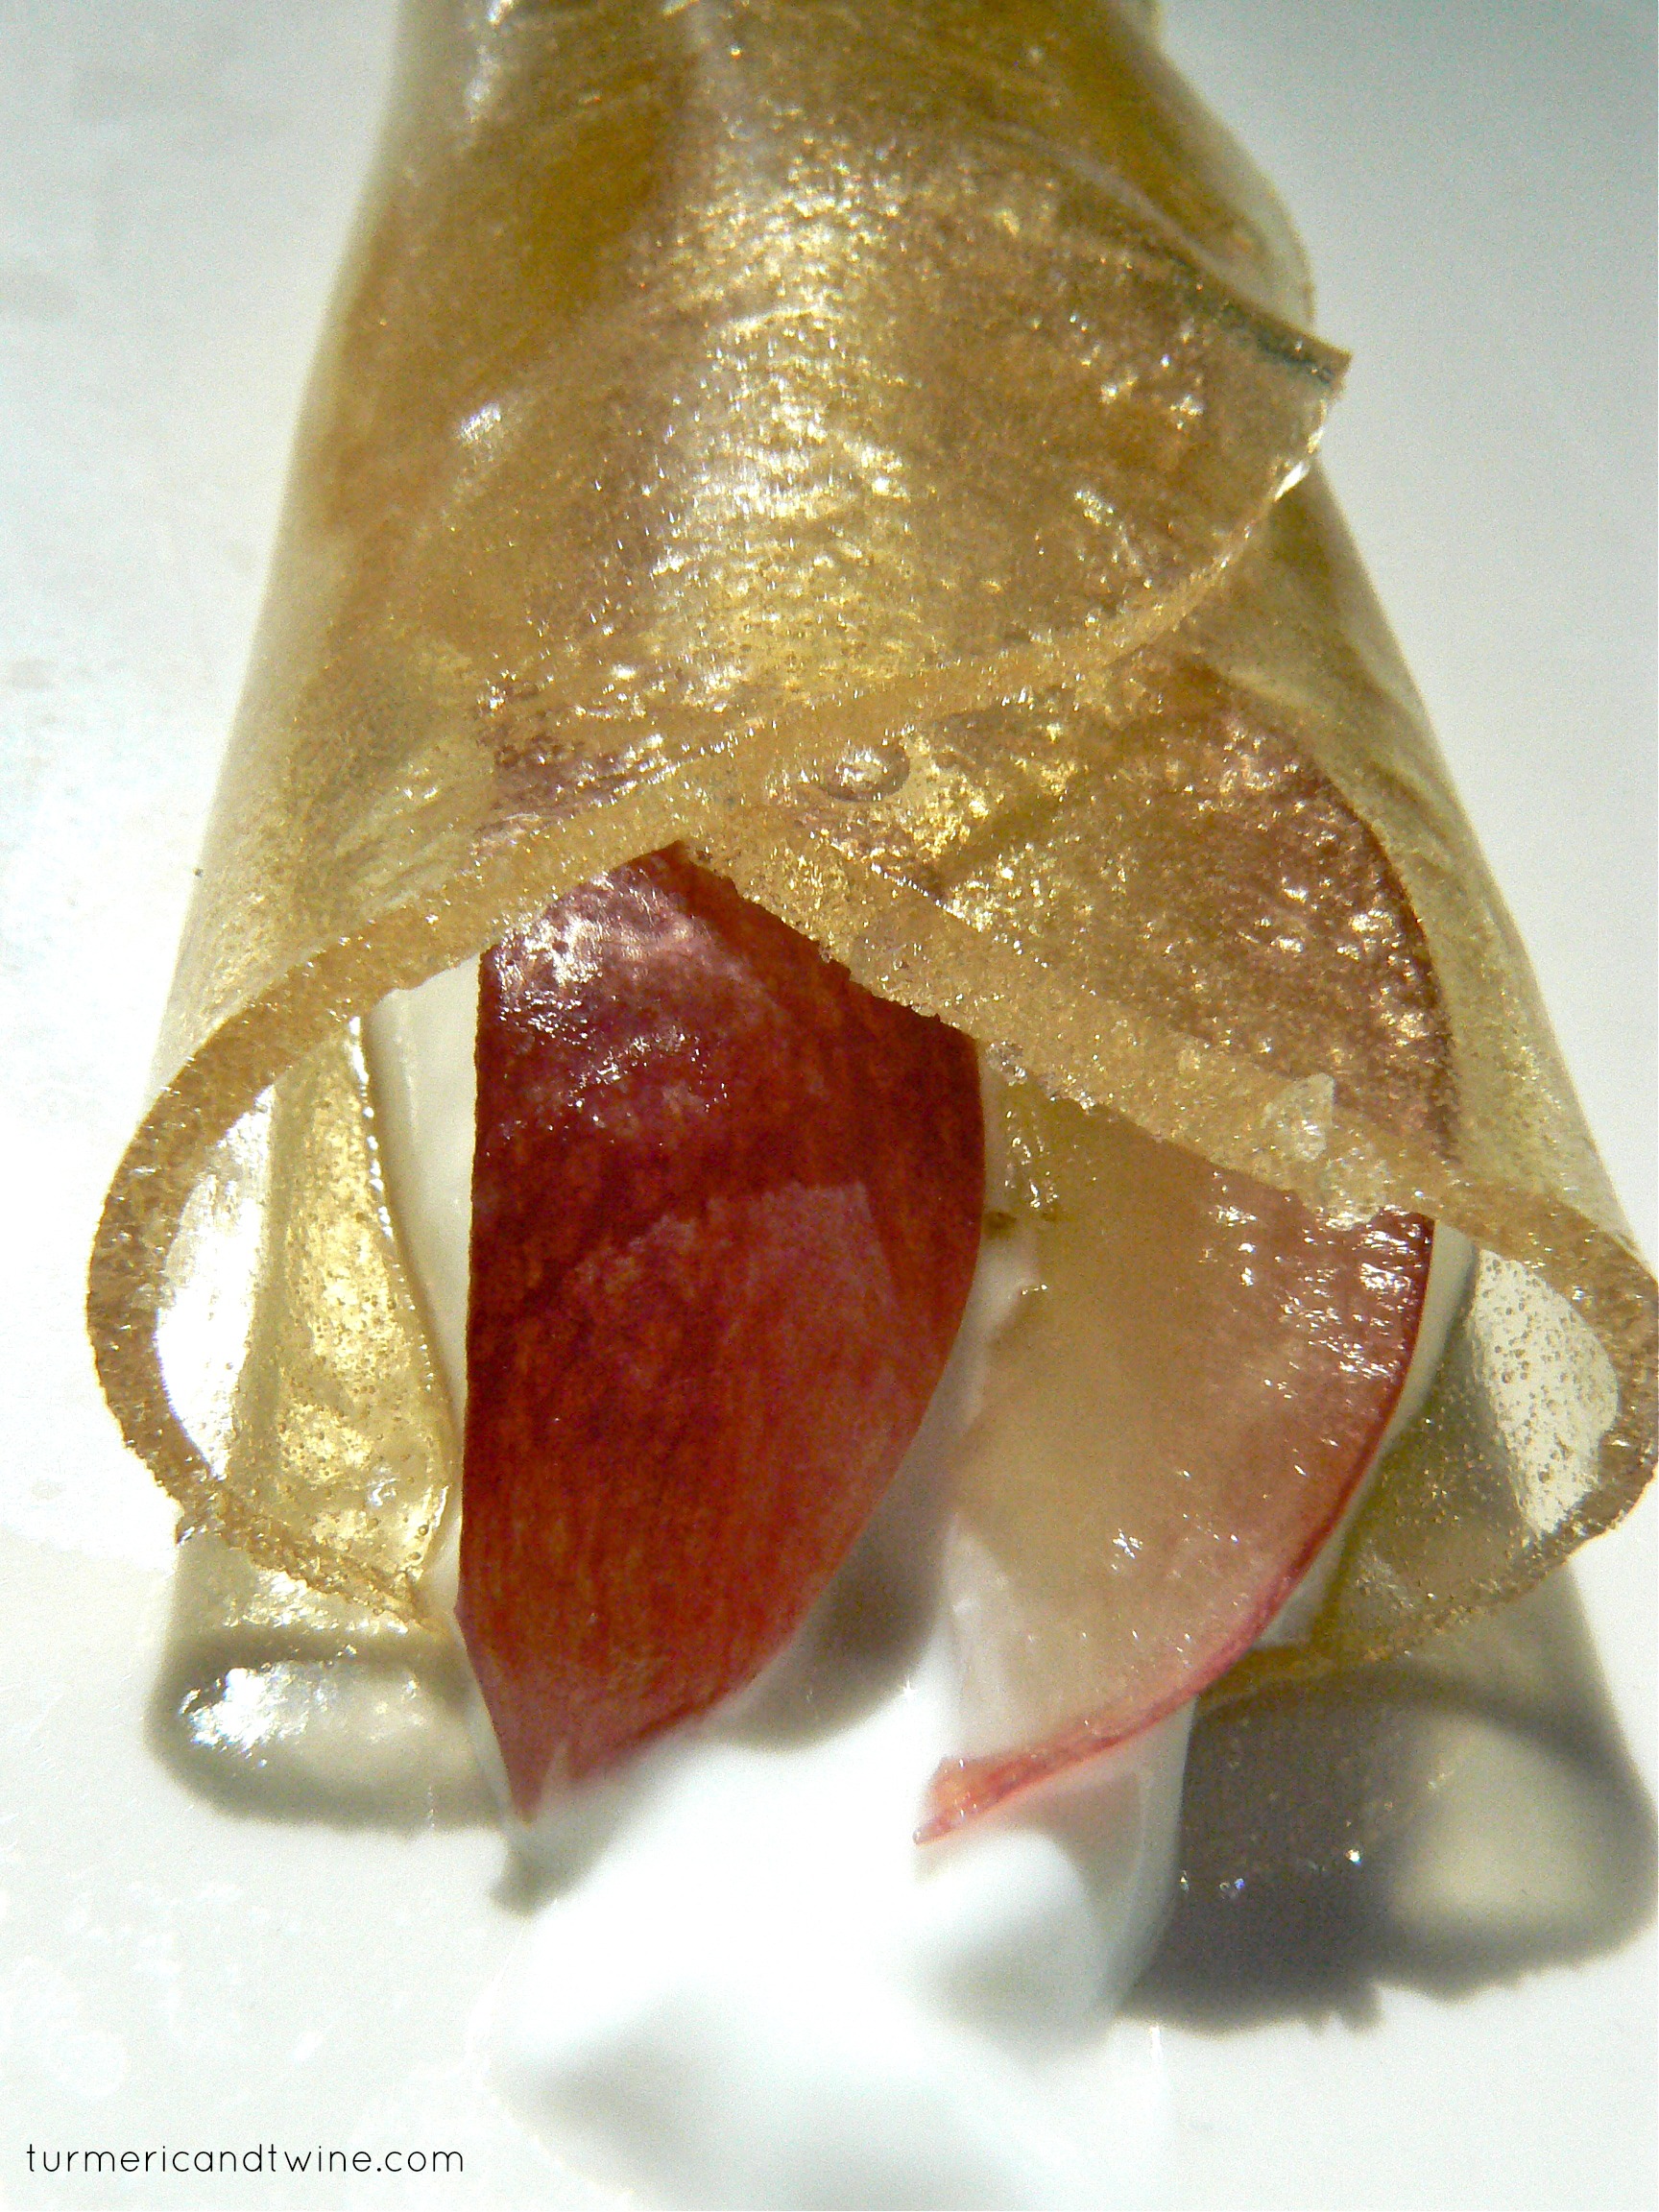
My main contribution to the food selection was the grapefruit cheesecake with lemon licorice and vodka cream (with the crust it qualifies as 3 layers). Gorgeously balanced in flavour and decadently rich.
Grapefruit Cheesecake with Lemon Licorice and Vodka Cream
Ingredients
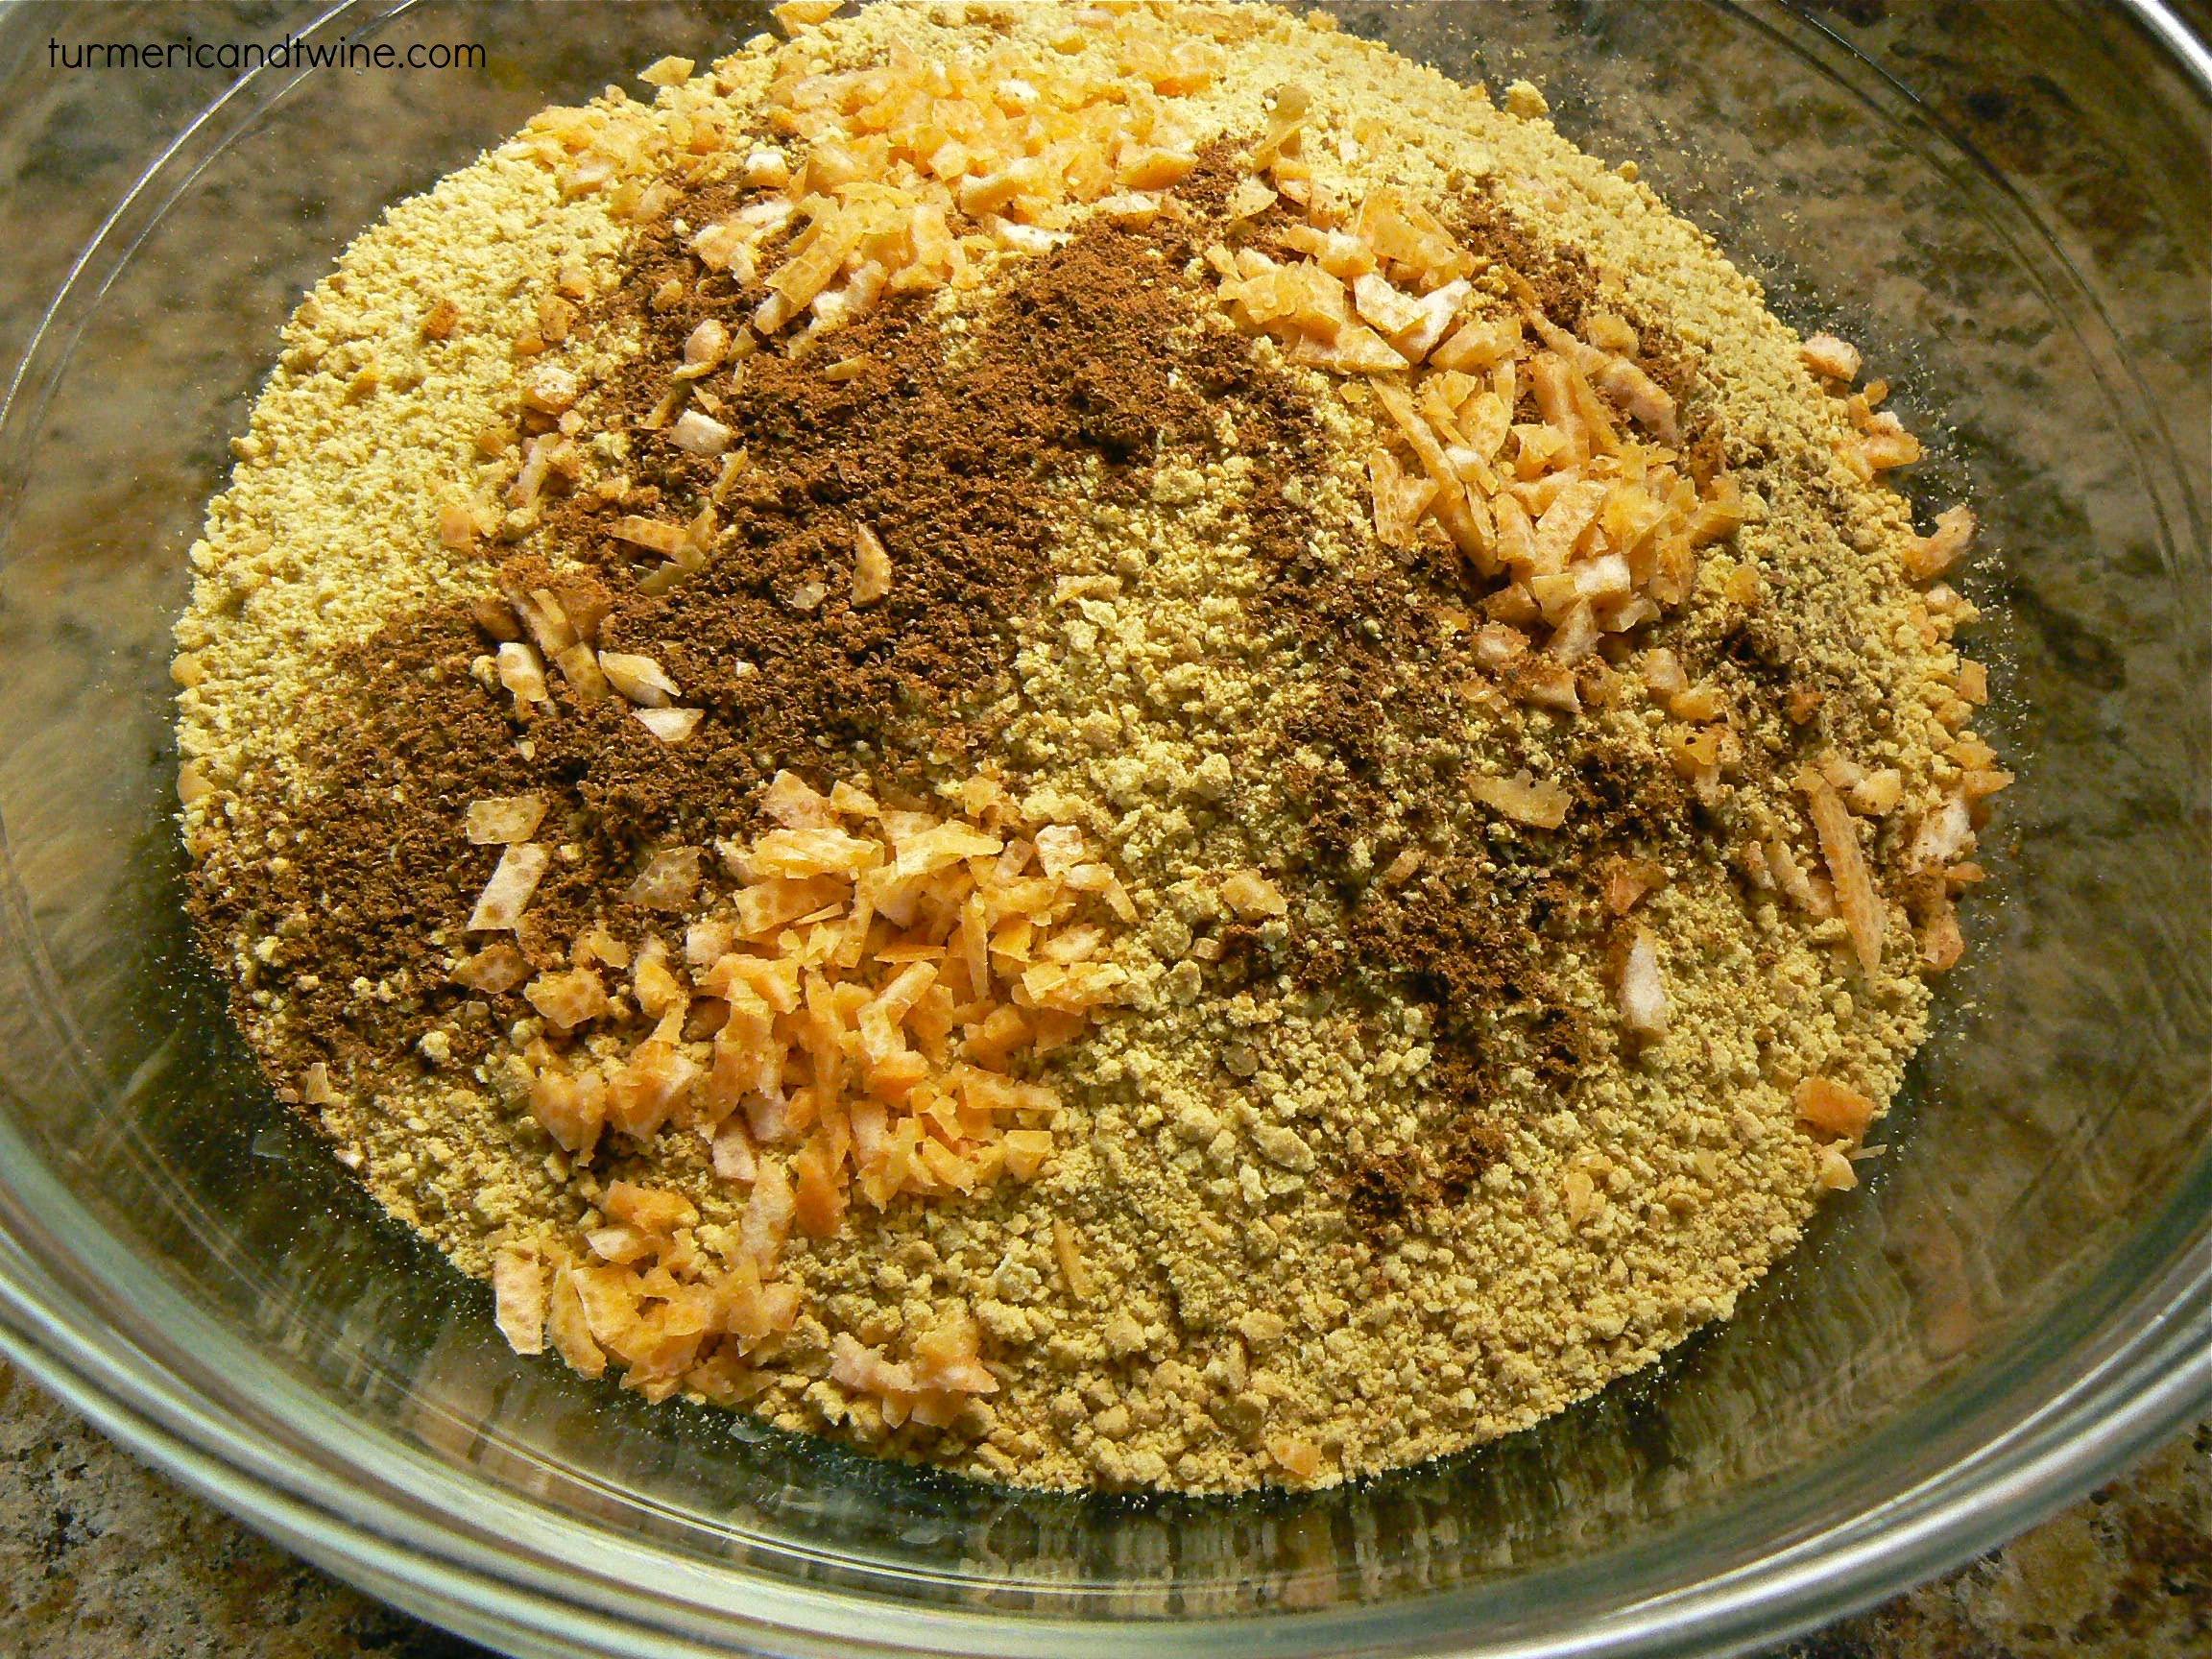
Crust
- 2 cups crushed graham crackers
- 2 tsp grated grapefruit zest
- ½ cup melted butter
- 1 ½ tsp cinnamon
Filling
- 2 grapefruits
- 3 eggs
- 1 ¼ cup sugar
- 1/8 tsp salt
- 4 tbsp agar agar (powdered)
- ¼ cup water
- 1 pound (16 oz) of softened cream cheese
- 1 ¼ tbsp lemon juice
- 2 tsp grated grapefruit zest
- 1 tsp grated lemon zest
- 2/3 cup whipping cream
Cream
- 2 cups icing sugar
- 3 tbsp licorice powder (NOTE: I used hard candies I had brought back from Iceland and powdered them in the food processor. You could experiment with various different licorice candies to see which ones crush and/or melt well).
- 2/3 cups vodka
- ½ tsp lemon extract
- 3 cups heavy cream
Directions
Cheesecake
Mix crust ingredients until evenly combined. Press the crust to the bottom of the pan you will be keeping your cheesecake in (about 9 inches).
 Peel the grapefruits and separate segments into small pieces. Drain the juice for the filling.
 Combine agar agar and water in a pot and heat on high. Stirring constantly, allow the mixture to boil and remove from heat. Separate 2 eggs. Combine the yolks and remaining whole egg, sugar, salt and 1 tbsp of the juice in a double boiler. Stir regularly. Remove from heat when thickened. Combine this mixture with the agar agar in a bowl.
 Beat the cream cheese with the remaining grapefruit juice (½ cup) and lemon juice/rinds. Combine with the egg mixture. Lightly whip heavy cream. Beat egg whites until they form soft peaks. Gently fold the cream and egg whites into the cheese mixture.
 Pour this on top of the crust and chill for several hours.

Cream
Mix licorice powder, sugar, lemon extract and vodka in a bowl. Stir until well combined and smooth.

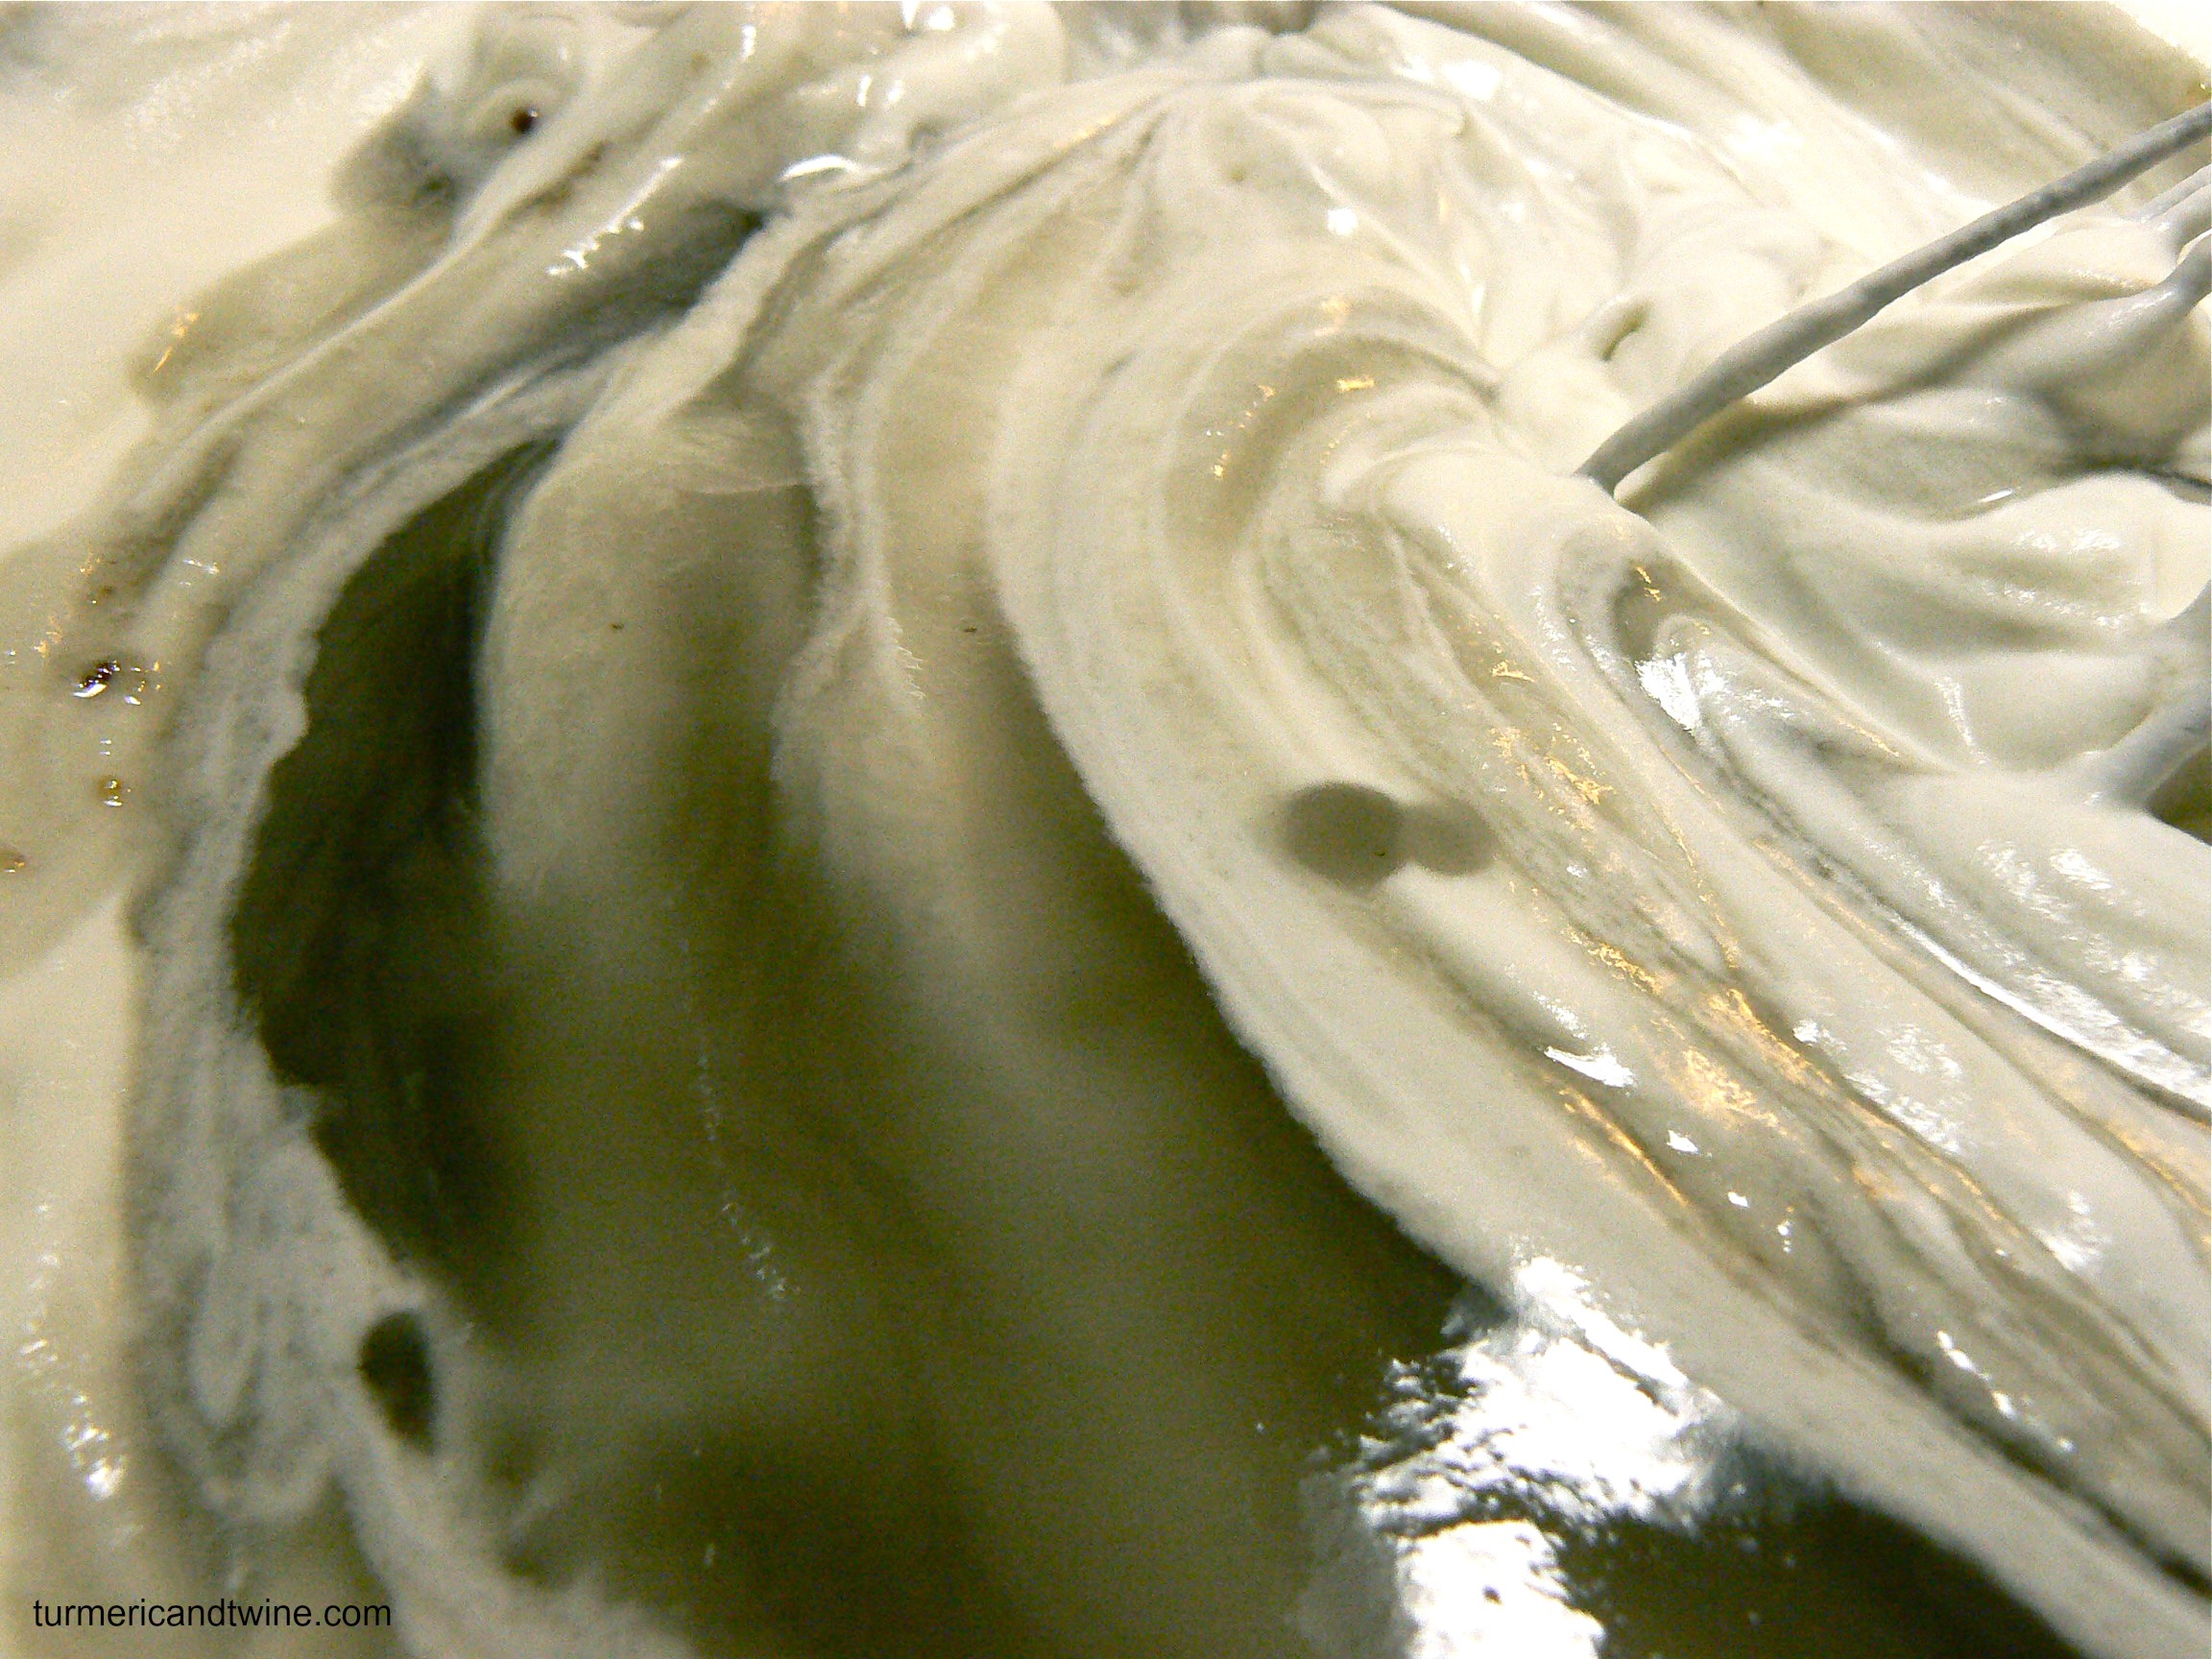
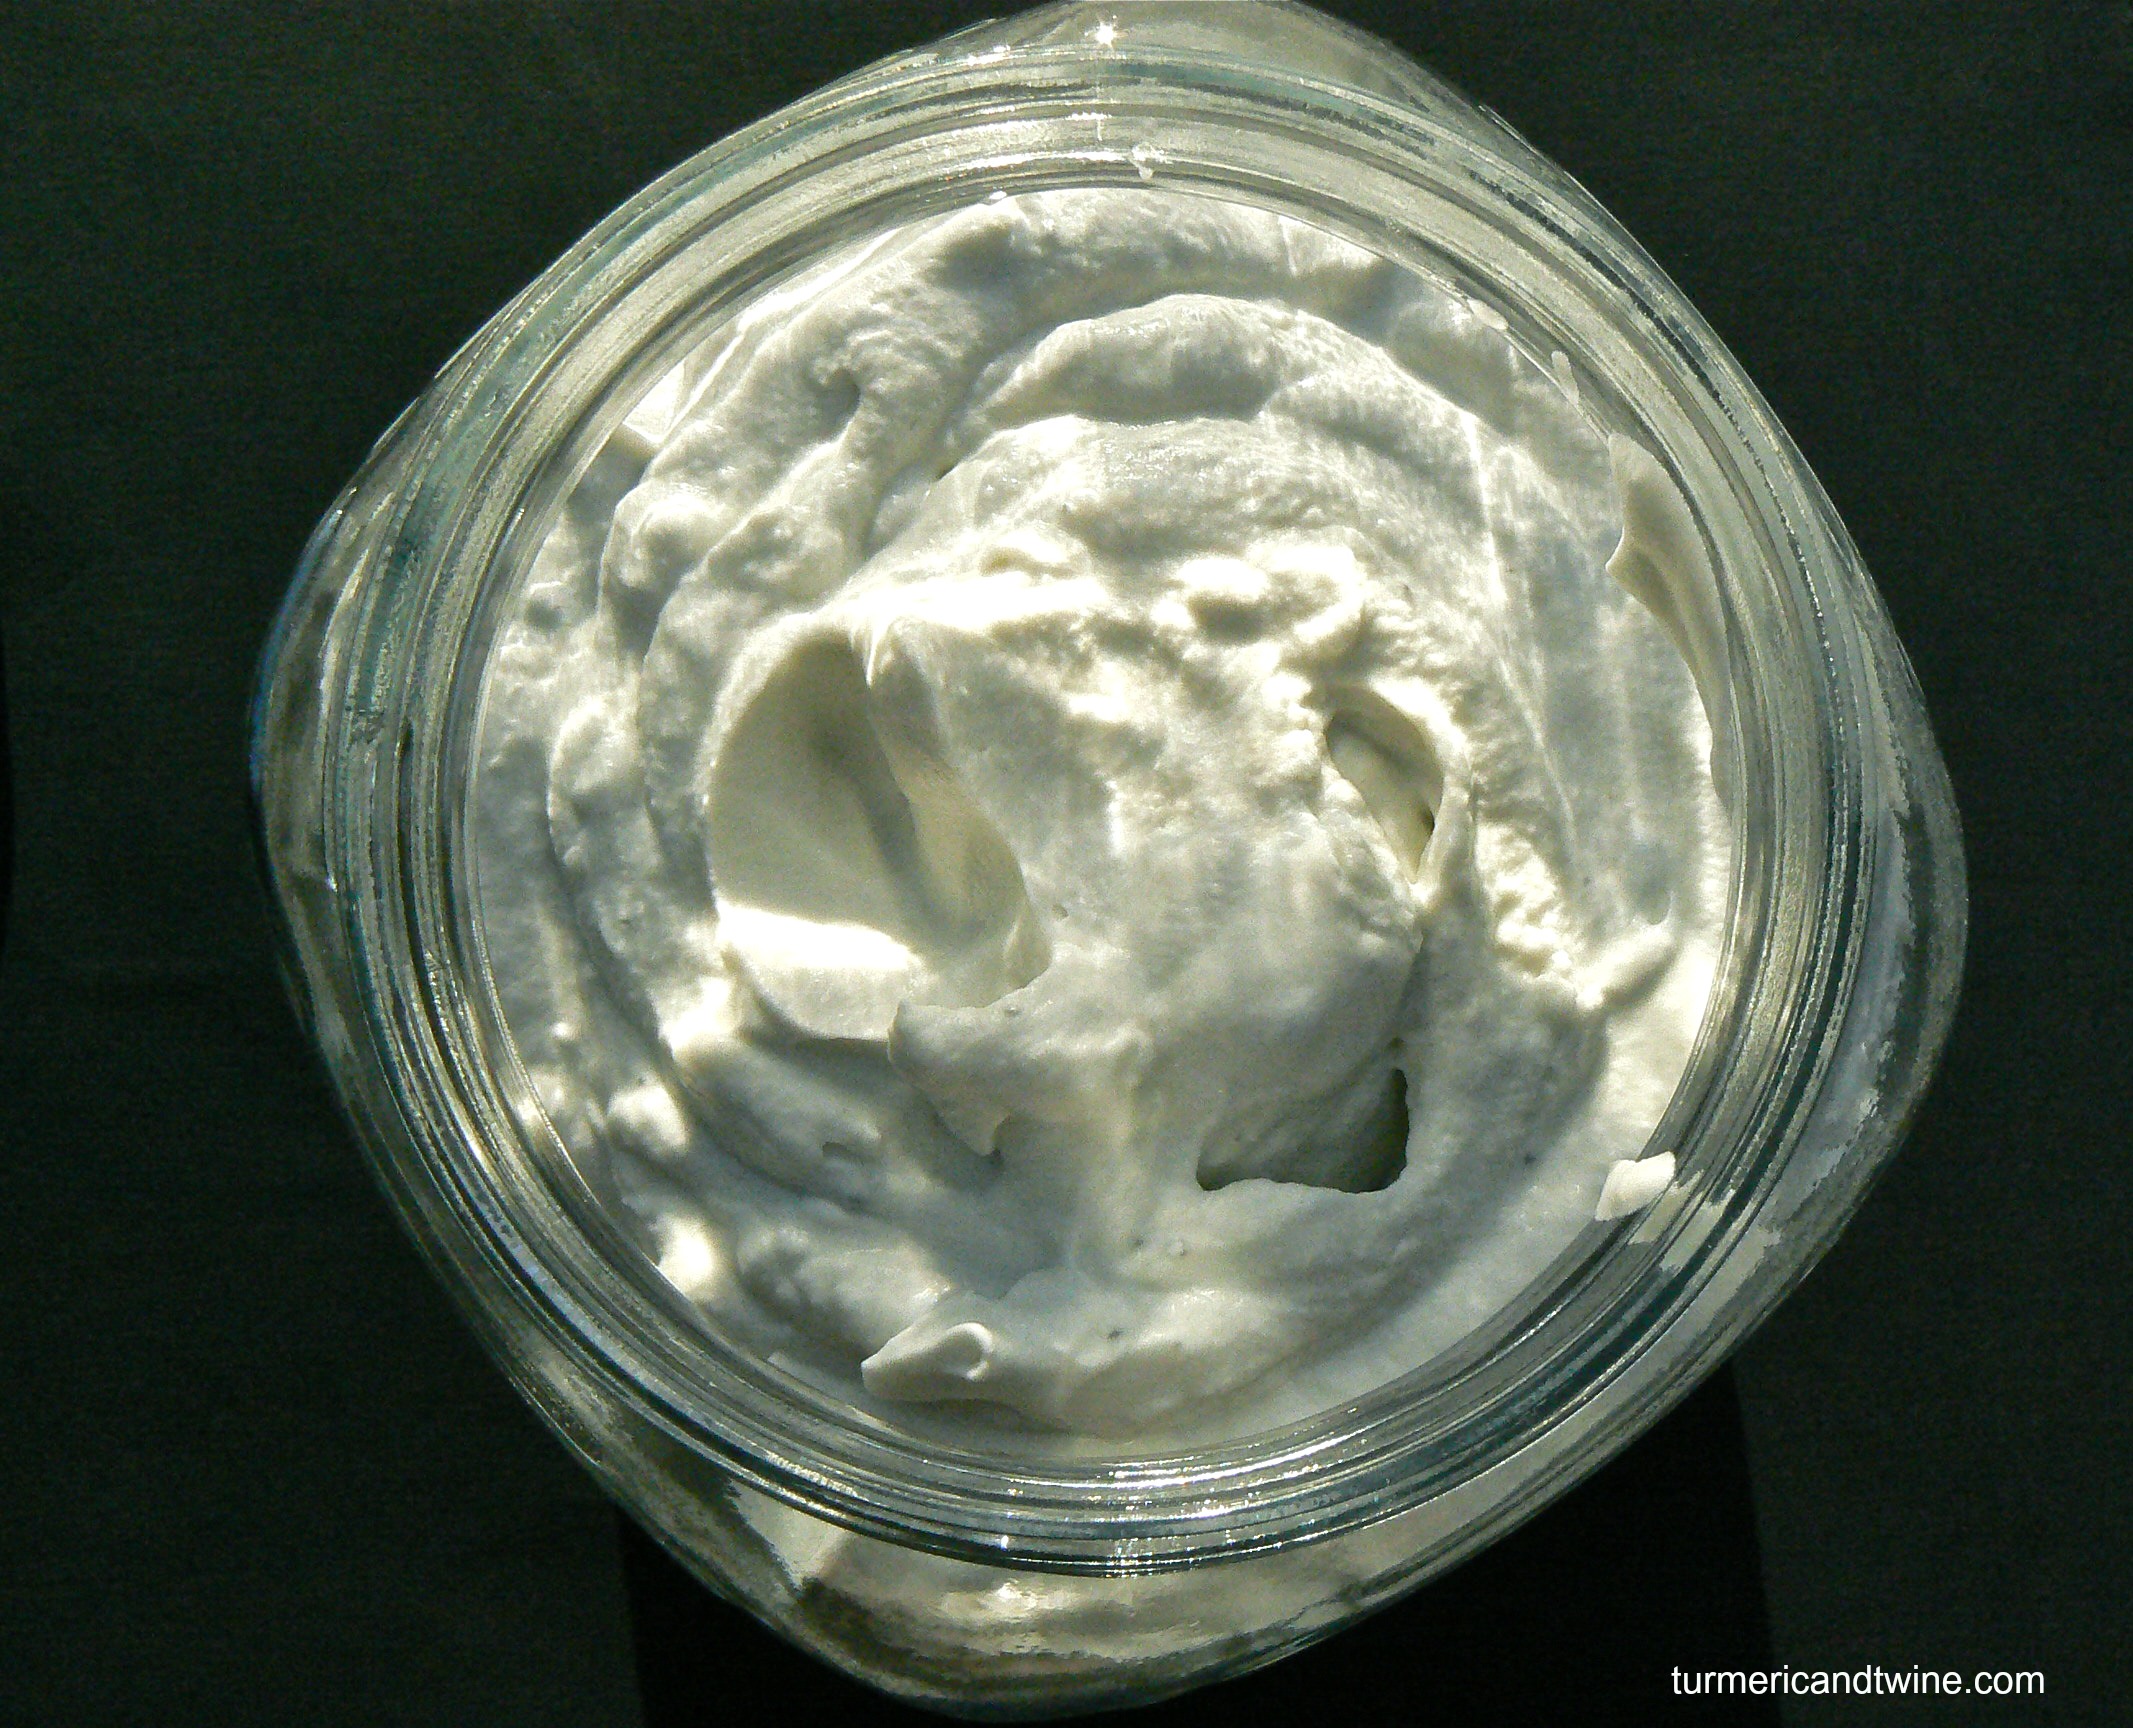
 Whip heavy cream with a whisk or an electric mixer until stiff and forms soft peaks.
 Gently fold licorice mixture into the cream until well mixed.
 Chill for at least an hour.
 Serves 8-10 lucky people.